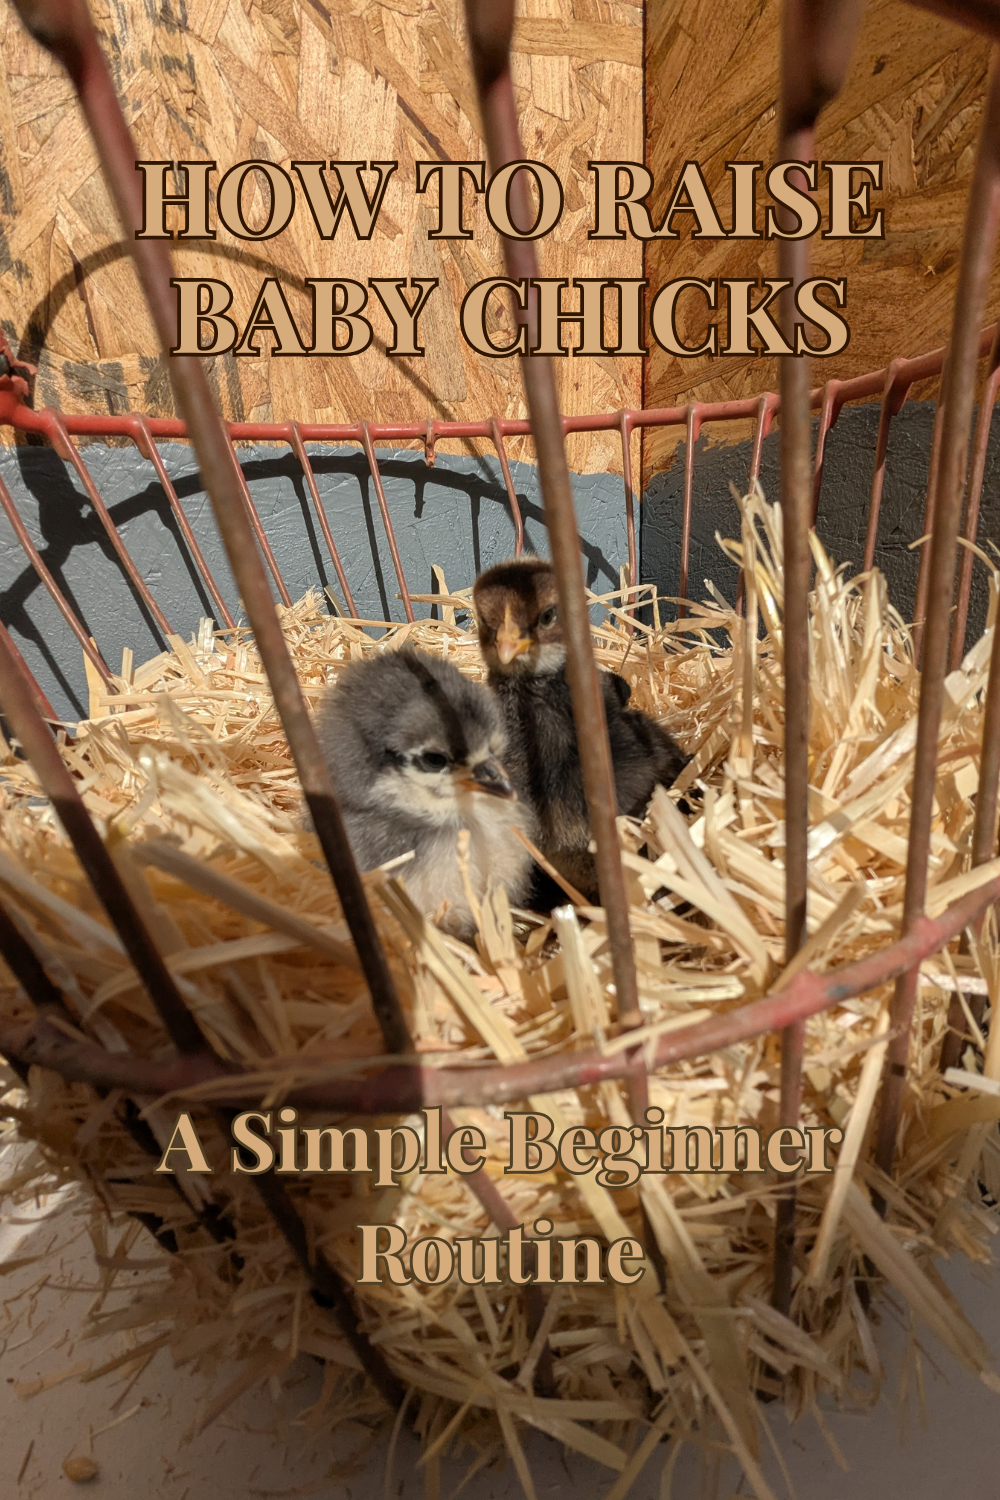
Raising Chicks Is Not for The Faint at Heart
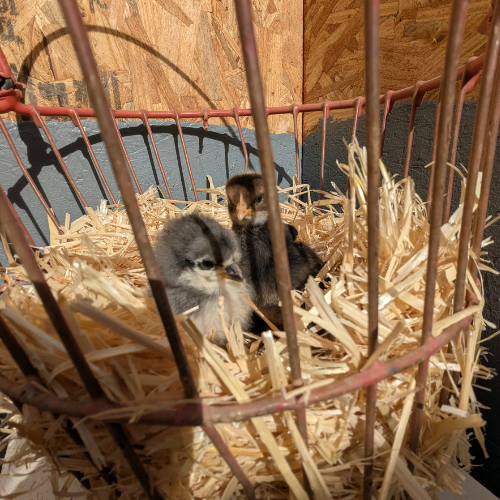
If you are raising chicks for the first time, you probably expected it to be cute, maybe a little messy, and mostly straightforward. Then the first stressful moment hits. Someone looks sleepy. Someone is tiny compared to the rest. Someone kicks bedding into the water. You start Googling things you did not even know could happen.
That is the honest part nobody says out loud enough. Raising chicks can be a little intense, especially in the first two weeks. They are fragile, the stakes feel high, and it is easy to blame yourself when something goes wrong.
This post is here for the beginner who wants fewer losses during the learning curve. Not perfection. Not expensive upgrades. Just practical habits and a simple setup that reduces the most common chick problems.
You will walk away with a daily routine that actually works, and a realistic sense of what matters most when you are trying to get a box of peeping fluffballs safely to the “feathered and thriving” stage.

Learn about herbalism with ease.
Build a clear, confident apothecary with our Single Herb Tincture Labels. These printable labels keep the essentials front and center so you can identify each tincture at a glance and track your batches with confidence. Ideal for beginners and home herbalists who want simple, readable labels that look tidy on the shelf.
Printable Herb Tincture Labels — 2 x 3 Inch Format
This digital set includes clean, easy-to-read labels for your tincture bottles and jars. Each label is designed to be both practical and attractive, with space for the key details that matter.
Created with the home herbalist in mind, these labels work well on amber dropper bottles, mason jars, and storage tins.
What’s Included
A printable PDF file with 2 x 3 inch labels (12 per US Letter page)
End-of-PDF one-page print and apply guide
Each label includes
Common name
Botanical name
Common use
How to Use
Print at 100 percent scale on sticker paper or 2 x 3 label stock. Trim if needed and apply to clean, dry bottles. Handwrite your details and file by date or alphabet for fast, reliable organization.
Why It’s Useful
Consistent labeling reduces mix-ups and supports safe, confident use. Clear fields help you track what you made, when you made it, and how you prepared it.
Delivery
You’ll receive an instant download of the PDF after purchase. Print as many copies as you need for your personal use.
Build your apothecary with confidence and clarity.
Get The Labels
Stop squinting at faded handwriting trying to remember what's in that amber bottle. These professional tincture labels keep your herbal preparations organized and safe, no more mystery bottles or guessing games when you need to know exactly what you made and when you made it.
Disclosure
Some links on FiberMaiden are affiliate links. When you click and purchase, I may earn a small commission at no extra cost to you. I partner only with brands and tools I trust and use in my own kitchen, studio, and garden. Your support means a lot.
The truth about chick losses (and why it feels personal)
Chicks are living creatures, and some losses can happen even when you do things right. Shipping stress, genetic issues, or a chick that never really “starts” can happen. That does not mean you failed. What you can control is the environment and the routine, because most preventable losses come down to a few themes: temperature, water, hygiene, and crowding.
If you want a calm baseline for chicken care on your homestead, it helps to zoom out and remember why you started. For us, that story is in Introducing Our New Chickens: Why We Chose Pullets Instead of Chicks. It is a good reminder that there is more than one right way to build your flock. Also make sure to check out our PDF printable Chick Guide below. It is a handy one sheet that breaks everything down for you week by week.
Step 1: Build a brooder that is simple, safe, and easy to clean
You do not need fancy. You need safe edges, enough space, good traction, and a heat source you can control.
Brooder basics that matter most
Space: Give them room to move away from heat and spread out. Crowding increases stress, pasty butt, and pecking.
Walls: Tall enough to prevent jumping once they start getting feathers and confidence.
Ventilation: Fresh air without drafts. Drafts at chick level can be a problem even in a warm room.
Traction: Slippery floors can cause splayed legs. Use a base layer that helps them grip.
Bedding without blowing your budget
Start with something absorbent and easy to swap.
Avoid anything dusty that irritates tiny lungs.
Plan for frequent changes in week one. Chicks are messy, and wet bedding is where problems start.
Step 2: Heat is the make-or-break variable
Most beginner panic traces back to temperature. Too hot and they sprawl out and pant. Too cold and they huddle, pile, and can smother.
How to know if your chicks are comfortable
Too cold: Loud peeping, tight huddle under the heat, stacking on each other
Too hot: Panting, wings slightly away from body, avoiding the heat area
Just right: Sleeping spread out, moving around, eating and drinking normally
One tip that prevents a lot of losses
Create a clear warm zone and a clear cool zone. You want the chicks to self-regulate. If the entire brooder is the same temperature, they cannot choose comfort.
A beginner-friendly heat routine
Check them first thing in the morning and last thing at night.
Watch behavior before you adjust anything.
Make changes slowly. Big swings cause more stress than small imperfections.
Step 3: Water is where chicks get into trouble fast
Chicks can decline quickly if they are not drinking, or if their water is constantly dirty.
Water rules that save chicks
Keep water clean, shallow, and hard to tip.
Raise the waterer slightly as they grow so they are not scratching bedding into it.
If you see wet bedding near the water, fix it immediately.
Quick hydration check
Look for bright eyes, active movement, and normal peeping. If a chick seems weak, make sure it can reach water easily without being pushed away.

Get 3 Free Recipe Sheets
Ready for recipes that don't require a culinary degree to follow? Get seasonal recipe sheets designed for real kitchens and busy lives, the kind that work even when your kids are asking for snacks mid-prep.
Step 4: Feed, protein, and the “tiny chick gets bullied” problem
Your goal is steady growth and a calm brooder culture.
Feed basics
Use a starter feed appropriate for chicks.
Keep feed available so they can eat often.
Keep the feeder clean and positioned so they are not kicking bedding into it constantly.
Prevent bullying early
Bullying can start as “mild pecking” and escalate quickly.
Add space before you think you need it.
Add a second feeder and second waterer if chicks are competing.
Give them something to do. Bored chicks pick on each other.
Step 5: The unglamorous daily routine that keeps chicks alive
This is the part that reduces losses without spending more money.
Morning
Check chick behavior under heat and away from heat
Refresh water and quickly rinse the waterer
Top off feed
Remove any wet bedding spots
Midday (quick check)
Make sure water is still clean
Look for any chick that is smaller, sleepy, or getting pushed away
Evening
Refresh water again if needed
Remove wet bedding again
Quick headcount and a 30 second behavior check
Twice a week
Replace a larger section of bedding
Wipe down feeder and waterer more thoroughly
Check for smells or dampness at the bottom layer
Step 6: The most common beginner emergencies and what to do
You do not need to memorize everything. You just need to know what to look for.
Pasty butt
This is one of the most common early issues. A chick can get blocked up and decline quickly.
Check vents daily in week one.
If you see buildup, gently clean and dry the area with a damp Q Tip in a downwards motion only.
After the area is clean us some kind of solid oil like coconut oil, Vaseline, Bag Balm, etc. with a clean Q Tip to the vent area to prevent pasty butt going further.
Keep the brooder warm and reduce stress.
Piling and smothering
This usually happens with cold spots, drafts, overcrowding, or sudden fear.
Give more space.
Remove drafts at chick level.
Use a thermometer to make sure the heat zone is correct, not just warm “somewhere.”
A chick that seems weak
Make sure it can access food and water without being pushed away.
Reduce competition by adding a second feeder and waterer.
Keep it warm and calm.
If your instinct is telling you “something is not right,” you are probably correct. Beginners often wait too long because they do not want to overreact. Small interventions early are how you save chicks.
Step 7: How to lose fewer chicks without spending a fortune
Here is the money-saving mindset shift: you are not trying to buy your way out of chick care. You are building a simple system that removes preventable risk.
Focus your effort here:
Stable heat zone and cool zone
This can be an inexpensive heat lamp or a brooder board.
Clean water, always accessible
This can be a shallow dish or a fancy gravity waterer.
Dry bedding
This can be shredded paper or pine shavings.
Enough space and low competition
This can be something as simple as an old Amazon box or a metal trough.
Short, consistent check-ins instead of constant handling
I am a bit of a worry wart so I do check them every ten minutes but you can set a simple reminder to check them every thirty minutes to an hour or just three times per day.
That is the whole game.
Raising chicks is not for the faint at heart, but it also does not have to be a constant emergency. If you build a simple brooder, watch behavior more than numbers, and commit to a basic daily routine, you will lose fewer chicks and feel more confident week by week.
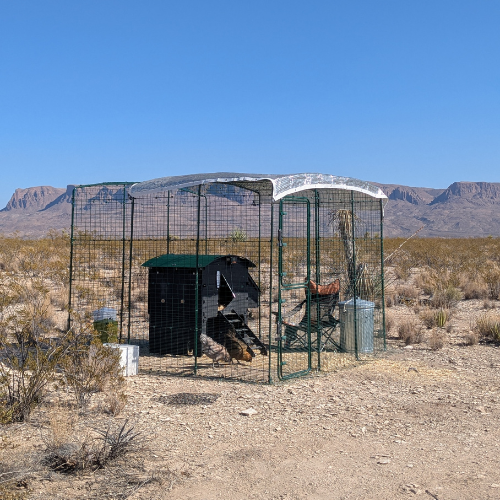
After those chick grow out you will need a coop and run. Check out our post on Nestera Penthouse Coop Review: What Nobody Tells You Before Buying to see our set up for our grown hens.
Chick Raising FAQs for Beginners
➕ How do I know if my chicks are too hot or too cold?
➕ Why does the water get dirty so fast and what can I do about it?
➕ What is pasty butt and how do I prevent it?
➕ How often should I clean the brooder?
➕ Why is one chick smaller or getting pushed away?
➕ When can chicks go outside?
➕ What is the biggest mistake beginners make with chicks?
Week-by-Week Chick Raising Guide
Week 1
- Temp 95°F
- Chick starter 18 to 20%
- Dip beaks in water
- 1/2 sq ft per chick
- Check pasty butt
- Dry pine shavings
Week 2
- Temp 90°F
- Starter feed
- 1 sq ft per chick
- Raise heat lamp
- Clean brooder often
Week 3
- Temp 85°F
- Starter feed
- 1 to 1.5 sq ft
- Add dust bath
- Ventilation, no drafts
Week 4
- Temp 80°F
- Starter feed
- 1.5 to 2 sq ft
- Short outdoor visits on warm days
- Reduce heat
Week 5
- Temp 75°F
- Starter feed
- Introduce low roosts
- Check feathering
Week 6
- Temp 70°F
- Heat usually not needed
- Move to coop if mild weather
- Predator proof
Weeks 7 to 8
- Switch to grower 16 to 18%
- Coop 4 sq ft per bird
- Run 8 to 10 sq ft
- Treats under 10%
Weeks 9 to 12
- Grower feed
- Clean water daily
- No extra calcium
- Dry bedding and ventilation
Week 13
- Grower feed
- Monitor body condition
- Predator protection
- Comb growth begins
Week 14
- Grower feed
- Install nesting boxes (1 per 3 to 4 hens)
- Clean, dim nests
- Combs redden
Week 15
- Grower feed
- Watch squatting behavior
- Bright red combs
Weeks 16 to 20
- Switch to layer when first egg
- Add oyster shell free choice
- 14 to 16 hours light
- Expect small first eggs