Understanding Yarn Weights: A Beginner’s Guide to Labels and Projects
Walking into a yarn store for the first time felt like entering a foreign country where everyone spoke in mysterious codes. Fingering, worsted, bulky - I had no idea what any of it meant or why it mattered. Then I made a scarf using the wrong weight yarn and ended up with something that looked more like a blanket than anything wearable.
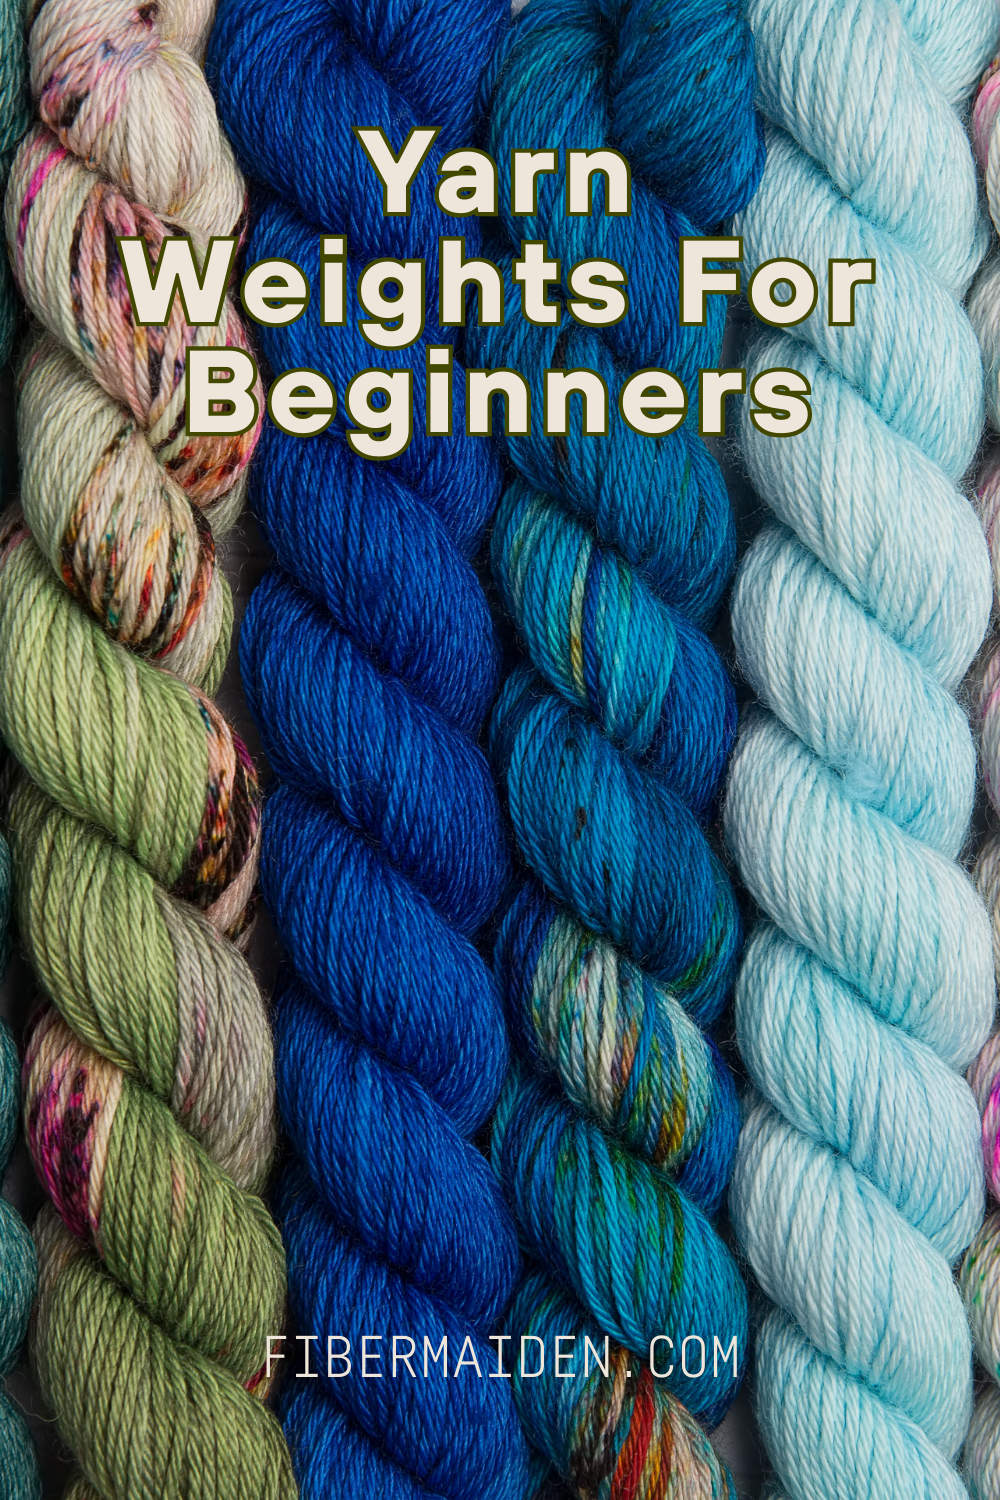
Yarn labels can be overwhelming, but understanding the weight system makes it so much easier to match the right yarn to the right project. When you browse yarn shops or online stores, those numbers and terms refer to yarn weight, a classification system based on thickness. Choosing the correct weight ensures your finished item will drape, stretch, and wear exactly the way the designer intended.
Make sure to check out the yarn calculators, FAQ, and free printable Fiber Arts Quick Guide below.

Start your journey into the fiber arts with the Fiber Starter Bundle, a thoughtfully curated digital guide designed for beginners who want to learn practical, sustainable, and meditative fiber skills. Whether you’re picking up a needle for the first time or returning to the rhythm of handwork, this bundle will guide you through foundational skills, easy patterns, and gentle encouragement rooted in tradition.
What’s Included:
Intro to fiber types and basic supplies
Simple sewing project: Hand-stitched tote bag
Beginner crochet guide: Granny square tutorial
Stitching prompts for mindfulness and creativity
Bonus tips on fiber care and sustainable mending
Create with intention, slow down with your hands, and rediscover the joy of making. Download your bundle and begin your fiber journey today.
Get The Guide
Ready to stop feeling lost every time you pick up needles or thread? This guide covers the core techniques, tools, and terms for knitting, crocheting, weaving, and simple sewing. No more guessing, just clear steps and beginner checklists so you can actually start (and finish) projects you love.
Disclosure
Some links on FiberMaiden are affiliate links. When you click and purchase, I may earn a small commission at no extra cost to you. I partner only with brands and tools I trust and use in my own kitchen, studio, and garden. Your support means a lot.
Why This Actually Matters More Than You Think
Using yarn that's too heavy or too fine for your pattern can completely change your project's outcome. I've seen sweaters that turned into tents, scarves that stretched to the floor, and fabrics so stiff they could stand up on their own. Each weight has its sweet spot for different types of projects.
Once you understand the common yarn weight categories, you'll substitute with confidence instead of crossing your fingers and hoping for the best.
Your Yarn Weight Quick Reference
Fingering Weight (Also Called Sock or Superfine) Light and flexible with incredible drape when worked loosely. Perfect for socks, lace shawls, and delicate baby knits. This weight shows off intricate stitch patterns beautifully but requires patience since projects take longer to complete.
DK (Double Knit) Weight The goldilocks of yarn weights - not too thick, not too thin. Slightly heavier than fingering but still light and smooth. Works beautifully for baby garments, lightweight sweaters, and layering pieces that need softness without bulk.
Worsted Weight (The People's Choice) The most popular and beginner-friendly option that balances warmth with workability. This is what most patterns assume you're using, making it perfect for scarves, hats, blankets, and sweaters. If you're just starting out, this weight forgives mistakes better than finer yarns.
Bulky and Super Bulky (The Speed Demons) Works up incredibly fast with large needles or hooks. Perfect for quick-gratification projects like throws, oversized scarves, and statement pieces. The thick texture creates high visual impact, but it can overwhelm smaller projects or delicate designs.
Making Smart Substitutions
The key to successful yarn substitution isn't just matching weights - you also need to consider fiber content, twist, and how the yarn behaves. A cotton worsted weight will act completely different from a wool worsted weight, even though they're technically the same category.
When in doubt, buy one skein first and knit a swatch. It's cheaper to test with a small amount than to discover halfway through a sweater that your substitution isn't working.
Reading Between the Lines
Yarn weight is just the beginning. Pay attention to yardage per weight, fiber content, and care instructions. These details determine whether your finished project will be something you actually use or something that sits in a drawer because it's too much trouble to maintain.
The numbers on yarn labels aren't arbitrary - they're your roadmap to projects that work the way they're supposed to.

Get 3 Free Recipe Sheets
Ready for recipes that don't require a culinary degree to follow? Get seasonal recipe sheets designed for real kitchens and busy lives, the kind that work even when your kids are asking for snacks mid-prep.
Calculating garment size
Calculate the pattern size to knit based on the difference between the pattern gauge and your gauge.
Yarn substitution gauge calculator
See how changing yarn affects gauge and finished size, and what size to knit to hit your target.
Special Considerations for Weavers
Weaving adds another layer of complexity to yarn weight selection. Unlike knitting or crochet where you use one yarn throughout, weaving projects often require multiple yarn weights working together. You might need a sturdier yarn for the warp (the threads under tension on your loom) and a softer or thicker yarn for the weft (the yarn you weave through).
The warp threads need strength to handle the tension, so even if your project calls for a delicate finished fabric, you might choose a stronger yarn in the same weight category for your warp. The weft yarn can be more decorative or textural since it's not bearing the same structural load.
Always consider your loom size and the strength requirements when combining different weights. A rigid heddle loom has different capabilities than a floor loom, and your sett (how closely spaced your warp threads are) will determine what combinations work well together.
Frequently Asked Questions
Fiber Arts Quick Guide
One page for yarn weights, needle & hook sizes, gauge basics, and quilt math. Keep within reach while you work.
Yarn weights at a glance
| Weight | CYC # | Knit gauge (sts/4 in) • Needles US | Crochet gauge (sts/4 in) • Hook |
|---|---|---|---|
| Lace | 0 | 33–40+ • 000–1 | 28–36+ • Steel/B–C |
| Fingering / Sock | 1 | 27–32 • 1–3 | 21–32 • B–E (2.25–3.5 mm) |
| Sport | 2 | 23–26 • 3–5 | 16–20 • E–7 (3.5–4.5 mm) |
| DK | 3 | 21–24 • 5–7 | 12–17 • 7–I (4.5–5.5 mm) |
| Worsted | 4 | 16–20 • 7–9 | 11–14 • I–K (5.5–6.5 mm) |
| Bulky | 5 | 12–15 • 9–11 | 8–11 • K–M/N (6.5–9 mm) |
| Super Bulky | 6 | 6–11 • 11–17 | 5–9 • M/N–Q (9–15 mm) |
| Jumbo | 7 | 1–6 • 17+ | 0–5 • Q+ (15 mm+) |
Always swatch. Fiber content, twist, and your tension change gauge.
Needle and hook conversions
Knitting needles (US ↔ mm)
| US | mm |
|---|---|
| 0 | 2.00 |
| 1 | 2.25 |
| 2 | 2.75 |
| 3 | 3.25 |
| 4 | 3.50 |
| 5 | 3.75 |
| 6 | 4.00 |
| 7 | 4.50 |
| 8 | 5.00 |
| 9 | 5.50 |
| 10 | 6.00 |
| 10.5 | 6.50 |
| 11 | 8.00 |
| 13 | 9.00 |
| 15 | 10.00 |
Crochet hooks (Letter ↔ mm)
| Hook | mm |
|---|---|
| B | 2.25 |
| C | 2.75 |
| D | 3.25 |
| E | 3.50 |
| F | 3.75 |
| G | 4.00 |
| 7 | 4.50 |
| H | 5.00 |
| I | 5.50 |
| J | 6.00 |
| K | 6.50 |
| L | 8.00 |
| M/N | 9.00 |
| N/P | 10.00 |
Gauge and swatch basics
- Knit or crochet a 6 × 6 in swatch. Wash and lay flat to dry.
- Measure the center 4 in square. Count stitches and rows.
- Stitches per inch: stitches in 4 in ÷ 4. Rows per inch: rows in 4 in ÷ 4.
Cast on = target width (in) × stitches per inch + 2 edge stitches.
Rows to length = target length (in) × rows per inch.
Quilt and sewing quick math
- Seam allowances: quilting 1/4 in • garments 5/8 in
- Half-square triangles (HST): cut size = finished size + 7/8 in (or add 1 in and trim to square)
- Quarter-square triangles (QST): cut size = finished size + 1 1/4 in
- Binding estimator: total length = perimeter + 12 in; strip count = ceil(total ÷ WOF). Typical strip width 2.5 in
- Prewash tips: prewash reds/darks. Press, square the grain, then cut.
Labeling and project notes
- Yarn or fabric source, colorway, lot, and fiber content
- Gauge and needle or hook size
- Pattern name and size adjustments
- Wash and care instructions
© FiberMaiden • www.fibermaiden.com