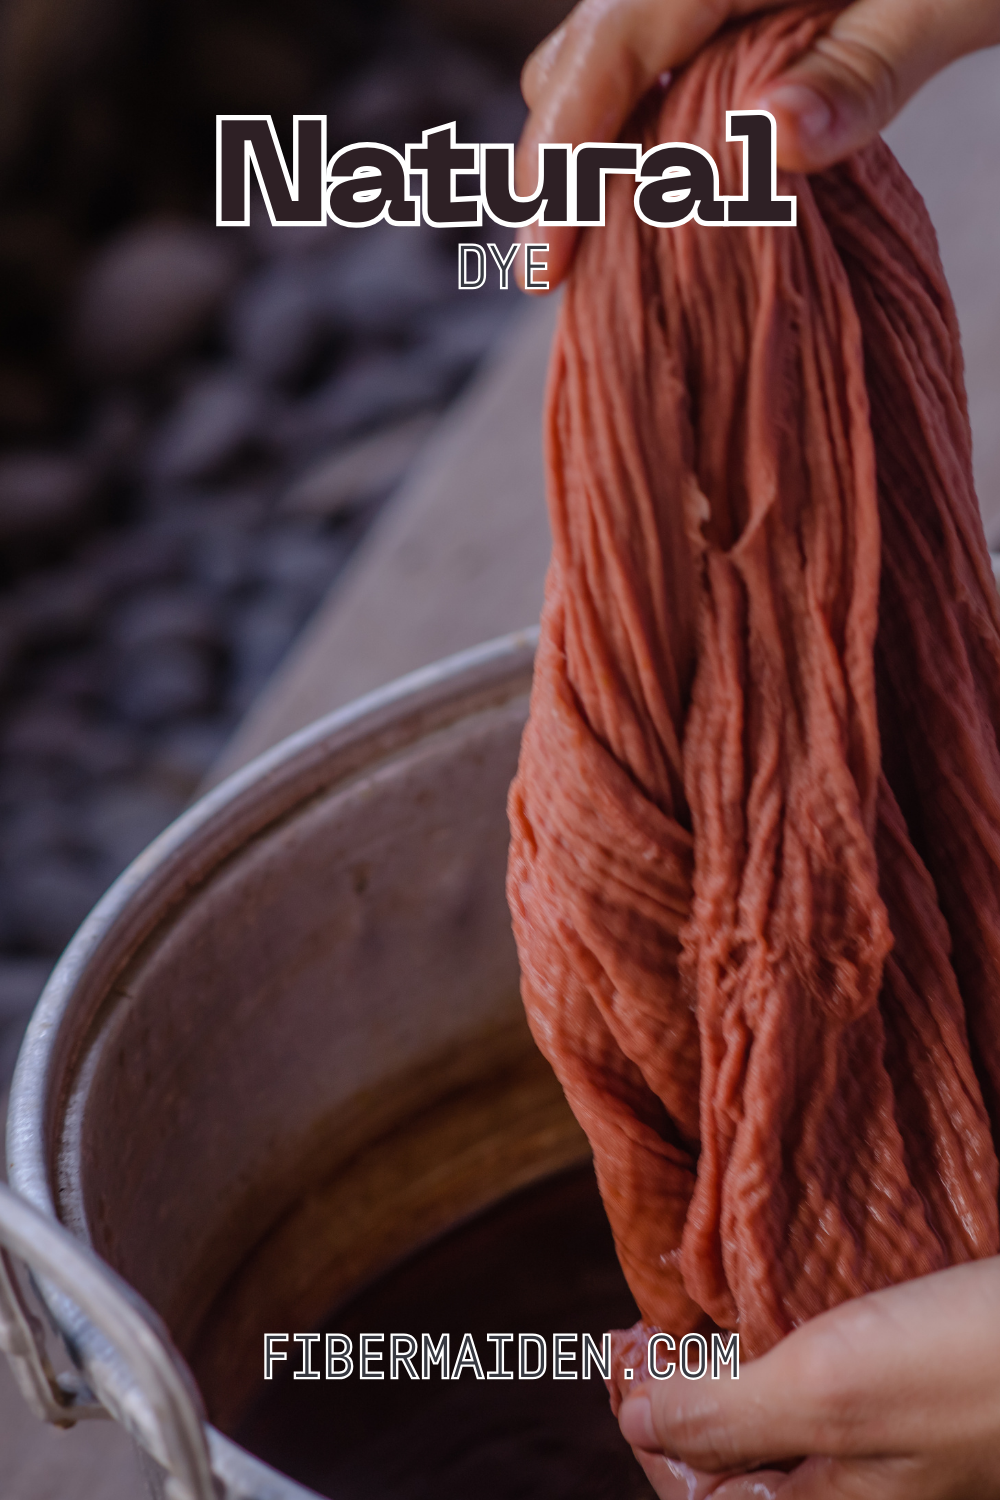
Naturally Dyed Yarn: Simple Color from the Earth
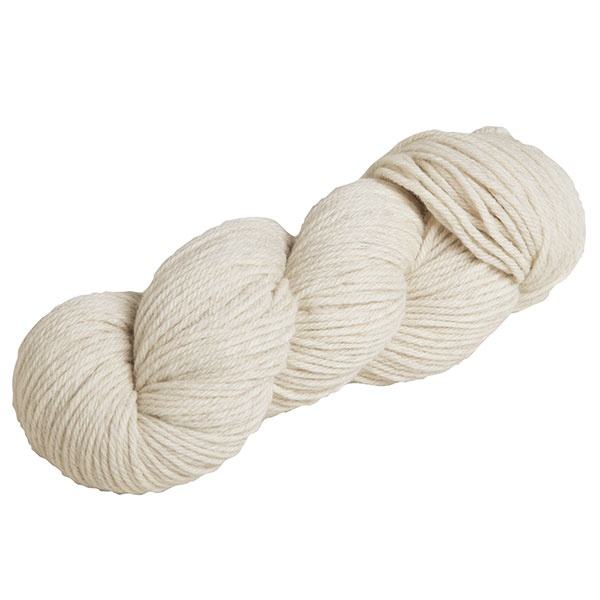
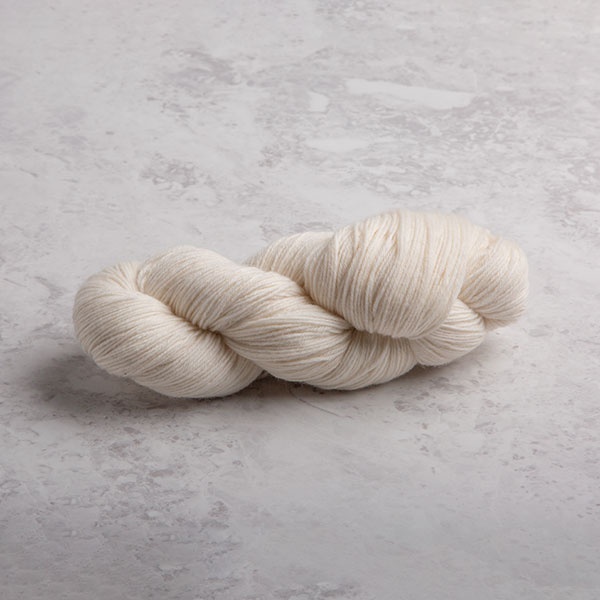
Natural dyeing always seemed like something that required mysterious knowledge and hard-to-find materials. Then I started saving onion skins and avocado pits and realized I'd been overlooking one of the most rewarding fiber arts projects hiding right in my kitchen scraps. Using items like onion skins, avocado pits, hibiscus flowers, or turmeric, you can transform plain yarn into richly hued skeins that reflect the tones of the natural world. The process is meditative, low-waste, and beginner-friendly with no harsh chemicals needed.
Is This Project For Me?
If you're curious about natural dyeing but don't want to hunt down exotic plants or invest in expensive supplies, this is perfect for you. You want colors you can't buy in stores and love the idea of creating something beautiful from what you'd normally throw away. This works whether you're dyeing yarn for a specific project or just experimenting with colors for future use. You can start with kitchen scraps and basic equipment you already own. If you love the idea of sustainable crafting that connects you to traditional methods while reducing waste, this belongs on your list. Check out the free printable Fiber Arts Quick Guide below.

Start your journey into the fiber arts with the Fiber Starter Bundle, a thoughtfully curated digital guide designed for beginners who want to learn practical, sustainable, and meditative fiber skills. Whether you’re picking up a needle for the first time or returning to the rhythm of handwork, this bundle will guide you through foundational skills, easy patterns, and gentle encouragement rooted in tradition.
What’s Included:
Intro to fiber types and basic supplies
Simple sewing project: Hand-stitched tote bag
Beginner crochet guide: Granny square tutorial
Stitching prompts for mindfulness and creativity
Bonus tips on fiber care and sustainable mending
Create with intention, slow down with your hands, and rediscover the joy of making. Download your bundle and begin your fiber journey today.
Get The Guide
Ready to stop feeling lost every time you pick up needles or thread? This guide covers the core techniques, tools, and terms for knitting, crocheting, weaving, and simple sewing. No more guessing, just clear steps and beginner checklists so you can actually start (and finish) projects you love.
Disclosure
Some links on FiberMaiden are affiliate links. When you click and purchase, I may earn a small commission at no extra cost to you. I partner only with brands and tools I trust and use in my own kitchen, studio, and garden. Your support means a lot.

Get 3 Free Recipe Sheets
Ready for recipes that don't require a culinary degree to follow? Get seasonal recipe sheets designed for real kitchens and busy lives, the kind that work even when your kids are asking for snacks mid-prep.
Troubleshooting and Safety
Colors came out lighter than expected: Natural dyes are gentler than synthetic ones and sometimes need more material or longer processing time. Try using more dye material next time, or let your yarn soak longer in the dye bath.
Uneven coloring across the yarn: Your yarn probably wasn't moving enough in the dye bath, or sections were bunched together. Keep stirring gently and regularly, and make sure the yarn can move freely in the liquid.
Color fading after washing: Your mordant step might not have worked properly, or you skipped it entirely. Pre-treating yarn with mordants helps natural dyes grab onto fibers and stay put through washing.
Dye bath smells funky after sitting: This is normal with organic materials, especially kitchen scraps. Use the dye bath quickly after making it, or strain out the plant material and freeze portions for later use.
Yarn feels rough or stiff after dyeing: Some natural materials can affect yarn texture. A gentle rinse with wool wash or hair conditioner can help restore softness.
Frequently Asked Questions
Fiber Arts Quick Guide
One page for yarn weights, needle & hook sizes, gauge basics, and quilt math. Keep within reach while you work.
Yarn weights at a glance
| Weight | CYC # | Knit gauge (sts/4 in) • Needles US | Crochet gauge (sts/4 in) • Hook |
|---|---|---|---|
| Lace | 0 | 33–40+ • 000–1 | 28–36+ • Steel/B–C |
| Fingering / Sock | 1 | 27–32 • 1–3 | 21–32 • B–E (2.25–3.5 mm) |
| Sport | 2 | 23–26 • 3–5 | 16–20 • E–7 (3.5–4.5 mm) |
| DK | 3 | 21–24 • 5–7 | 12–17 • 7–I (4.5–5.5 mm) |
| Worsted | 4 | 16–20 • 7–9 | 11–14 • I–K (5.5–6.5 mm) |
| Bulky | 5 | 12–15 • 9–11 | 8–11 • K–M/N (6.5–9 mm) |
| Super Bulky | 6 | 6–11 • 11–17 | 5–9 • M/N–Q (9–15 mm) |
| Jumbo | 7 | 1–6 • 17+ | 0–5 • Q+ (15 mm+) |
Always swatch. Fiber content, twist, and your tension change gauge.
Needle and hook conversions
Knitting needles (US ↔ mm)
| US | mm |
|---|---|
| 0 | 2.00 |
| 1 | 2.25 |
| 2 | 2.75 |
| 3 | 3.25 |
| 4 | 3.50 |
| 5 | 3.75 |
| 6 | 4.00 |
| 7 | 4.50 |
| 8 | 5.00 |
| 9 | 5.50 |
| 10 | 6.00 |
| 10.5 | 6.50 |
| 11 | 8.00 |
| 13 | 9.00 |
| 15 | 10.00 |
Crochet hooks (Letter ↔ mm)
| Hook | mm |
|---|---|
| B | 2.25 |
| C | 2.75 |
| D | 3.25 |
| E | 3.50 |
| F | 3.75 |
| G | 4.00 |
| 7 | 4.50 |
| H | 5.00 |
| I | 5.50 |
| J | 6.00 |
| K | 6.50 |
| L | 8.00 |
| M/N | 9.00 |
| N/P | 10.00 |
Gauge and swatch basics
- Knit or crochet a 6 × 6 in swatch. Wash and lay flat to dry.
- Measure the center 4 in square. Count stitches and rows.
- Stitches per inch: stitches in 4 in ÷ 4. Rows per inch: rows in 4 in ÷ 4.
Cast on = target width (in) × stitches per inch + 2 edge stitches.
Rows to length = target length (in) × rows per inch.
Quilt and sewing quick math
- Seam allowances: quilting 1/4 in • garments 5/8 in
- Half-square triangles (HST): cut size = finished size + 7/8 in (or add 1 in and trim to square)
- Quarter-square triangles (QST): cut size = finished size + 1 1/4 in
- Binding estimator: total length = perimeter + 12 in; strip count = ceil(total ÷ WOF). Typical strip width 2.5 in
- Prewash tips: prewash reds/darks. Press, square the grain, then cut.
Labeling and project notes
- Yarn or fabric source, colorway, lot, and fiber content
- Gauge and needle or hook size
- Pattern name and size adjustments
- Wash and care instructions
© FiberMaiden • www.fibermaiden.com