Pressure Canning Black Beans: Your Pantry's Best Friend
For years I avoided canning beans, convinced it was too complicated and that store-bought was just easier. Then I calculated how much I was spending on canned beans every month and realized I was throwing money away on something I could easily make myself. Pressure canning black beans transforms dried beans into ready-to-use pantry staples that taste better than anything you can buy and cost a fraction of the price. With proper technique, you'll have tender, flavorful beans ready for tacos, soups, and weeknight dinners whenever you need them.
Is This Project For Me?
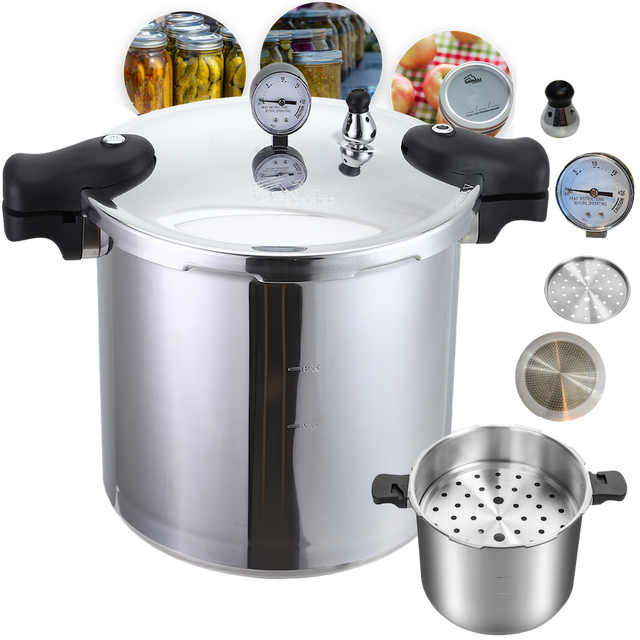
If you eat beans regularly and want to save money while controlling exactly what goes into your food, this is perfect for you. You want shelf-stable protein that's ready when you need it, not something that requires hours of soaking and cooking every time you want black bean tacos. This works whether you're new to pressure canning or you've been doing it for years but never tried beans. You'll need a pressure canner and basic canning supplies, but the process is more straightforward than you might expect. If you love the idea of opening a jar of perfectly seasoned beans that you made yourself, this belongs on your list. Make sure to check out our free printable Food Preservation Quick Guide below.
Get The Guide
Stop second-guessing every step of your food preservation projects. This guide walks you through method selection, safety basics, and how to fix things when they don't go according to plan so you can preserve with confidence instead of crossed fingers.
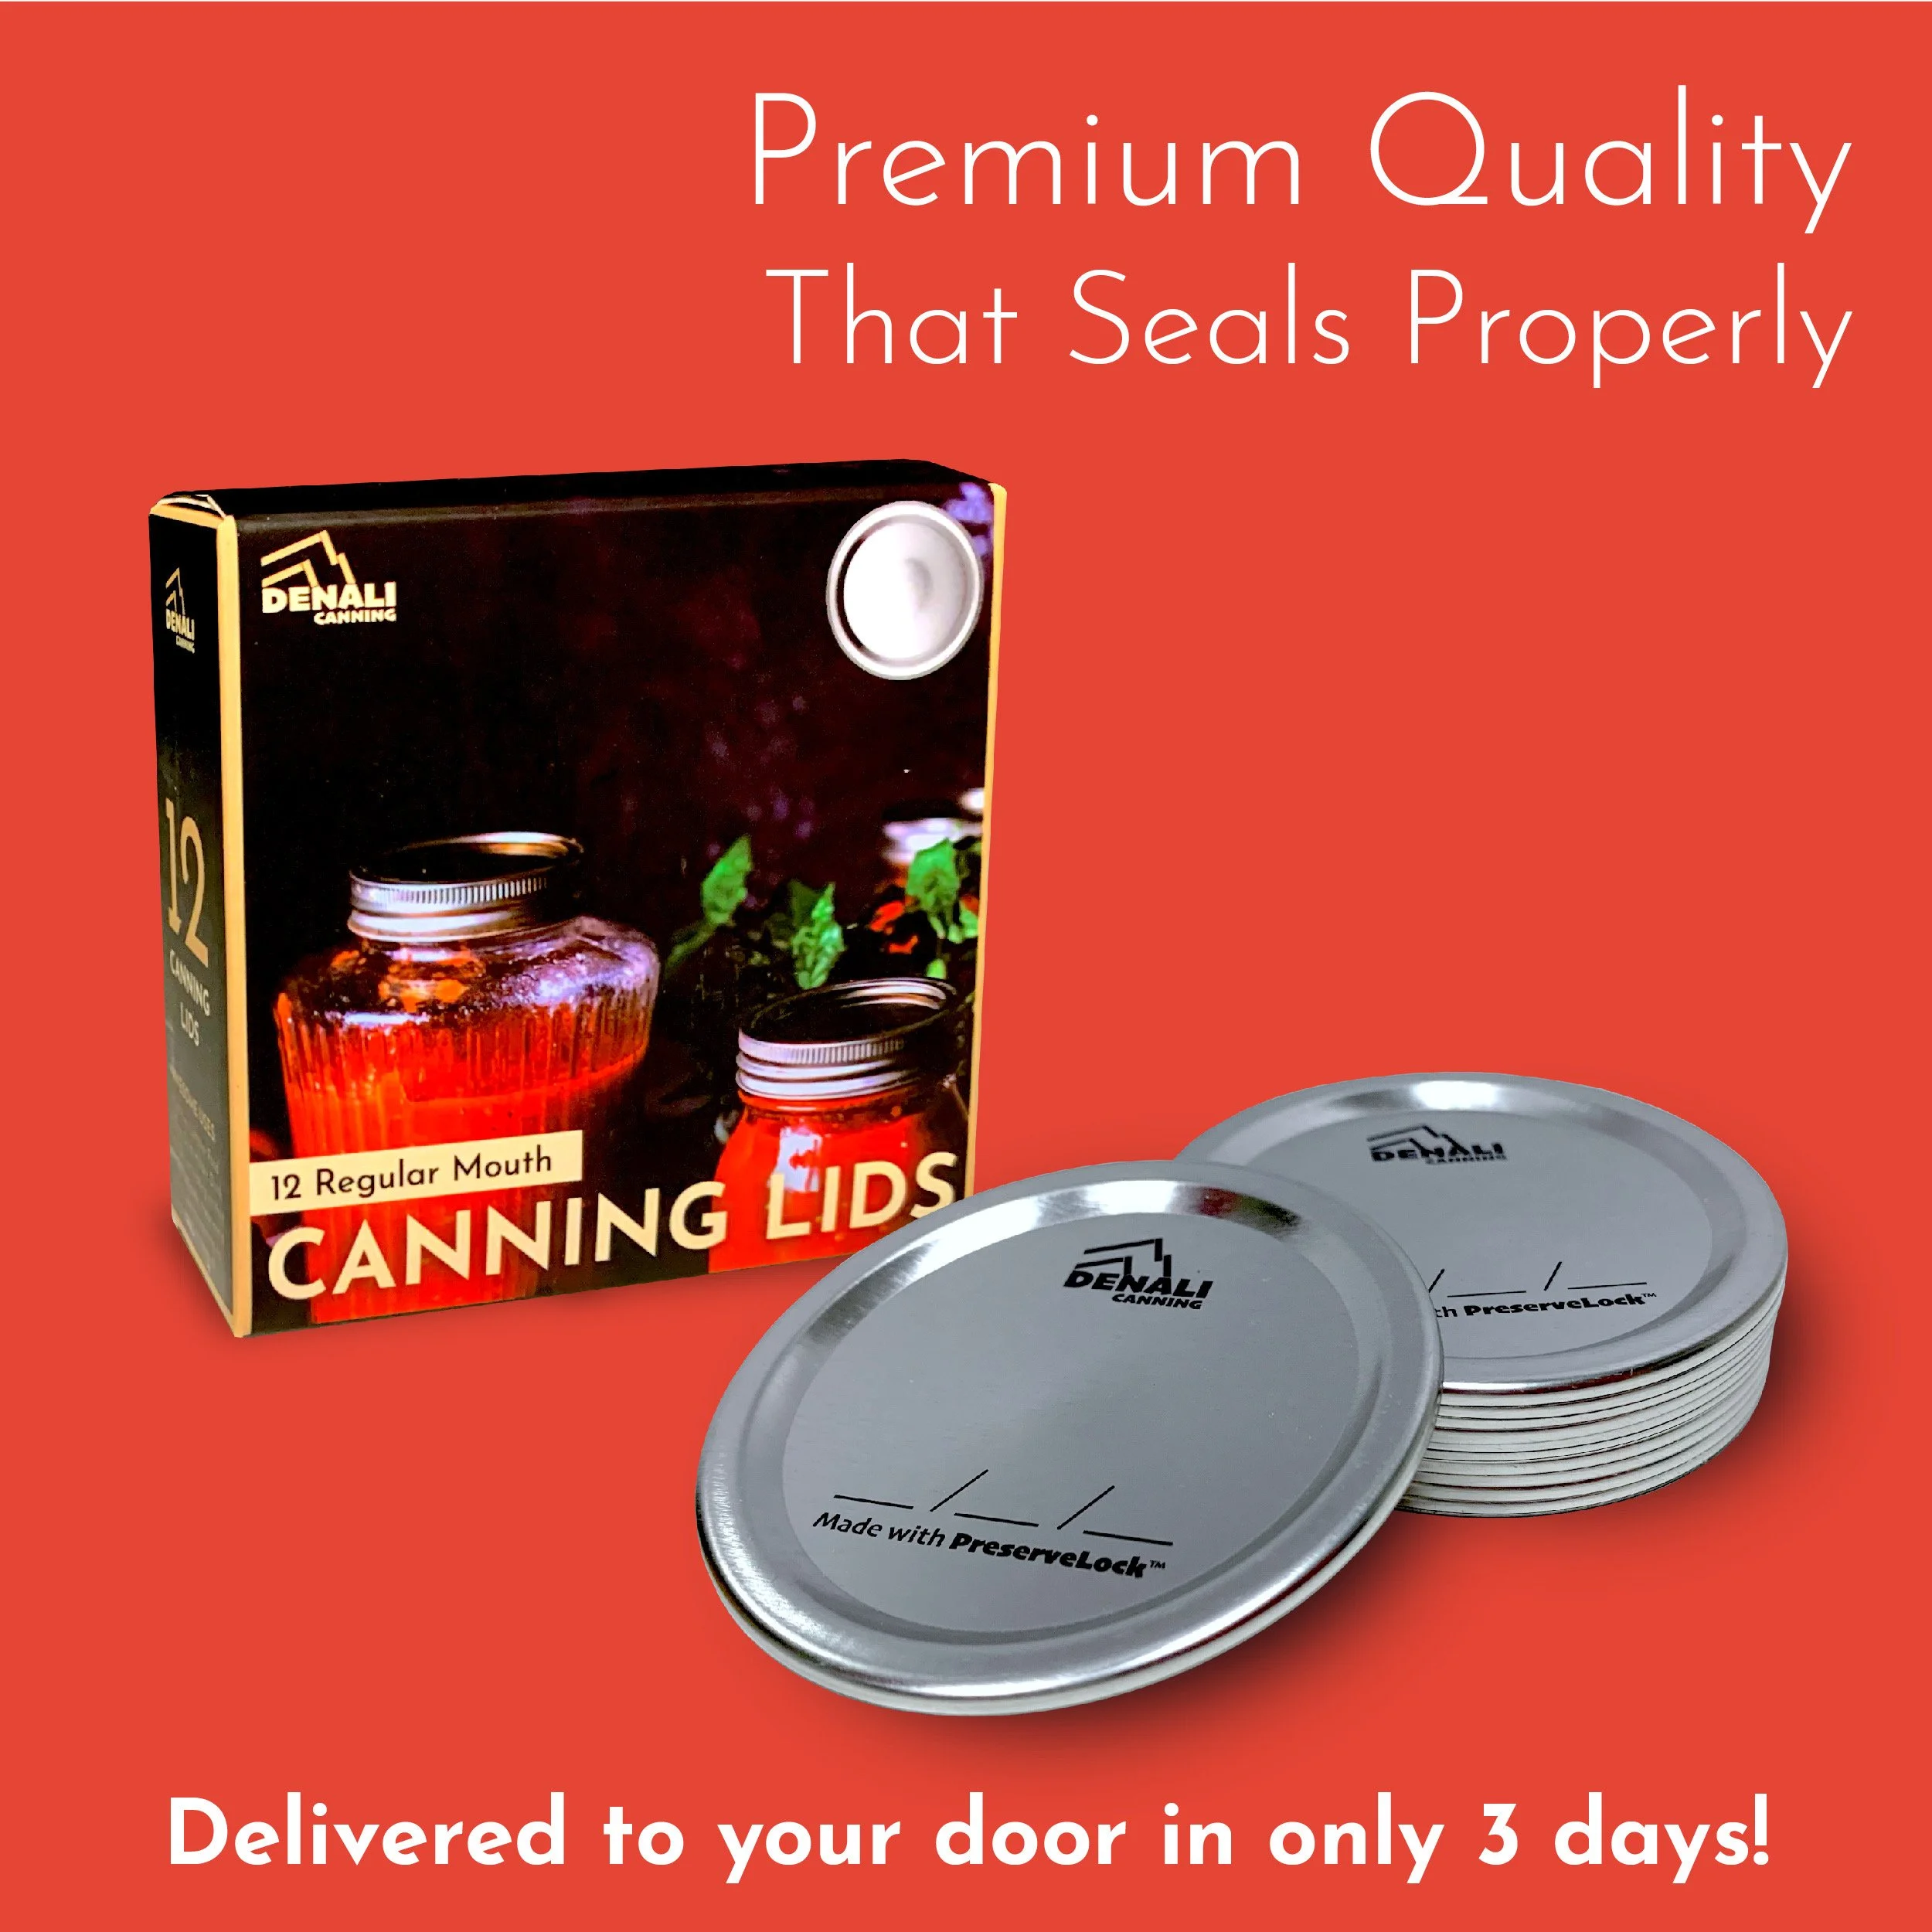
Disclosure I have an affiliate relationship with Denali canning lids because I genuinely believe they solve the seal failure problems many of us have been experiencing. Use code FiberMaiden for 10% off your order. Any commissions help support this blog and more honest product testing.
Try Denali Lids
Tired of seal failures ruining your canning sessions? These Denali lids actually work - heavier construction, better sealing compound, and the reliability you need for food preservation you can trust. Use code FiberMaiden for 10% off and finally get back to confident canning.
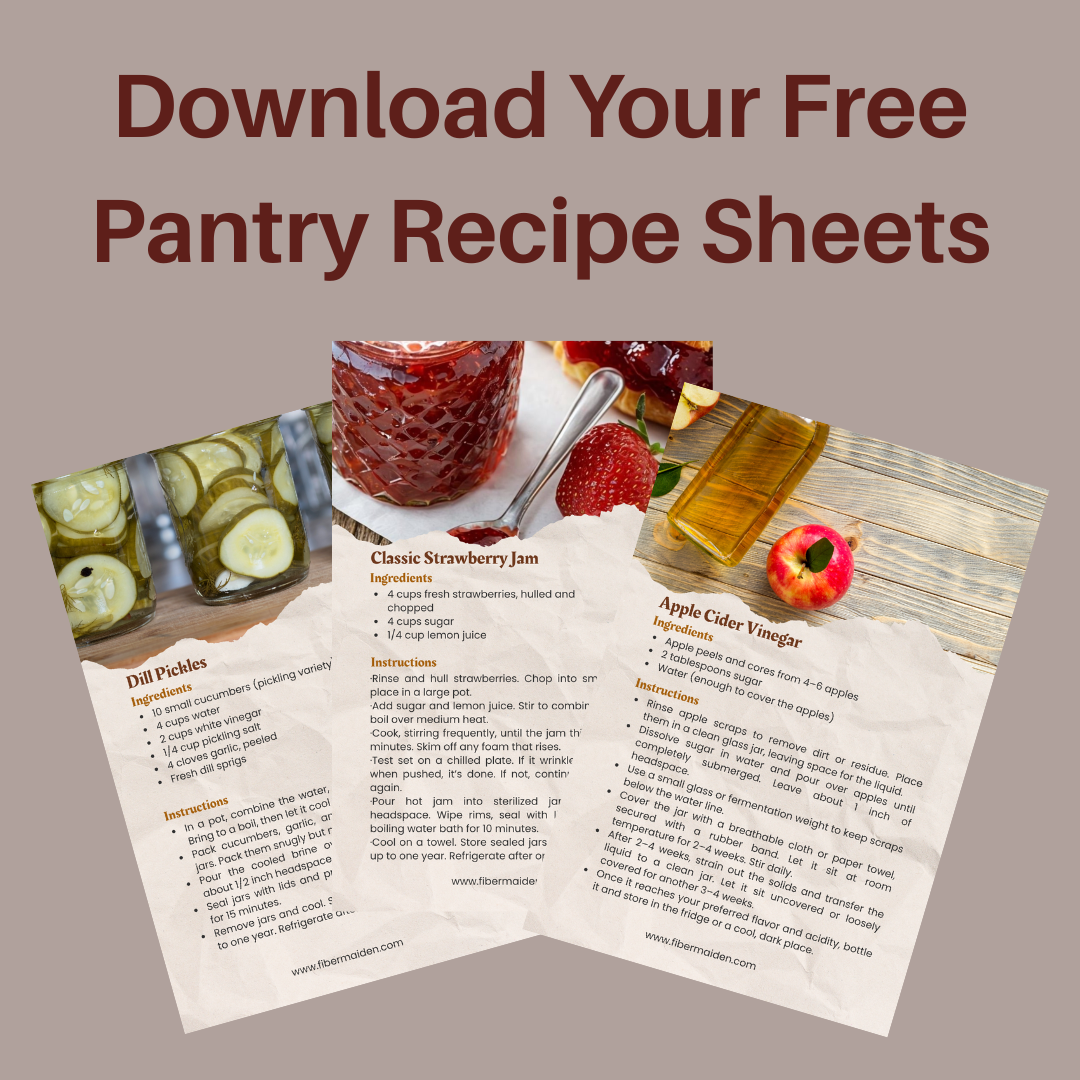
Get 3 Free Recipe Sheets
Ready for recipes that don't require a culinary degree to follow? Get seasonal recipe sheets designed for real kitchens and busy lives, the kind that work even when your kids are asking for snacks mid-prep.
Troubleshooting and Safety
Jars didn't seal properly: This is the most frustrating problem, and lately it's been happening more often with certain lid brands. I was ready to give up on pressure canning until I tried Denali lids for this batch. The difference in seal success was dramatic. Check that jar rims were clean, headspace was correct, and processing time and pressure were adequate, but also consider that it might be the lids themselves. The heavier, more substantial construction of quality lids like Denali makes a real difference in sealing success. When you press the center of a properly sealed Denali lid, you get that confident, solid feeling instead of the questionable flex I'd been getting with other brands.
Beans are mushy: Your beans were probably overcooked before canning, or you processed them too long. Remember, they only need 2 minutes of boiling before going into jars.
Liquid is cloudy: This is usually normal, especially if you didn't rinse the beans well before cooking. Cloudy liquid doesn't mean spoilage unless accompanied by off odors or other signs of spoilage.
Beans are too salty: Use less salt next time, or rinse the beans before using. Remember, you can always add salt to a dish, but you can't take it out.
Lids buckled during processing: This usually means too much headspace or the lids weren't properly seated. Make sure you're measuring headspace accurately and that lids are centered on jars.
Why This Matters
Canning your own beans isn't just about saving money, though you definitely will. It's about having control over your ingredients and always having protein ready when you need it. No more staring into the pantry wondering what to make for dinner when you've got jars of perfectly seasoned beans ready to go.
A single canning session gives you months worth of beans that taste better than store-bought and don't have any mysterious additives. Plus, there's something deeply satisfying about hearing those lids ping and knowing you've just created food security for your family.
Frequently Asked Questions
Food Preservation Quick Guide
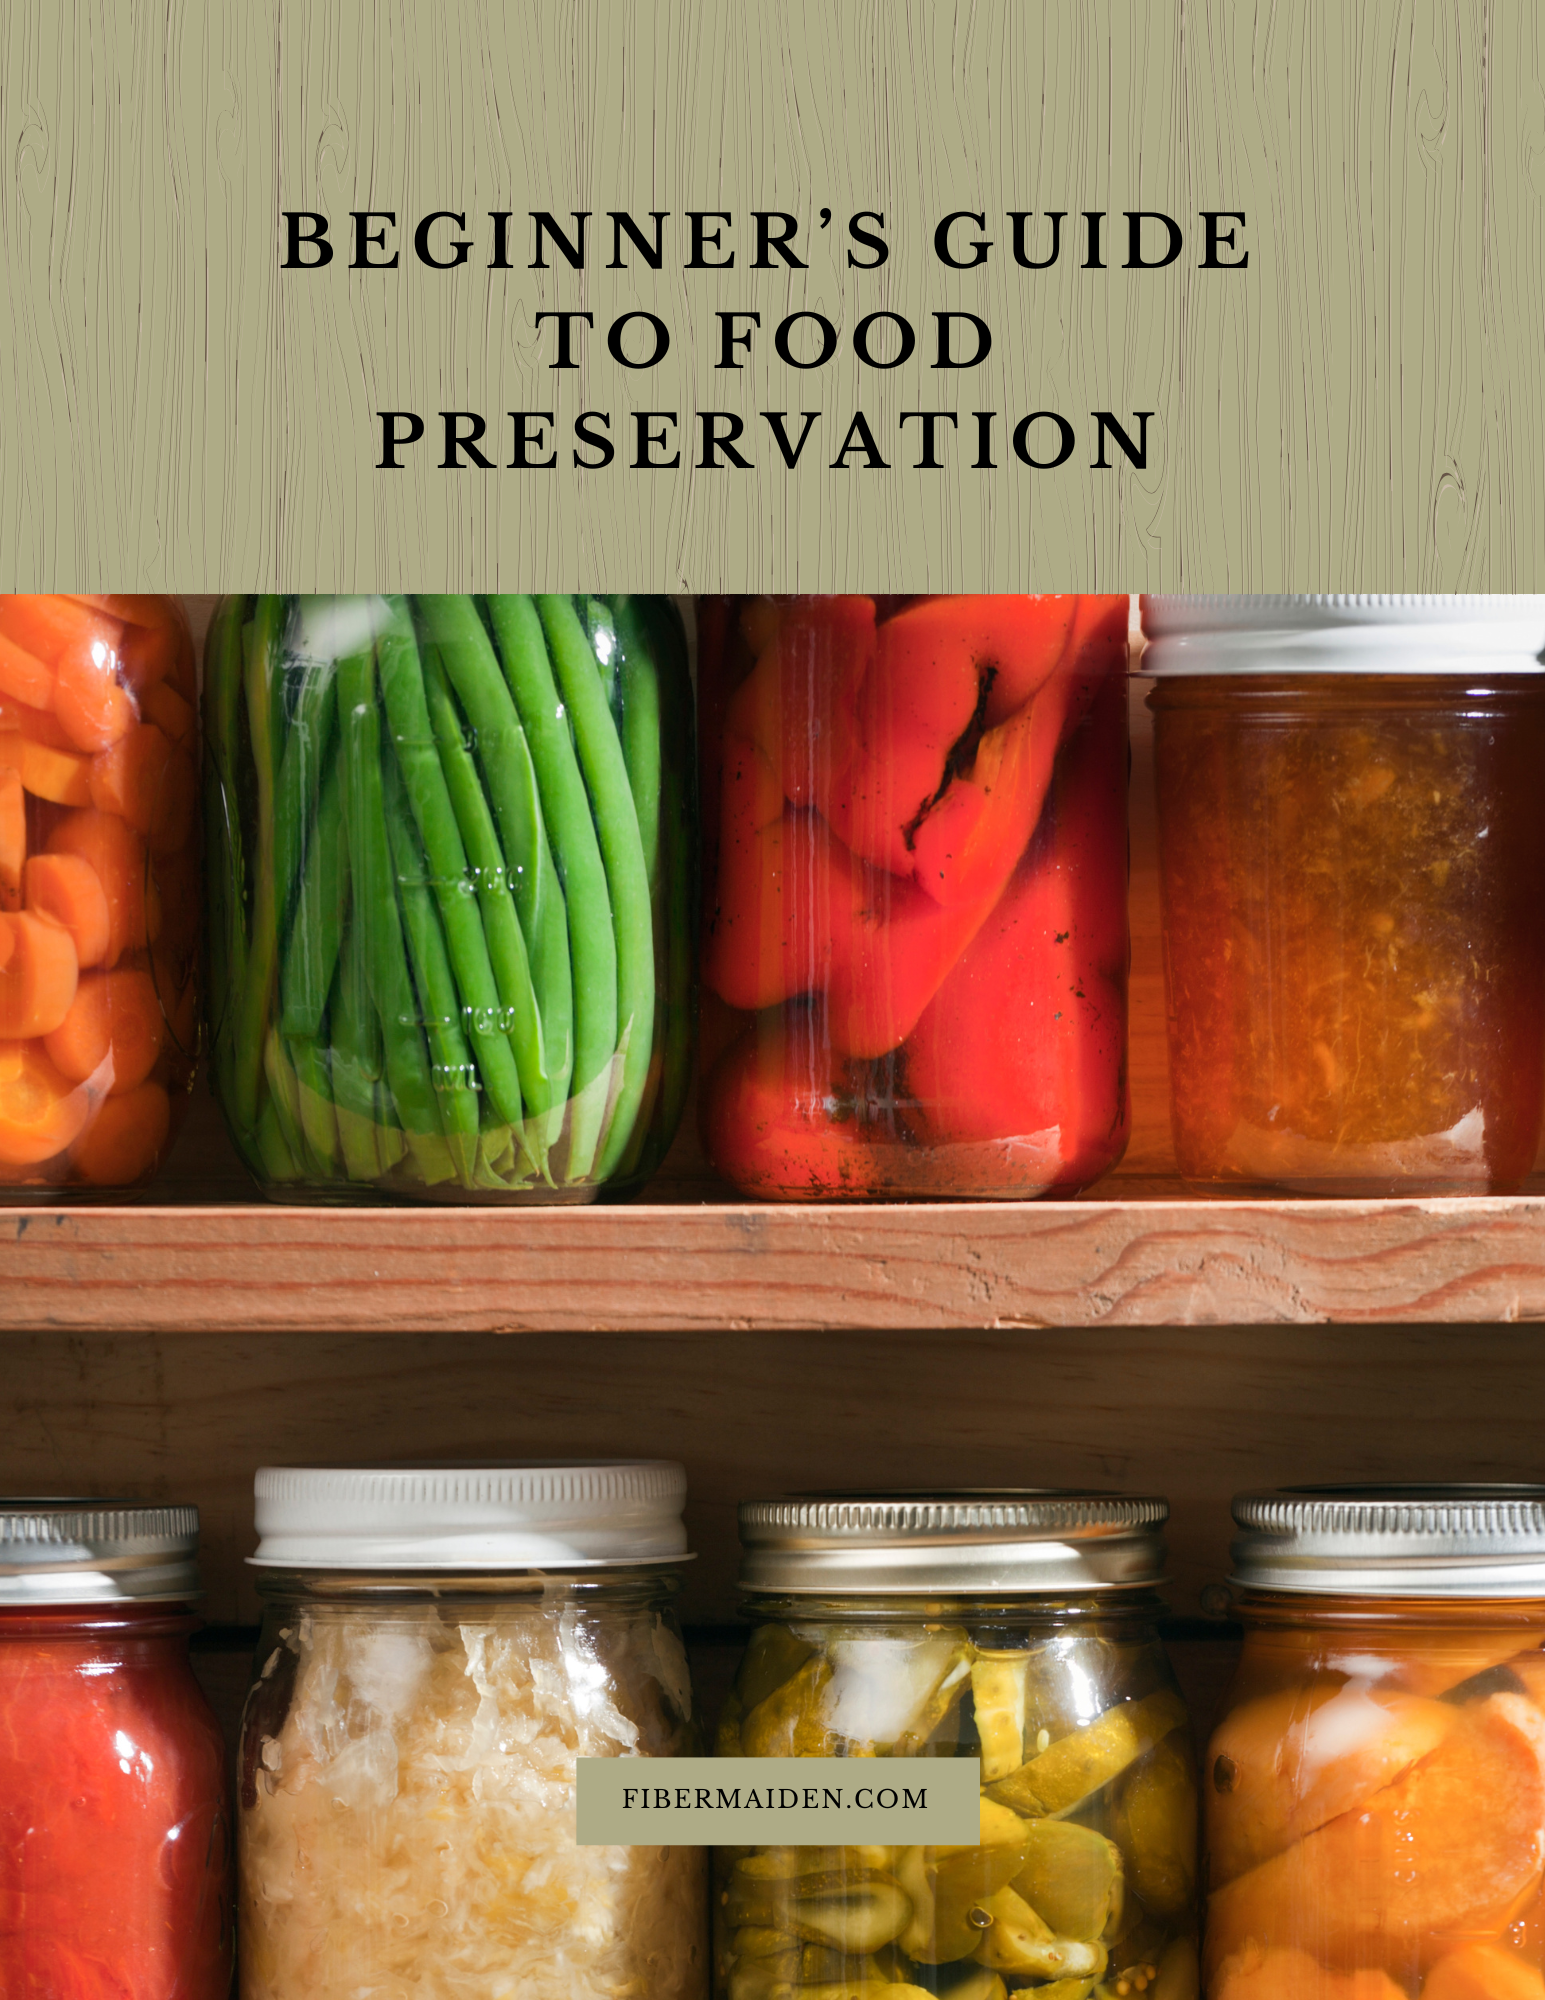
One page for methods, quick ratios, safety basics, altitude tips, and storage. For education only—use tested recipes from reliable sources.
• Water bath canning is for high-acid foods (pH ≤ 4.6) or foods acidified per a tested recipe.
• Low-acid foods (most vegetables, meats, soups) require pressure canning—never water bath.
• Use 5% acidity vinegar for pickling. Keep foods fully submerged. Follow headspace exactly.
• Adjust for altitude. Use jars/lids in good condition. When in doubt—don’t risk it.
Methods at a glance
| Method | Best for | Key rule | Core target / ratio |
|---|---|---|---|
| Freezing | Fruit, veg, stocks, breads | Freeze at 0°F/−18°C. Label & rotate. | Blanch most veg before freezing to lock color/texture. |
| Dehydrating | Fruit, veg, herbs | Dry until leathery or brittle (not tacky). | Store airtight with desiccant; keep cool & dark. |
| Water Bath Canning | Jams, jellies, fruit, pickles, tomatoes (acidified) | Use tested times; keep jars submerged; vent air bubbles. | Typical headspace: jams ¼″; fruit/pickles ½″. |
| Pressure Canning | Low-acid veg, beans, meats, broths | Use correct pressure for altitude; follow tested times. | Headspace usually 1–1¼″ (see recipe). |
| Fermentation | Cabbage, carrots, peppers, etc. | Keep veg fully submerged; use clean tools. | 2–3% brine by weight (see quick ratios). |
| Pickling | Cucumbers, onions, beets, mixed veg | Use 5% vinegar; don’t dilute below tested ratios. | Common hot pack: ≥1:1 vinegar:water + salt/sugar/spices. |
| Jam/Jelly | High-acid fruits | Boil to gel stage; fill hot, process in water bath. | Gel temp ≈ local boiling point + sugar effect (see recipe). |
| Freeze-Drying | Fruits, meals, herbs (with home unit) | Dry until pieces are crisp throughout. | Store in mylar/airtight with O₂ absorber; cool & dark. |
Quick ratios & targets
| What | Basic ratio / target | Notes |
|---|---|---|
| Ferment brine | 2% = 20 g salt per 1000 g water • 3% warm kitchens/crunch | 1 quart water ≈ 946 g → ~19 g salt for 2%. |
| Pickling brine (quick) | ≥ 1:1 5% vinegar : water + 1–3 tbsp salt/qt (per recipe) | Do not reduce vinegar below tested ratios. |
| Jam/jelly sugar | Classic: ~1:1 fruit:sugar by weight (varies with pectin) | Follow pectin brand/recipe; do plate or wrinkle test. |
| Headspace (typical) | Jams ¼″ • Fruits/pickles ½″ • Pressure-canned 1–1¼″ | Always use recipe’s specified headspace. |
| Freezer headspace (liquids) | Leave ½–1″ | Liquids expand; use straight-sided containers or bags. |
Altitude adjustments (quick)
• Water bath canning: add time per the tested recipe. Typical add-ons: +5 min (1,001–3,000 ft), +10 min (3,001–6,000 ft), +15 min (6,001–8,000 ft).
• Pressure canning: increase pressure per the tested recipe. Weighted-gauge cookers are often 10 psi at 0–1,000 ft and 15 psi above; dial-gauge cookers typically start ~11 psi and increase with altitude.
Always follow the specific altitude table in your recipe/manual.
Typical blanch times for freezing (quick)
| Vegetable | Time (minutes) | Notes |
|---|---|---|
| Green beans | 3 | Whole or cut |
| Broccoli florets | 3 | Cool fast; drain well |
| Carrots (slices) | 2 | Spears 3 min |
| Peas | 1½–2 | Shell, blanch, chill |
| Kale/spinach | 2 | Press out water |
| Corn (kernels) | 4 | On the cob 4–7 |
Times vary by cut and maturity; check a tested chart for more vegetables.
Storage guide (best quality)
| Method | Best by | Storage notes |
|---|---|---|
| Water bath canned (high-acid) | 12–18 months | Cool, dark, dry; check seals before use. |
| Pressure canned (low-acid) | 12–18 months | Cool, dark, dry; discard if seal fails or food looks/smells off. |
| Ferments (refrigerated) | Several months | Keep submerged; use clean utensil. |
| Dehydrated | 6–12 months | Airtight with desiccant; cool & dark. |
| Frozen | 8–12 months | 0°F/−18°C; label with date. |
| Freeze-dried | Long-term | Mylar/airtight with O₂ absorber; cool & dark. |
Labeling checklist
- Product & method (e.g., “Dill Pickles – Water Bath”)
- Recipe source & year (tested)
- Date processed • Batch/lot
- Headspace/ratio notes (if helpful)
- Altitude/pressure used (for canning)
Your notes
© FiberMaiden • www.fibermaiden.com


