Breaking Down a Whole Chicken at Home
My first attempt at breaking down a whole chicken was an absolute disaster that looked more like a crime scene than meal prep. I hacked away with a dull knife, wasted half the meat, and ended up with mangled pieces that barely resembled chicken parts. That's when I realized that buying whole chickens is one of the smartest ways to save money and reduce waste, but only if you know how to break them down properly.
Learning to portion a whole chicken transforms your grocery budget and meal planning. Instead of paying premium prices for pre-cut pieces wrapped in excessive packaging, you get maximum value from every bird while gaining the flexibility to use every part. With a sharp knife and proper technique, you can break down a chicken in under ten minutes and have portions ready for multiple meals plus bones for homemade broth.
Is This Project For Me?
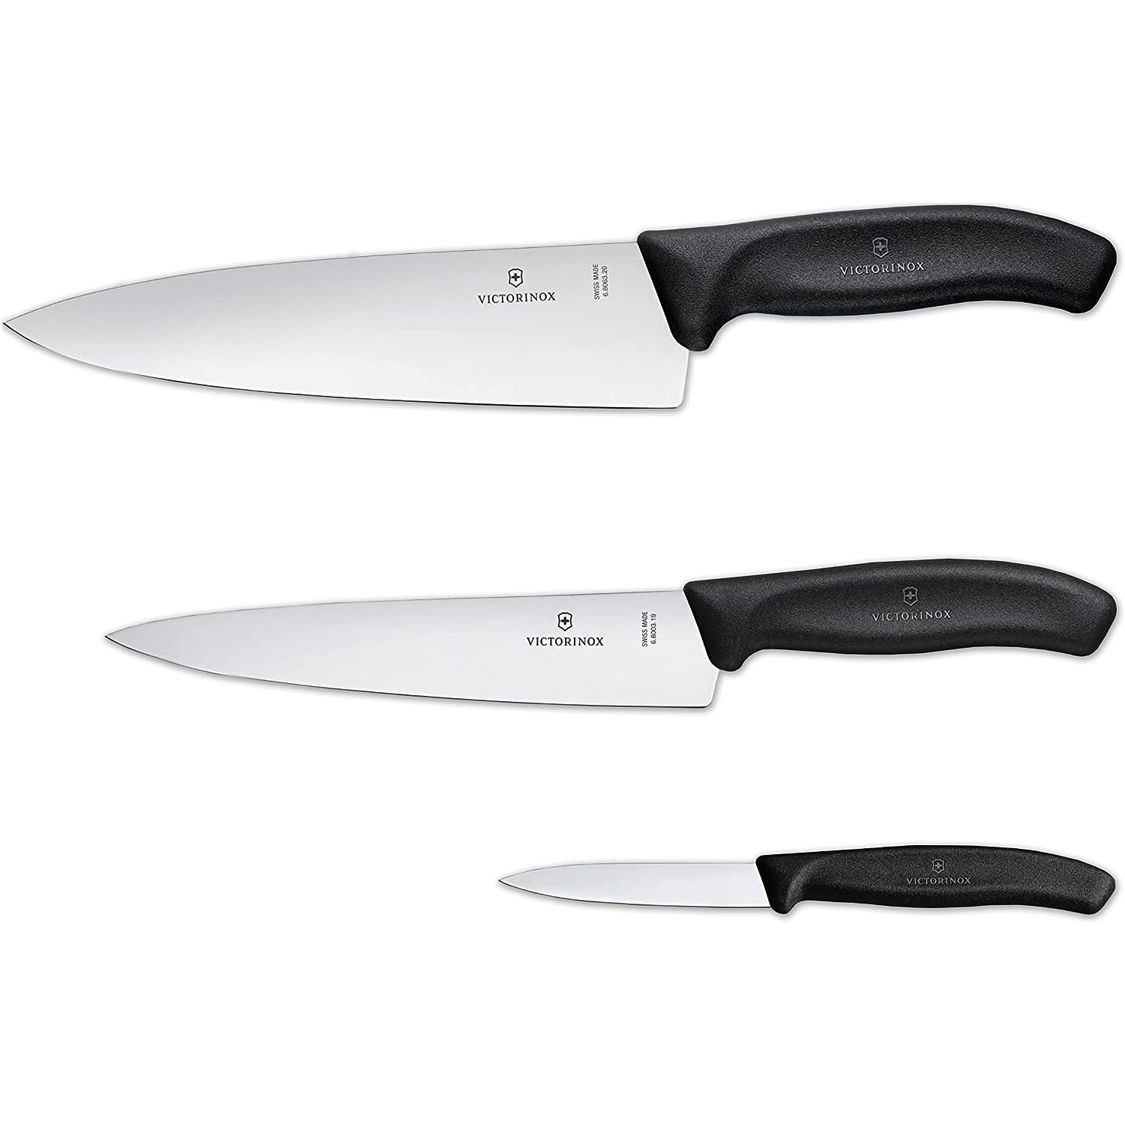
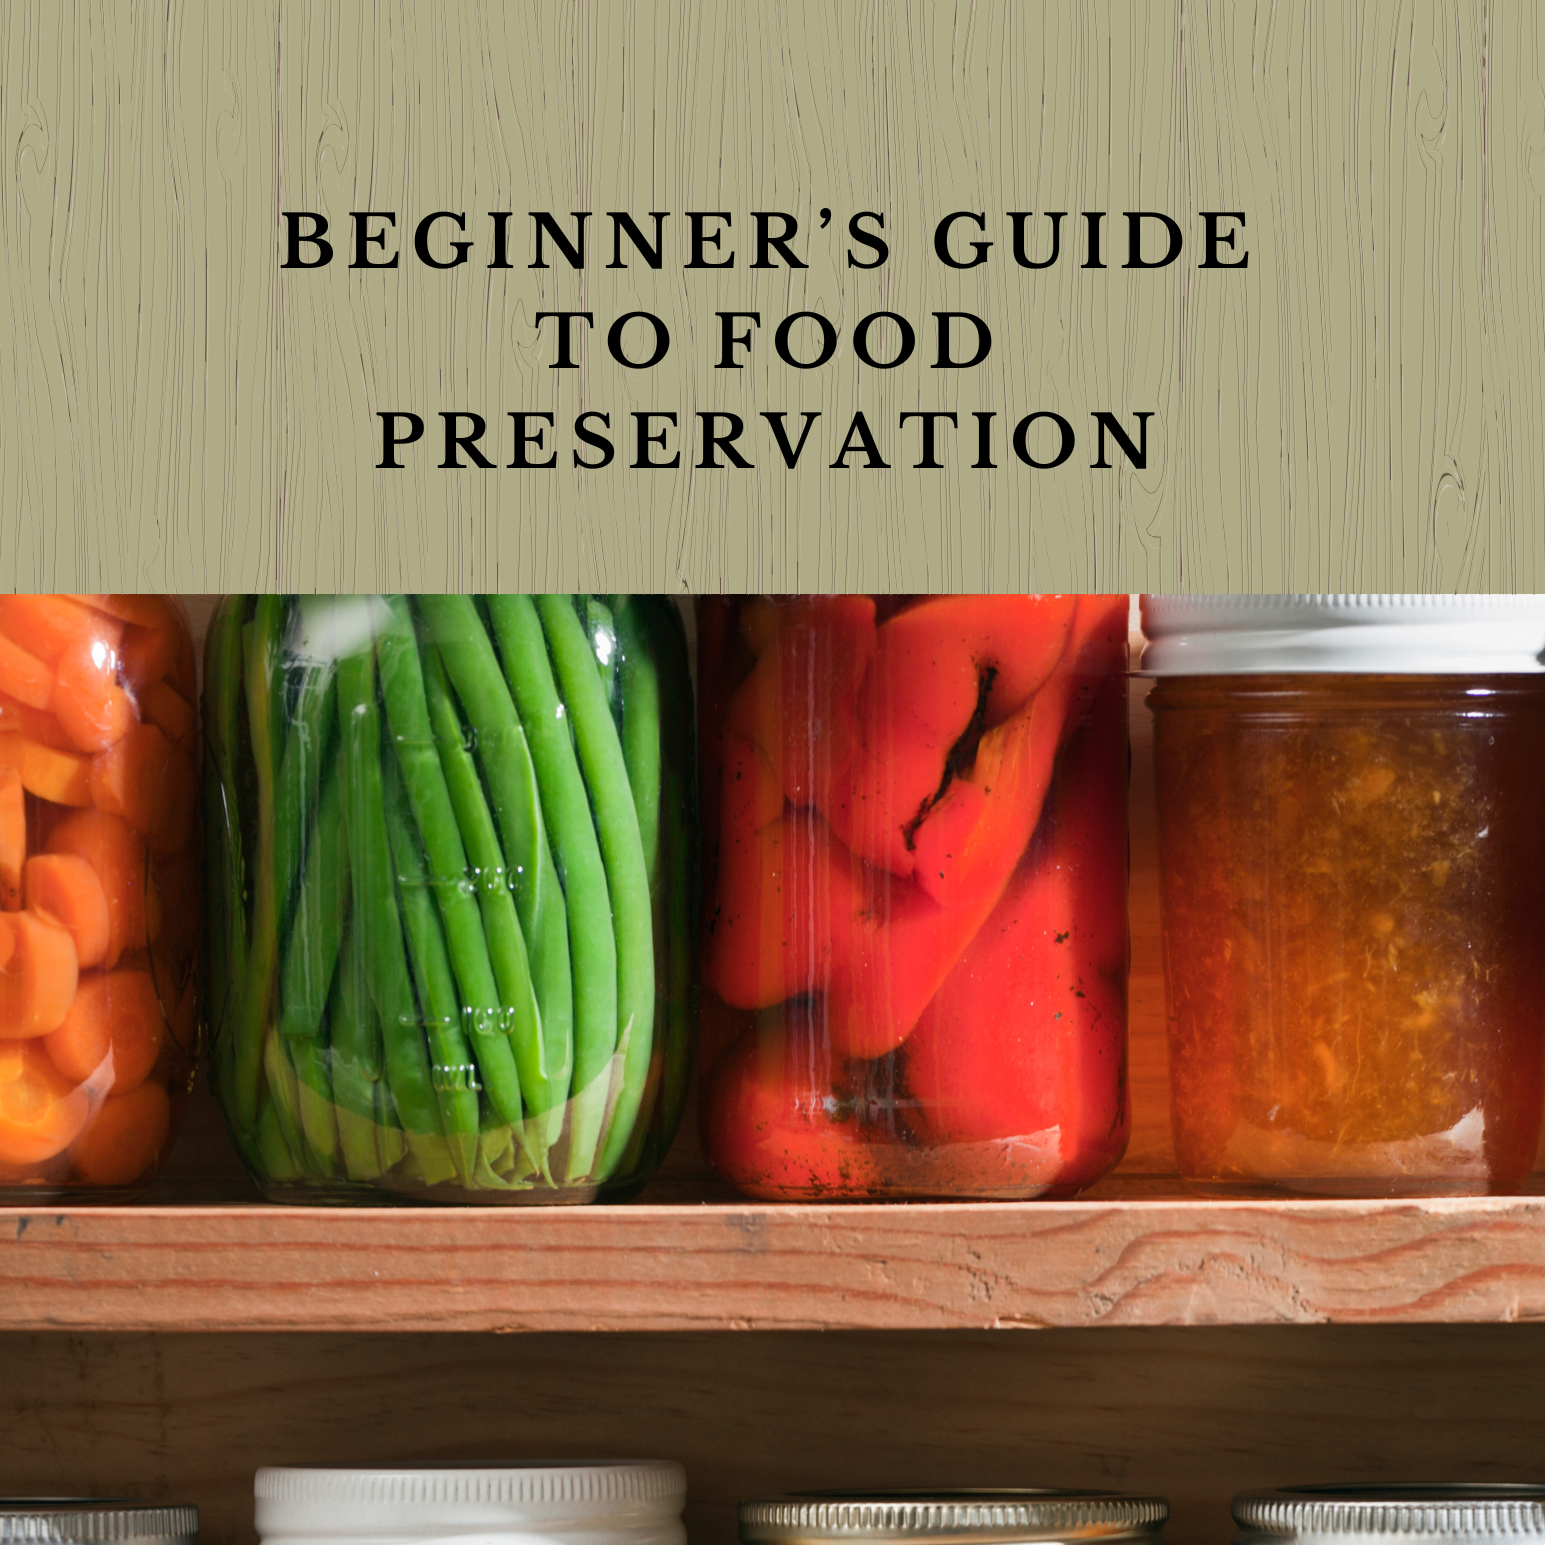
If you want to stretch your grocery budget while getting better quality meat, this skill is essential for you. You're tired of paying extra for convenience cuts when you could get more food for less money with a little knife work. This works whether you're cooking for one person or a large family, since you control the portion sizes and can customize cuts for your specific needs. You'll need a sharp knife, cutting board, and willingness to handle raw chicken, but the technique is simpler than it appears. If you love the idea of using every part of your food and having homemade broth bones as a bonus, this belongs in your kitchen skill set. Make sure to check out the free printable Food Preservation Quick Guide below.
Get The Guide
Stop second-guessing every step of your food preservation projects. This guide walks you through method selection, safety basics, and how to fix things when they don't go according to plan so you can preserve with confidence instead of crossed fingers.
Disclosure
Some links on FiberMaiden are affiliate links. When you click and purchase, I may earn a small commission at no extra cost to you. I partner only with brands and tools I trust and use in my own kitchen, studio, and garden. Your support means a lot.
Get 3 Free Recipe Sheets
Ready for recipes that don't require a culinary degree to follow? Get seasonal recipe sheets designed for real kitchens and busy lives, the kind that work even when your kids are asking for snacks mid-prep.
Troubleshooting and Safety
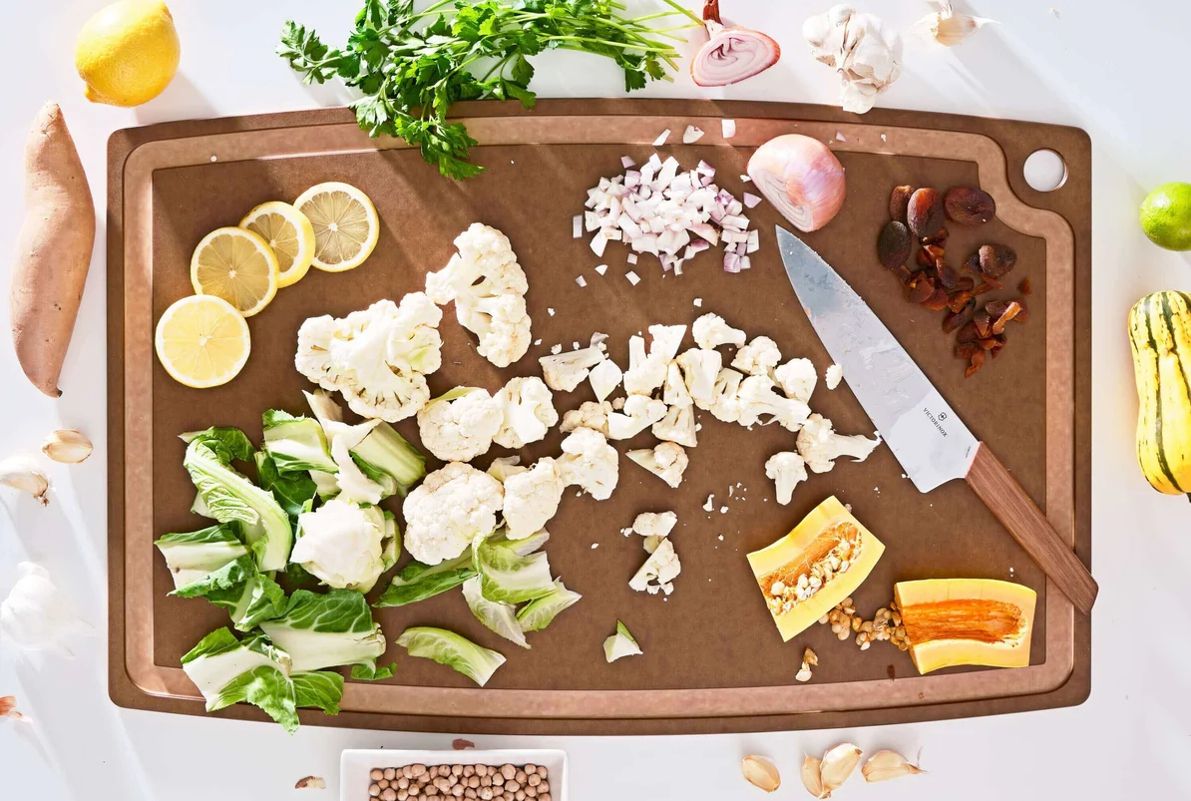
Chicken slipping while cutting: Pat the bird completely dry with paper towels before starting, and use a cutting board with a textured surface or place a damp towel underneath to prevent sliding. Wet chicken is dangerous to work with because knives can slip easily.
Uneven or messy cuts: Your knife probably isn't sharp enough, or you're trying to force cuts instead of following natural joint lines. A sharp knife glides through joints and skin cleanly. Take time to locate joints by feel before cutting.
Wasting meat on bones: Follow the bone contours closely with your knife, keeping the blade angled toward the bone to maximize meat removal. Practice makes this more intuitive, and any meat left on bones still adds flavor to broth.
Cross-contamination concerns: Use separate cutting boards for raw chicken and other ingredients, wash hands frequently with hot soapy water, and sanitize all surfaces that contact raw poultry. Never rinse raw chicken as this spreads bacteria around your sink area.
Difficulty finding joints: Bend and flex the bird to locate where joints naturally separate. Joints should come apart with gentle pressure when cut in the right location. Fighting against the bone structure makes the job harder and messier.
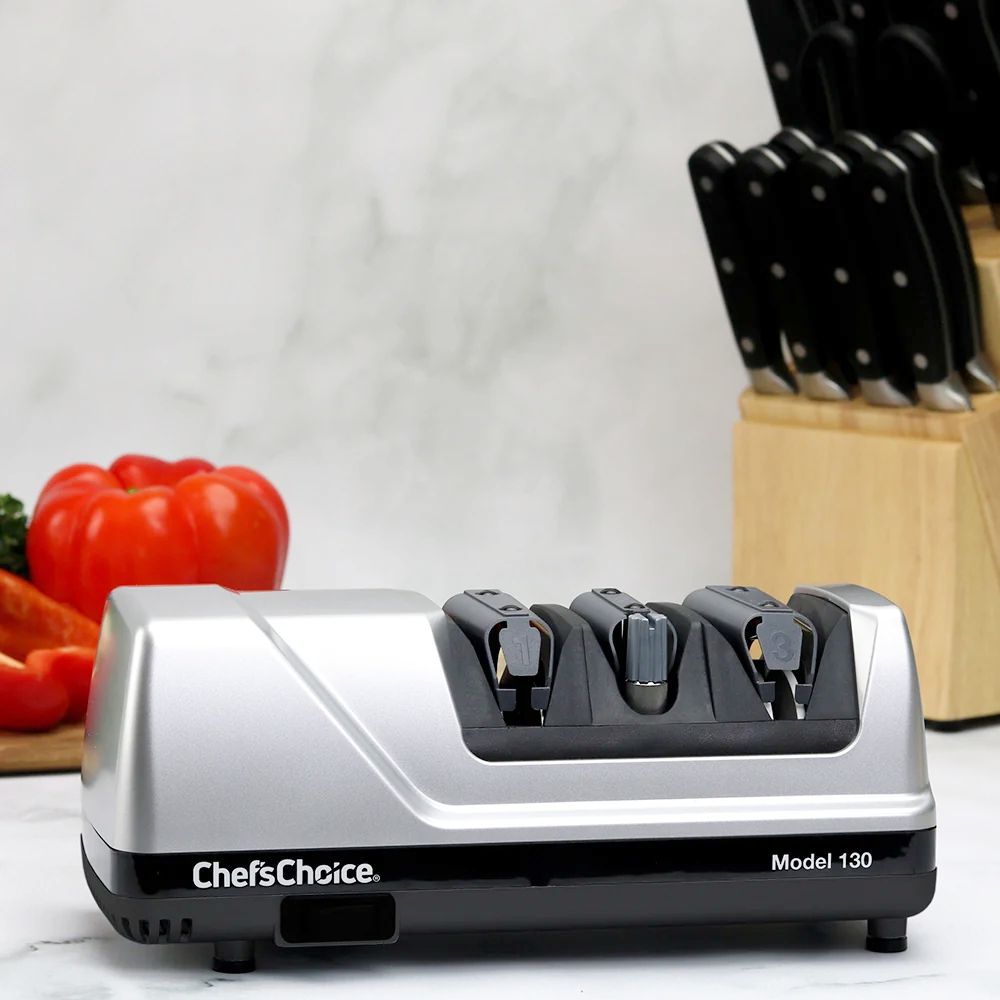
Knife getting dull during work: Stop periodically to hone your knife, especially when working with multiple birds. A sharp knife is safer and more efficient than struggling with a dull blade that requires excessive force.
Frequently Asked Questions
Food Preservation Quick Guide
One page for methods, quick ratios, safety basics, altitude tips, and storage. For education only—use tested recipes from reliable sources.
• Water bath canning is for high-acid foods (pH ≤ 4.6) or foods acidified per a tested recipe.
• Low-acid foods (most vegetables, meats, soups) require pressure canning—never water bath.
• Use 5% acidity vinegar for pickling. Keep foods fully submerged. Follow headspace exactly.
• Adjust for altitude. Use jars/lids in good condition. When in doubt—don’t risk it.
Methods at a glance
| Method | Best for | Key rule | Core target / ratio |
|---|---|---|---|
| Freezing | Fruit, veg, stocks, breads | Freeze at 0°F/−18°C. Label & rotate. | Blanch most veg before freezing to lock color/texture. |
| Dehydrating | Fruit, veg, herbs | Dry until leathery or brittle (not tacky). | Store airtight with desiccant; keep cool & dark. |
| Water Bath Canning | Jams, jellies, fruit, pickles, tomatoes (acidified) | Use tested times; keep jars submerged; vent air bubbles. | Typical headspace: jams ¼″; fruit/pickles ½″. |
| Pressure Canning | Low-acid veg, beans, meats, broths | Use correct pressure for altitude; follow tested times. | Headspace usually 1–1¼″ (see recipe). |
| Fermentation | Cabbage, carrots, peppers, etc. | Keep veg fully submerged; use clean tools. | 2–3% brine by weight (see quick ratios). |
| Pickling | Cucumbers, onions, beets, mixed veg | Use 5% vinegar; don’t dilute below tested ratios. | Common hot pack: ≥1:1 vinegar:water + salt/sugar/spices. |
| Jam/Jelly | High-acid fruits | Boil to gel stage; fill hot, process in water bath. | Gel temp ≈ local boiling point + sugar effect (see recipe). |
| Freeze-Drying | Fruits, meals, herbs (with home unit) | Dry until pieces are crisp throughout. | Store in mylar/airtight with O₂ absorber; cool & dark. |
Quick ratios & targets
| What | Basic ratio / target | Notes |
|---|---|---|
| Ferment brine | 2% = 20 g salt per 1000 g water • 3% warm kitchens/crunch | 1 quart water ≈ 946 g → ~19 g salt for 2%. |
| Pickling brine (quick) | ≥ 1:1 5% vinegar : water + 1–3 tbsp salt/qt (per recipe) | Do not reduce vinegar below tested ratios. |
| Jam/jelly sugar | Classic: ~1:1 fruit:sugar by weight (varies with pectin) | Follow pectin brand/recipe; do plate or wrinkle test. |
| Headspace (typical) | Jams ¼″ • Fruits/pickles ½″ • Pressure-canned 1–1¼″ | Always use recipe’s specified headspace. |
| Freezer headspace (liquids) | Leave ½–1″ | Liquids expand; use straight-sided containers or bags. |
Altitude adjustments (quick)
• Water bath canning: add time per the tested recipe. Typical add-ons: +5 min (1,001–3,000 ft), +10 min (3,001–6,000 ft), +15 min (6,001–8,000 ft).
• Pressure canning: increase pressure per the tested recipe. Weighted-gauge cookers are often 10 psi at 0–1,000 ft and 15 psi above; dial-gauge cookers typically start ~11 psi and increase with altitude.
Always follow the specific altitude table in your recipe/manual.
Typical blanch times for freezing (quick)
| Vegetable | Time (minutes) | Notes |
|---|---|---|
| Green beans | 3 | Whole or cut |
| Broccoli florets | 3 | Cool fast; drain well |
| Carrots (slices) | 2 | Spears 3 min |
| Peas | 1½–2 | Shell, blanch, chill |
| Kale/spinach | 2 | Press out water |
| Corn (kernels) | 4 | On the cob 4–7 |
Times vary by cut and maturity; check a tested chart for more vegetables.
Storage guide (best quality)
| Method | Best by | Storage notes |
|---|---|---|
| Water bath canned (high-acid) | 12–18 months | Cool, dark, dry; check seals before use. |
| Pressure canned (low-acid) | 12–18 months | Cool, dark, dry; discard if seal fails or food looks/smells off. |
| Ferments (refrigerated) | Several months | Keep submerged; use clean utensil. |
| Dehydrated | 6–12 months | Airtight with desiccant; cool & dark. |
| Frozen | 8–12 months | 0°F/−18°C; label with date. |
| Freeze-dried | Long-term | Mylar/airtight with O₂ absorber; cool & dark. |
Labeling checklist
- Product & method (e.g., “Dill Pickles – Water Bath”)
- Recipe source & year (tested)
- Date processed • Batch/lot
- Headspace/ratio notes (if helpful)
- Altitude/pressure used (for canning)
Your notes
© FiberMaiden • www.fibermaiden.com


