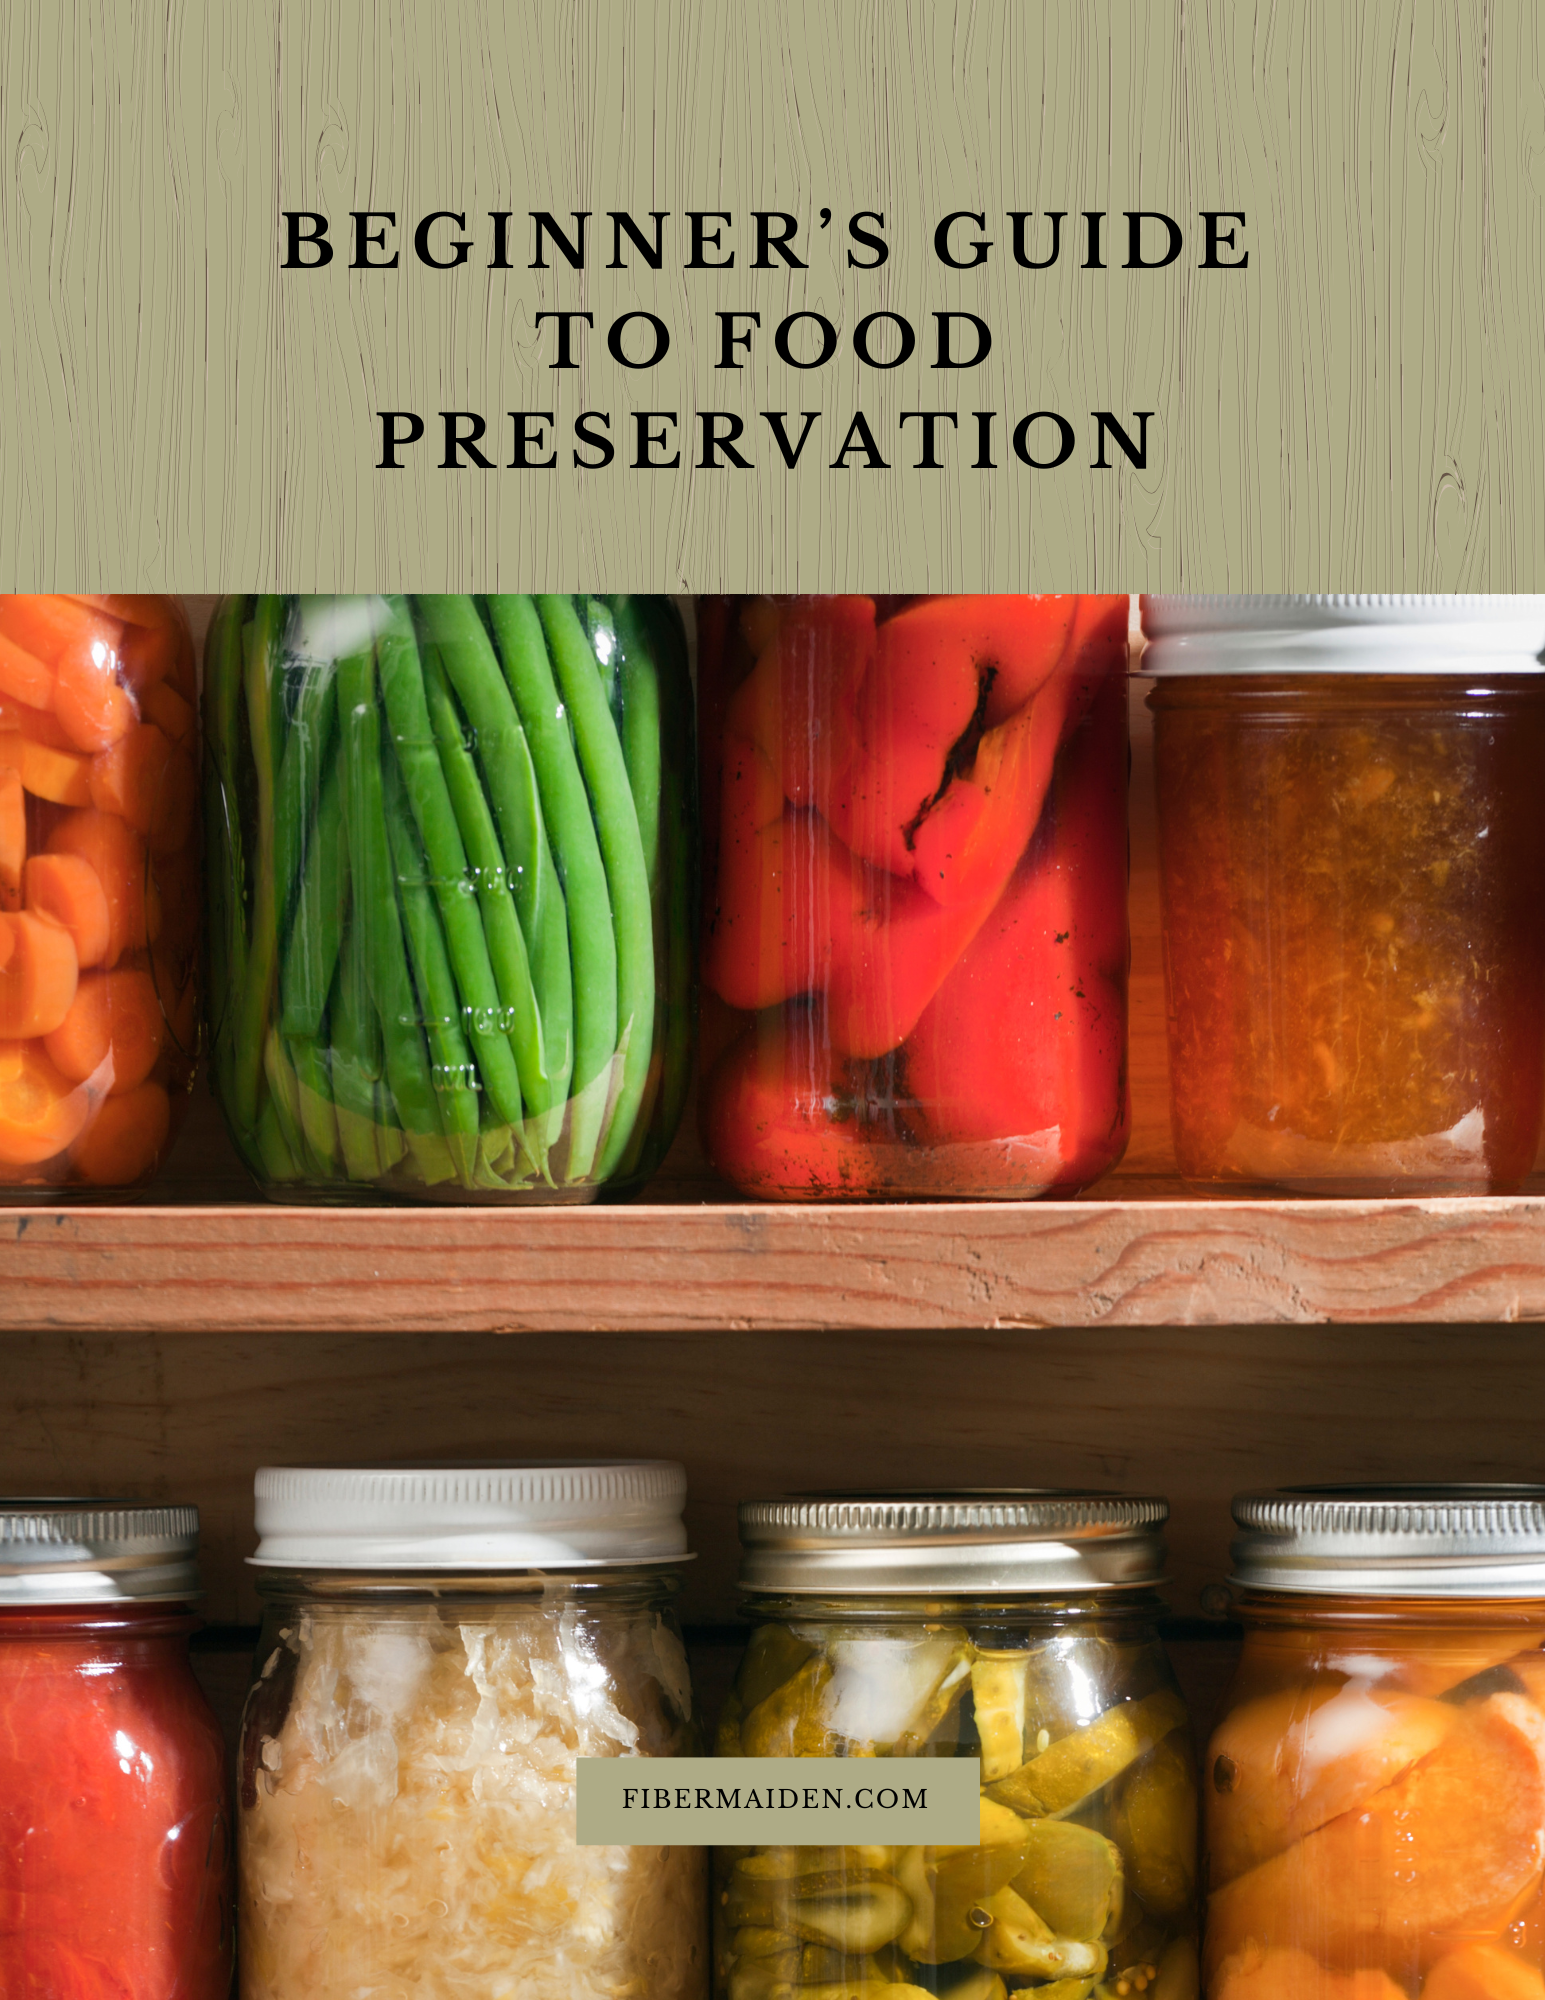
How to Pressure Can Green Beans for Long-Term Storage
Food preservation connects us to traditions that have sustained families for generations. When you pressure can your own vegetables, you're not just storing food for later, you're taking control of your family's pantry and creating something that will nourish you through the seasons ahead.
This project is perfect for anyone wanting to learn pressure canning or expand their preservation skills. Green beans are an ideal starting point because they're forgiving, process quickly, and the results are consistently delicious. Whether you have a bumper crop from your garden or found a great deal at the farmers market, pressure canning transforms fresh beans into shelf-stable nutrition that will serve your family well.
The process might seem intimidating at first, but it's actually quite straightforward once you understand the steps. Most importantly, following tested methods ensures your canned goods are safe to eat months or even years later.
About Pressure Canning Green Beans
There's nothing quite like popping open a jar of home-canned green beans in the middle of winter and tasting the freshness of summer. Pressure canning is the safest and most reliable method for preserving low-acid vegetables like green beans and it's easier than you think.
In this step-by-step guide, we'll walk through the process of pressure canning green beans safely using tested methods. Whether you're new to pressure canning or brushing up for the season, this is a great way to stock your pantry and reduce food waste. Make sure and check out our free printable Food Preservation Quick Guide below.
Get The Guide
Stop second-guessing every step of your food preservation projects. This guide walks you through method selection, safety basics, and how to fix things when they don't go according to plan so you can preserve with confidence instead of crossed fingers.
Disclosure
Some links on FiberMaiden are affiliate links. When you click and purchase, I may earn a small commission at no extra cost to you. I partner only with brands and tools I trust and use in my own kitchen, studio, and garden. Your support means a lot.
Get 3 Free Recipe Sheets
Ready for recipes that don't require a culinary degree to follow? Get seasonal recipe sheets designed for real kitchens and busy lives, the kind that work even when your kids are asking for snacks mid-prep.
Troubleshooting Guide
Even experienced canners encounter occasional challenges. Here are solutions to the most common issues:
My jars didn't seal properly Check that jar rims are completely clean and free of food particles or grease. Make sure you're using new lids and following proper headspace measurements. Insufficient processing time or pressure can also prevent sealing. Unsealed jars can be reprocessed within 24 hours with new lids, or refrigerated and used within a few days.
The liquid in my jars is cloudy Some cloudiness is normal and doesn't indicate spoilage. It can result from using hard water, table salt instead of canning salt, or overripe beans. As long as proper canning procedures were followed, cloudy liquid is safe.
My beans look overcooked or mushy This often happens when beans are overripe when canned or when processing time is extended beyond recommendations. While not ideal texture-wise, they're still safe to eat and work well in soups or casseroles. For future batches, use younger, firmer beans.
There's liquid loss in my jars Some liquid loss during processing is normal and doesn't affect safety as long as the jars sealed properly. Common causes include overpacking jars, insufficient headspace, or fluctuating pressure during processing. Don't add more liquid after processing.
My pressure canner won't reach the right pressure Ensure your canner has enough water and that the vent is properly exhausting steam before closing the petcock or placing the weight. Check that seals and gaskets are in good condition. At higher altitudes, you may need to adjust pressure settings according to tested guidelines.
The beans changed color during processing Some color change is normal and expected. Green beans often become olive-colored during pressure canning due to the high heat process. This doesn't affect safety or nutritional value.
I'm seeing white deposits on my jars These are usually mineral deposits from hard water and can be removed with vinegar. They don't affect the safety of your canned goods. Using distilled water can help prevent this in future batches.
My processing time seemed too long Always follow tested recipes exactly. Processing times account for the size of food pieces, jar size, and altitude. Reducing time can result in unsafe products, while extending time may affect texture but won't compromise safety.
The beans are floating in the jars This is cosmetic and doesn't affect safety. It can happen when beans are very fresh or when there's too much headspace. Hot packing (briefly cooking beans before canning) can help reduce floating.
I forgot to adjust for my altitude Altitude affects pressure canning requirements. If you processed at sea level pressure but live at higher elevation, your jars may not be safe. When in doubt, refrigerate and use quickly, or reprocess with correct pressure adjustments if discovered within 24 hours.
Green Beans Pressure Canning – FAQ
Food Preservation Quick Guide
One page for methods, quick ratios, safety basics, altitude tips, and storage. For education only—use tested recipes from reliable sources.
• Water bath canning is for high-acid foods (pH ≤ 4.6) or foods acidified per a tested recipe.
• Low-acid foods (most vegetables, meats, soups) require pressure canning—never water bath.
• Use 5% acidity vinegar for pickling. Keep foods fully submerged. Follow headspace exactly.
• Adjust for altitude. Use jars/lids in good condition. When in doubt—don’t risk it.
Methods at a glance
| Method | Best for | Key rule | Core target / ratio |
|---|---|---|---|
| Freezing | Fruit, veg, stocks, breads | Freeze at 0°F/−18°C. Label & rotate. | Blanch most veg before freezing to lock color/texture. |
| Dehydrating | Fruit, veg, herbs | Dry until leathery or brittle (not tacky). | Store airtight with desiccant; keep cool & dark. |
| Water Bath Canning | Jams, jellies, fruit, pickles, tomatoes (acidified) | Use tested times; keep jars submerged; vent air bubbles. | Typical headspace: jams ¼″; fruit/pickles ½″. |
| Pressure Canning | Low-acid veg, beans, meats, broths | Use correct pressure for altitude; follow tested times. | Headspace usually 1–1¼″ (see recipe). |
| Fermentation | Cabbage, carrots, peppers, etc. | Keep veg fully submerged; use clean tools. | 2–3% brine by weight (see quick ratios). |
| Pickling | Cucumbers, onions, beets, mixed veg | Use 5% vinegar; don’t dilute below tested ratios. | Common hot pack: ≥1:1 vinegar:water + salt/sugar/spices. |
| Jam/Jelly | High-acid fruits | Boil to gel stage; fill hot, process in water bath. | Gel temp ≈ local boiling point + sugar effect (see recipe). |
| Freeze-Drying | Fruits, meals, herbs (with home unit) | Dry until pieces are crisp throughout. | Store in mylar/airtight with O₂ absorber; cool & dark. |
Quick ratios & targets
| What | Basic ratio / target | Notes |
|---|---|---|
| Ferment brine | 2% = 20 g salt per 1000 g water • 3% warm kitchens/crunch | 1 quart water ≈ 946 g → ~19 g salt for 2%. |
| Pickling brine (quick) | ≥ 1:1 5% vinegar : water + 1–3 tbsp salt/qt (per recipe) | Do not reduce vinegar below tested ratios. |
| Jam/jelly sugar | Classic: ~1:1 fruit:sugar by weight (varies with pectin) | Follow pectin brand/recipe; do plate or wrinkle test. |
| Headspace (typical) | Jams ¼″ • Fruits/pickles ½″ • Pressure-canned 1–1¼″ | Always use recipe’s specified headspace. |
| Freezer headspace (liquids) | Leave ½–1″ | Liquids expand; use straight-sided containers or bags. |
Altitude adjustments (quick)
• Water bath canning: add time per the tested recipe. Typical add-ons: +5 min (1,001–3,000 ft), +10 min (3,001–6,000 ft), +15 min (6,001–8,000 ft).
• Pressure canning: increase pressure per the tested recipe. Weighted-gauge cookers are often 10 psi at 0–1,000 ft and 15 psi above; dial-gauge cookers typically start ~11 psi and increase with altitude.
Always follow the specific altitude table in your recipe/manual.
Typical blanch times for freezing (quick)
| Vegetable | Time (minutes) | Notes |
|---|---|---|
| Green beans | 3 | Whole or cut |
| Broccoli florets | 3 | Cool fast; drain well |
| Carrots (slices) | 2 | Spears 3 min |
| Peas | 1½–2 | Shell, blanch, chill |
| Kale/spinach | 2 | Press out water |
| Corn (kernels) | 4 | On the cob 4–7 |
Times vary by cut and maturity; check a tested chart for more vegetables.
Storage guide (best quality)
| Method | Best by | Storage notes |
|---|---|---|
| Water bath canned (high-acid) | 12–18 months | Cool, dark, dry; check seals before use. |
| Pressure canned (low-acid) | 12–18 months | Cool, dark, dry; discard if seal fails or food looks/smells off. |
| Ferments (refrigerated) | Several months | Keep submerged; use clean utensil. |
| Dehydrated | 6–12 months | Airtight with desiccant; cool & dark. |
| Frozen | 8–12 months | 0°F/−18°C; label with date. |
| Freeze-dried | Long-term | Mylar/airtight with O₂ absorber; cool & dark. |
Labeling checklist
- Product & method (e.g., “Dill Pickles – Water Bath”)
- Recipe source & year (tested)
- Date processed • Batch/lot
- Headspace/ratio notes (if helpful)
- Altitude/pressure used (for canning)
Your notes
© FiberMaiden • www.fibermaiden.com


/https://media.azurestandard.com/files/1f4751c1-2775-4a69-8b8f-69646cc504d6)


