Intro to Embroidery: Stitching on Linen Napkins
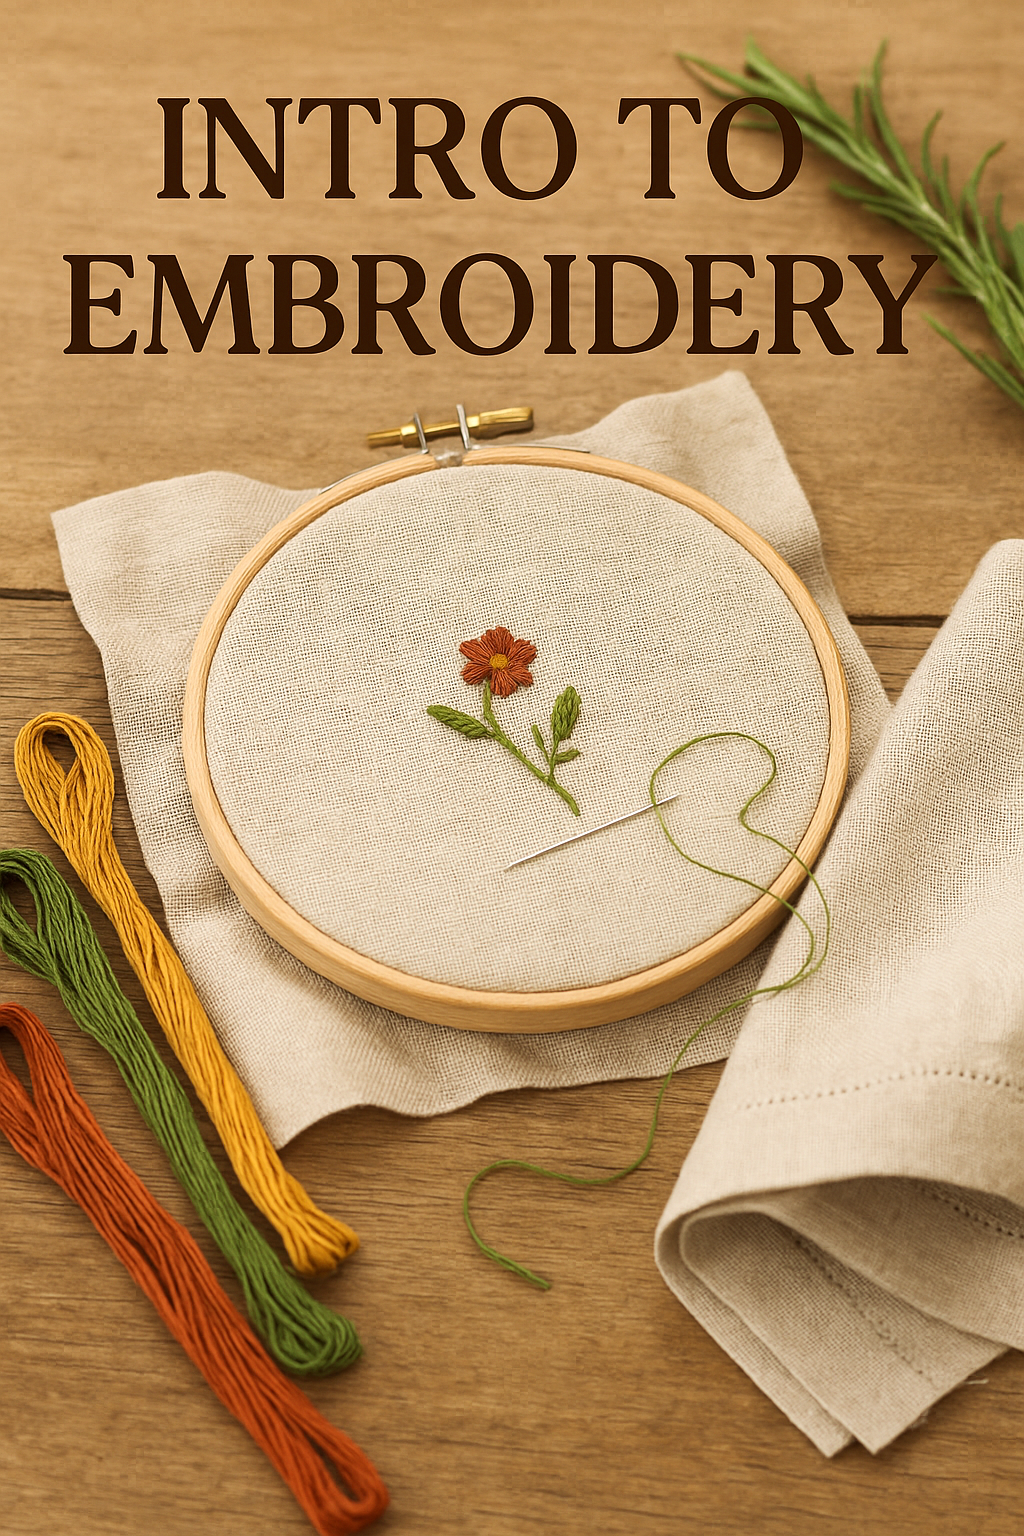
I used to think embroidery was something that required years of practice and steady hands that I definitely didn't have. Then I picked up a needle and some thread during a particularly stressful week, and discovered that those simple, repetitive stitches were exactly what my racing mind needed. Hand embroidery turns out to be one of the most meditative and satisfying ways to personalize your home textiles, and linen napkins are the perfect place to start. These humble cloths become small canvases for your creativity, and here's the best part, you don't need to be an artist to make something beautiful.
With just a few simple stitches, a needle, and your choice of thread, you can add handmade charm to your everyday table setting that makes even Tuesday night dinner feel a little more special. Whether you stitch initials, floral motifs, borders, or seasonal themes, embroidery transforms practical napkins into lasting heirlooms that tell the story of your hands and your home.
Is This Project For Me?
If you're looking for a craft that you can pick up and put down easily while still creating something genuinely useful, this is perfect for you. You want something portable for waiting rooms or quiet evenings that doesn't require a huge time commitment or expensive supplies. This works whether you've never held an embroidery needle or you're getting back to handwork after years away. You can start with simple running stitches and straight lines, or get as fancy as your skills and patience allow. If you love the idea of adding personal touches to everyday items while finding a few moments of calm in busy days, this belongs on your list. Check out the free printable Fiber Arts Quick Guide below.
Get The Guide
Ready to stop feeling lost every time you pick up needles or thread? This guide covers the core techniques, tools, and terms for knitting, crocheting, weaving, and simple sewing. No more guessing, just clear steps and beginner checklists so you can actually start (and finish) projects you love.
Disclosure
Some links on FiberMaiden are affiliate links. When you click and purchase, I may earn a small commission at no extra cost to you. I partner only with brands and tools I trust and use in my own kitchen, studio, and garden. Your support means a lot.
Get 3 Free Recipe Sheets
Ready for recipes that don't require a culinary degree to follow? Get seasonal recipe sheets designed for real kitchens and busy lives, the kind that work even when your kids are asking for snacks mid-prep.
Troubleshooting and Safety
Let's talk about what might have you ready to give up on embroidery before you really get started, because even simple stitches can be surprisingly humbling. Thread that keeps tangling and knotting up? I spent my first project fighting with thread that seemed determined to tie itself in impossible knots. Use shorter lengths of thread, about 18 inches max, and try running it through beeswax or thread conditioner to make it behave.
Stitches that look wobbly and uneven instead of neat and tidy? That's completely normal when you're learning. Your hands need time to develop muscle memory, and honestly, those slightly imperfect stitches add character that machine embroidery can't replicate.
Fabric puckering around your stitches usually means you're pulling too tight. Think of it like gentle coaxing rather than yanking, the thread should lie flat without distorting the fabric underneath.
If your needle keeps getting sticky or hard to pull through, you might need a sharper needle or the fabric weave is too tight for your thread weight. Don't fight it, switch tools and save your fingers.
Frequently Asked Questions
What fabric works best for embroidered napkins
Do I need special embroidery supplies
Which stitches are easiest for beginners
How do I transfer designs onto napkins
Do I need to wash the napkins before stitching
How do I care for embroidered napkins
What designs work well
Fiber Arts Quick Guide
One page for yarn weights, needle & hook sizes, gauge basics, and quilt math. Keep within reach while you work.
Yarn weights at a glance
| Weight | CYC # | Knit gauge (sts/4 in) • Needles US | Crochet gauge (sts/4 in) • Hook |
|---|---|---|---|
| Lace | 0 | 33–40+ • 000–1 | 28–36+ • Steel/B–C |
| Fingering / Sock | 1 | 27–32 • 1–3 | 21–32 • B–E (2.25–3.5 mm) |
| Sport | 2 | 23–26 • 3–5 | 16–20 • E–7 (3.5–4.5 mm) |
| DK | 3 | 21–24 • 5–7 | 12–17 • 7–I (4.5–5.5 mm) |
| Worsted | 4 | 16–20 • 7–9 | 11–14 • I–K (5.5–6.5 mm) |
| Bulky | 5 | 12–15 • 9–11 | 8–11 • K–M/N (6.5–9 mm) |
| Super Bulky | 6 | 6–11 • 11–17 | 5–9 • M/N–Q (9–15 mm) |
| Jumbo | 7 | 1–6 • 17+ | 0–5 • Q+ (15 mm+) |
Always swatch. Fiber content, twist, and your tension change gauge.
Needle and hook conversions
Knitting needles (US ↔ mm)
| US | mm |
|---|---|
| 0 | 2.00 |
| 1 | 2.25 |
| 2 | 2.75 |
| 3 | 3.25 |
| 4 | 3.50 |
| 5 | 3.75 |
| 6 | 4.00 |
| 7 | 4.50 |
| 8 | 5.00 |
| 9 | 5.50 |
| 10 | 6.00 |
| 10.5 | 6.50 |
| 11 | 8.00 |
| 13 | 9.00 |
| 15 | 10.00 |
Crochet hooks (Letter ↔ mm)
| Hook | mm |
|---|---|
| B | 2.25 |
| C | 2.75 |
| D | 3.25 |
| E | 3.50 |
| F | 3.75 |
| G | 4.00 |
| 7 | 4.50 |
| H | 5.00 |
| I | 5.50 |
| J | 6.00 |
| K | 6.50 |
| L | 8.00 |
| M/N | 9.00 |
| N/P | 10.00 |
Gauge and swatch basics
- Knit or crochet a 6 × 6 in swatch. Wash and lay flat to dry.
- Measure the center 4 in square. Count stitches and rows.
- Stitches per inch: stitches in 4 in ÷ 4. Rows per inch: rows in 4 in ÷ 4.
Cast on = target width (in) × stitches per inch + 2 edge stitches.
Rows to length = target length (in) × rows per inch.
Quilt and sewing quick math
- Seam allowances: quilting 1/4 in • garments 5/8 in
- Half-square triangles (HST): cut size = finished size + 7/8 in (or add 1 in and trim to square)
- Quarter-square triangles (QST): cut size = finished size + 1 1/4 in
- Binding estimator: total length = perimeter + 12 in; strip count = ceil(total ÷ WOF). Typical strip width 2.5 in
- Prewash tips: prewash reds/darks. Press, square the grain, then cut.
Labeling and project notes
- Yarn or fabric source, colorway, lot, and fiber content
- Gauge and needle or hook size
- Pattern name and size adjustments
- Wash and care instructions
© FiberMaiden • www.fibermaiden.com


