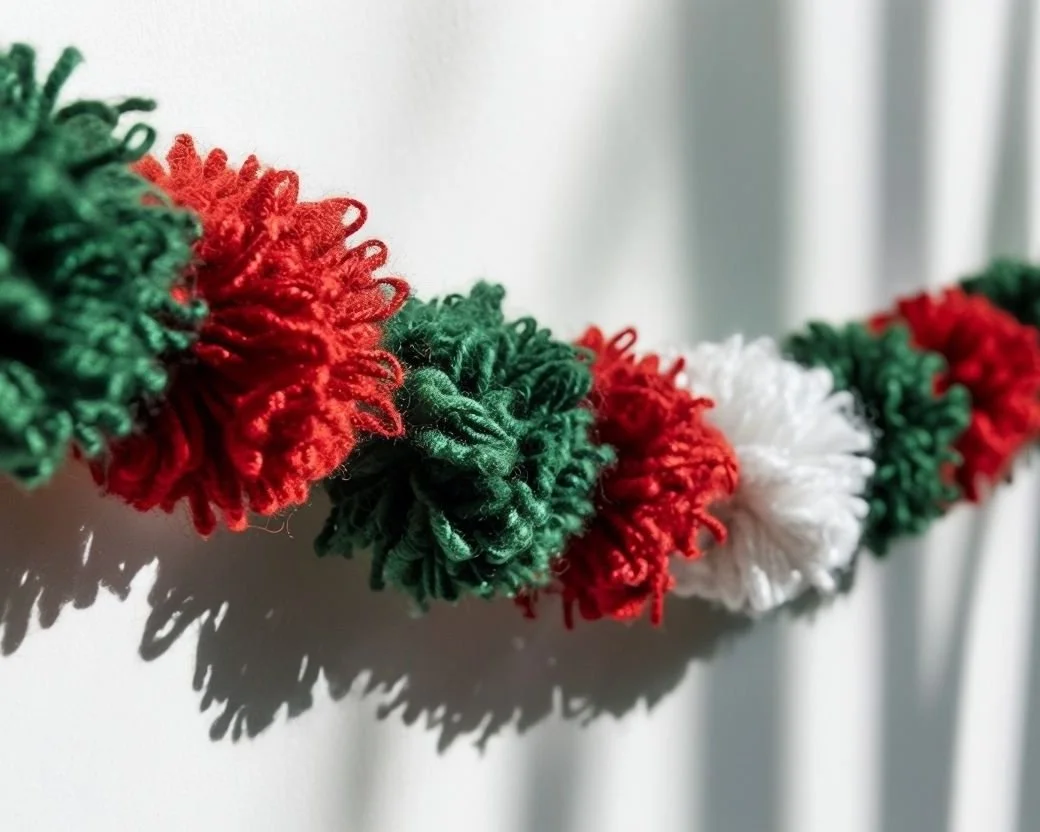
DIY Pom-Pom Garland
There's something about pom-poms that just makes everything feel more cheerful, isn't there? I discovered this when I was staring at a pile of yarn scraps, wondering what to do with all these random bits that were too pretty to throw away but too small for any real project. This DIY Pom-Pom Garland turned out to be the perfect solution, a fun and colorful way to add whimsy to your home decor that works in any room. Whether you hang it above your fireplace, decorate a bedroom, or create festive holiday decor, this garland adds charm and texture to any space while giving those yarn scraps a second life.
Is This Project For Me?
If you're looking for a craft project that's impossible to mess up and gives you instant gratification, this is perfect for you. You want something cheerful for your walls that doesn't require advanced skills or expensive supplies. This works whether you're crafting with kids, need a mindless project for TV watching, or just want to add some handmade charm to your space. You can use any yarn weight, any colors, and make it as long or short as your space needs. If you love the idea of turning leftover supplies into something that makes you smile every time you see it, this belongs on your list. Check out the free printable Fiber Arts Quick Guide below.

Start your journey into the fiber arts with the Fiber Starter Bundle, a thoughtfully curated digital guide designed for beginners who want to learn practical, sustainable, and meditative fiber skills. Whether you’re picking up a needle for the first time or returning to the rhythm of handwork, this bundle will guide you through foundational skills, easy patterns, and gentle encouragement rooted in tradition.
What’s Included:
Intro to fiber types and basic supplies
Simple sewing project: Hand-stitched tote bag
Beginner crochet guide: Granny square tutorial
Stitching prompts for mindfulness and creativity
Bonus tips on fiber care and sustainable mending
Create with intention, slow down with your hands, and rediscover the joy of making. Download your bundle and begin your fiber journey today.
Get The Guide
Ready to stop feeling lost every time you pick up needles or thread? This guide covers the core techniques, tools, and terms for knitting, crocheting, weaving, and simple sewing. No more guessing, just clear steps and beginner checklists so you can actually start (and finish) projects you love.
Disclosure
Some links on FiberMaiden are affiliate links. When you click and purchase, I may earn a small commission at no extra cost to you. I partner only with brands and tools I trust and use in my own kitchen, studio, and garden. Your support means a lot.


Get 3 Free Recipe Sheets
Ready for recipes that don't require a culinary degree to follow? Get seasonal recipe sheets designed for real kitchens and busy lives, the kind that work even when your kids are asking for snacks mid-prep.
Troubleshooting and Safety
Let's talk about what might have you wondering if you're doing something wrong, because even simple projects can be surprisingly humbling. Pom-poms that look sad and sparse instead of full and fluffy? I've been there, staring at what looked more like yarn tumbleweeds than proper pom-poms. The secret is using more yarn than you think you need and really packing it onto your pom-pom maker or cardboard template.
Uneven or lopsided pom-poms usually mean the yarn wasn't wound evenly or you didn't trim them enough after tying. Don't be afraid to give them a good haircut keep trimming until they're round and even.
Pom-poms falling off your garland? Your knots probably weren't tight enough, or the yarn you used for stringing was too thin. Double-knot everything and use a sturdy thread or thin yarn for the base string.
If your garland looks sparse even with lots of pom-poms, try making them closer together on the string, or add some smaller pom-poms in coordinating colors to fill the gaps.
Frequently Asked Questions
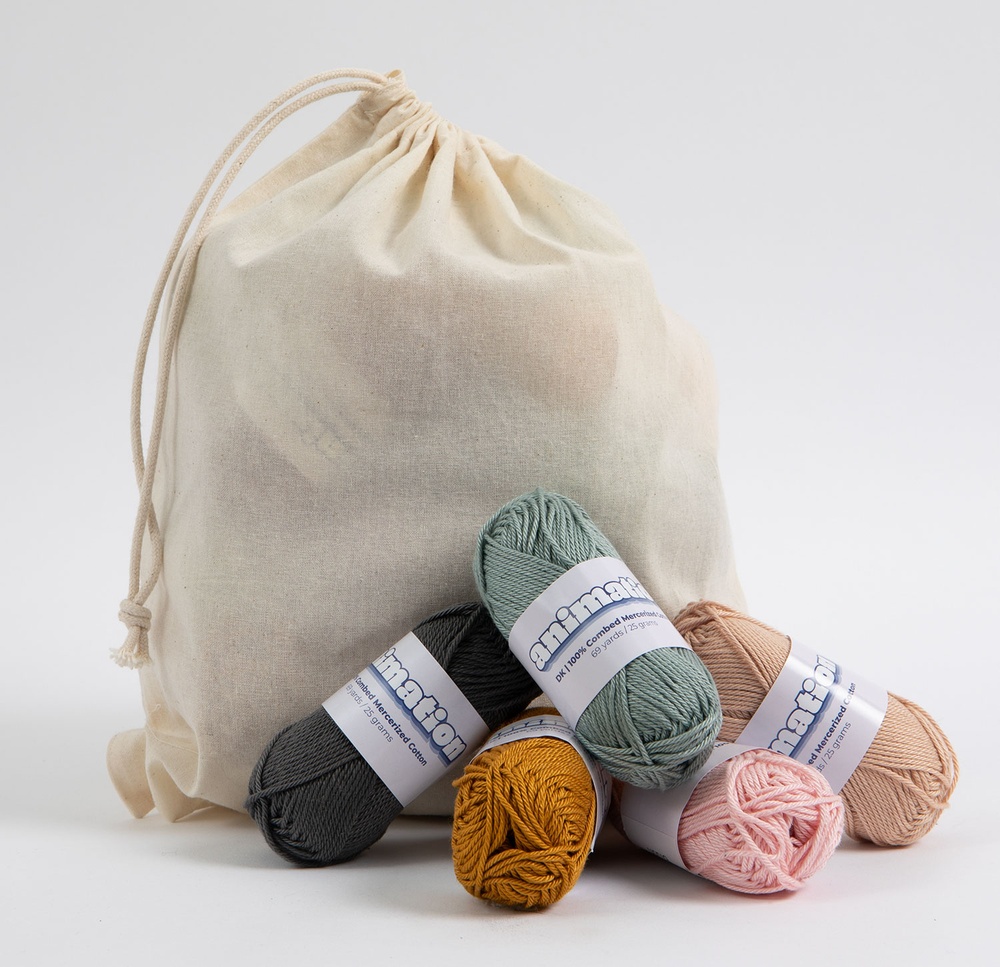
What kind of yarn works best
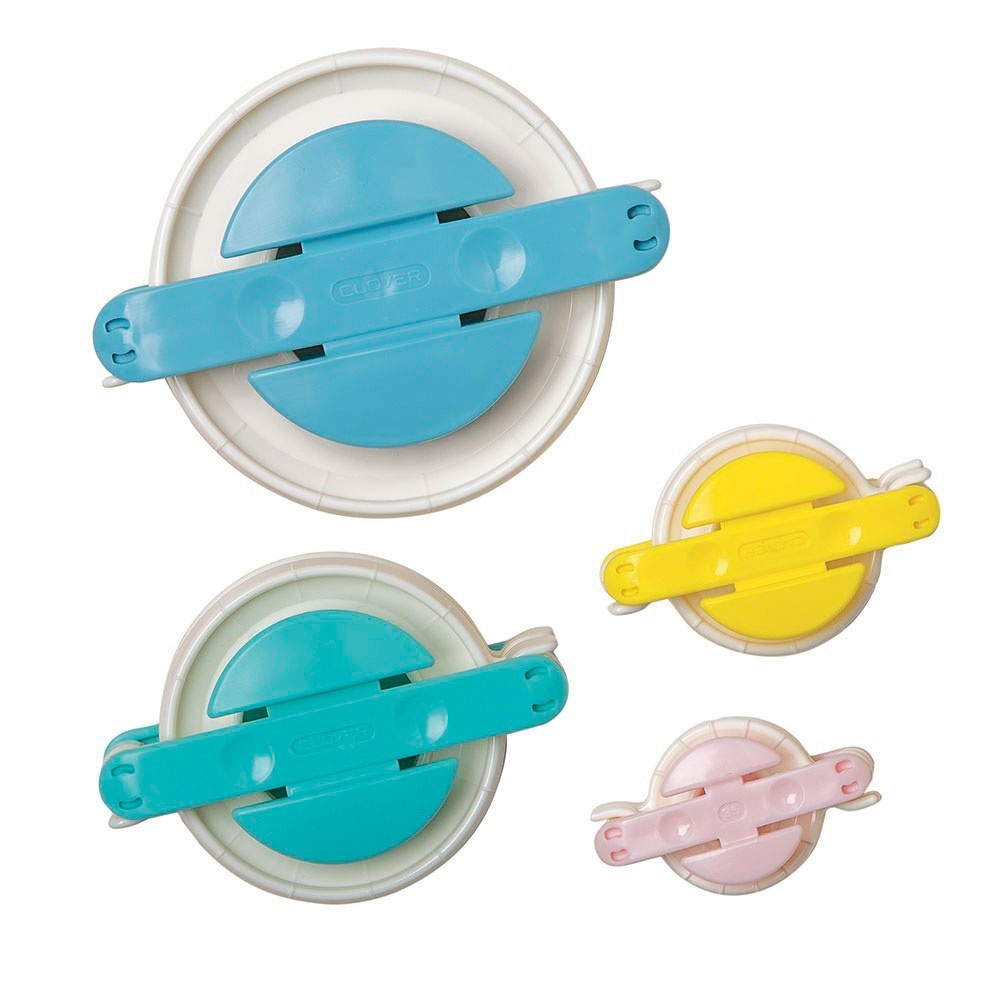
Do I need a pom-pom maker
How do I keep pom-poms from falling apart
How long should the garland be
How do I attach pom-poms to the string
Can I mix sizes and colors
How should I store the garland
Fiber Arts Quick Guide
One page for yarn weights, needle & hook sizes, gauge basics, and quilt math. Keep within reach while you work.
Yarn weights at a glance
| Weight | CYC # | Knit gauge (sts/4 in) • Needles US | Crochet gauge (sts/4 in) • Hook |
|---|---|---|---|
| Lace | 0 | 33–40+ • 000–1 | 28–36+ • Steel/B–C |
| Fingering / Sock | 1 | 27–32 • 1–3 | 21–32 • B–E (2.25–3.5 mm) |
| Sport | 2 | 23–26 • 3–5 | 16–20 • E–7 (3.5–4.5 mm) |
| DK | 3 | 21–24 • 5–7 | 12–17 • 7–I (4.5–5.5 mm) |
| Worsted | 4 | 16–20 • 7–9 | 11–14 • I–K (5.5–6.5 mm) |
| Bulky | 5 | 12–15 • 9–11 | 8–11 • K–M/N (6.5–9 mm) |
| Super Bulky | 6 | 6–11 • 11–17 | 5–9 • M/N–Q (9–15 mm) |
| Jumbo | 7 | 1–6 • 17+ | 0–5 • Q+ (15 mm+) |
Always swatch. Fiber content, twist, and your tension change gauge.
Needle and hook conversions
Knitting needles (US ↔ mm)
| US | mm |
|---|---|
| 0 | 2.00 |
| 1 | 2.25 |
| 2 | 2.75 |
| 3 | 3.25 |
| 4 | 3.50 |
| 5 | 3.75 |
| 6 | 4.00 |
| 7 | 4.50 |
| 8 | 5.00 |
| 9 | 5.50 |
| 10 | 6.00 |
| 10.5 | 6.50 |
| 11 | 8.00 |
| 13 | 9.00 |
| 15 | 10.00 |
Crochet hooks (Letter ↔ mm)
| Hook | mm |
|---|---|
| B | 2.25 |
| C | 2.75 |
| D | 3.25 |
| E | 3.50 |
| F | 3.75 |
| G | 4.00 |
| 7 | 4.50 |
| H | 5.00 |
| I | 5.50 |
| J | 6.00 |
| K | 6.50 |
| L | 8.00 |
| M/N | 9.00 |
| N/P | 10.00 |
Gauge and swatch basics
- Knit or crochet a 6 × 6 in swatch. Wash and lay flat to dry.
- Measure the center 4 in square. Count stitches and rows.
- Stitches per inch: stitches in 4 in ÷ 4. Rows per inch: rows in 4 in ÷ 4.
Cast on = target width (in) × stitches per inch + 2 edge stitches.
Rows to length = target length (in) × rows per inch.
Quilt and sewing quick math
- Seam allowances: quilting 1/4 in • garments 5/8 in
- Half-square triangles (HST): cut size = finished size + 7/8 in (or add 1 in and trim to square)
- Quarter-square triangles (QST): cut size = finished size + 1 1/4 in
- Binding estimator: total length = perimeter + 12 in; strip count = ceil(total ÷ WOF). Typical strip width 2.5 in
- Prewash tips: prewash reds/darks. Press, square the grain, then cut.
Labeling and project notes
- Yarn or fabric source, colorway, lot, and fiber content
- Gauge and needle or hook size
- Pattern name and size adjustments
- Wash and care instructions
© FiberMaiden • www.fibermaiden.com