How I Plan Meals Based on What's Seasonal at the Farmers Market and in the Garden
Sunday mornings have developed their own quiet rhythm in our house. While the coffee brews, I find myself drawn outside before the day gets too warm, barefoot on the dew-damp grass, surveying what the week might offer. This has become my favorite way to plan our meals, not from cookbooks or Pinterest boards, but from what's actually ready to be harvested and eaten.
There's something backwards about traditional meal planning when you think about it. We decide what we want to eat, then go hunt down ingredients that may or may not be at their peak, that have traveled who knows how many miles, that cost more because they're out of season. I've started flipping that whole process around. Check out our free printable Food Preservation Quick Guide below.
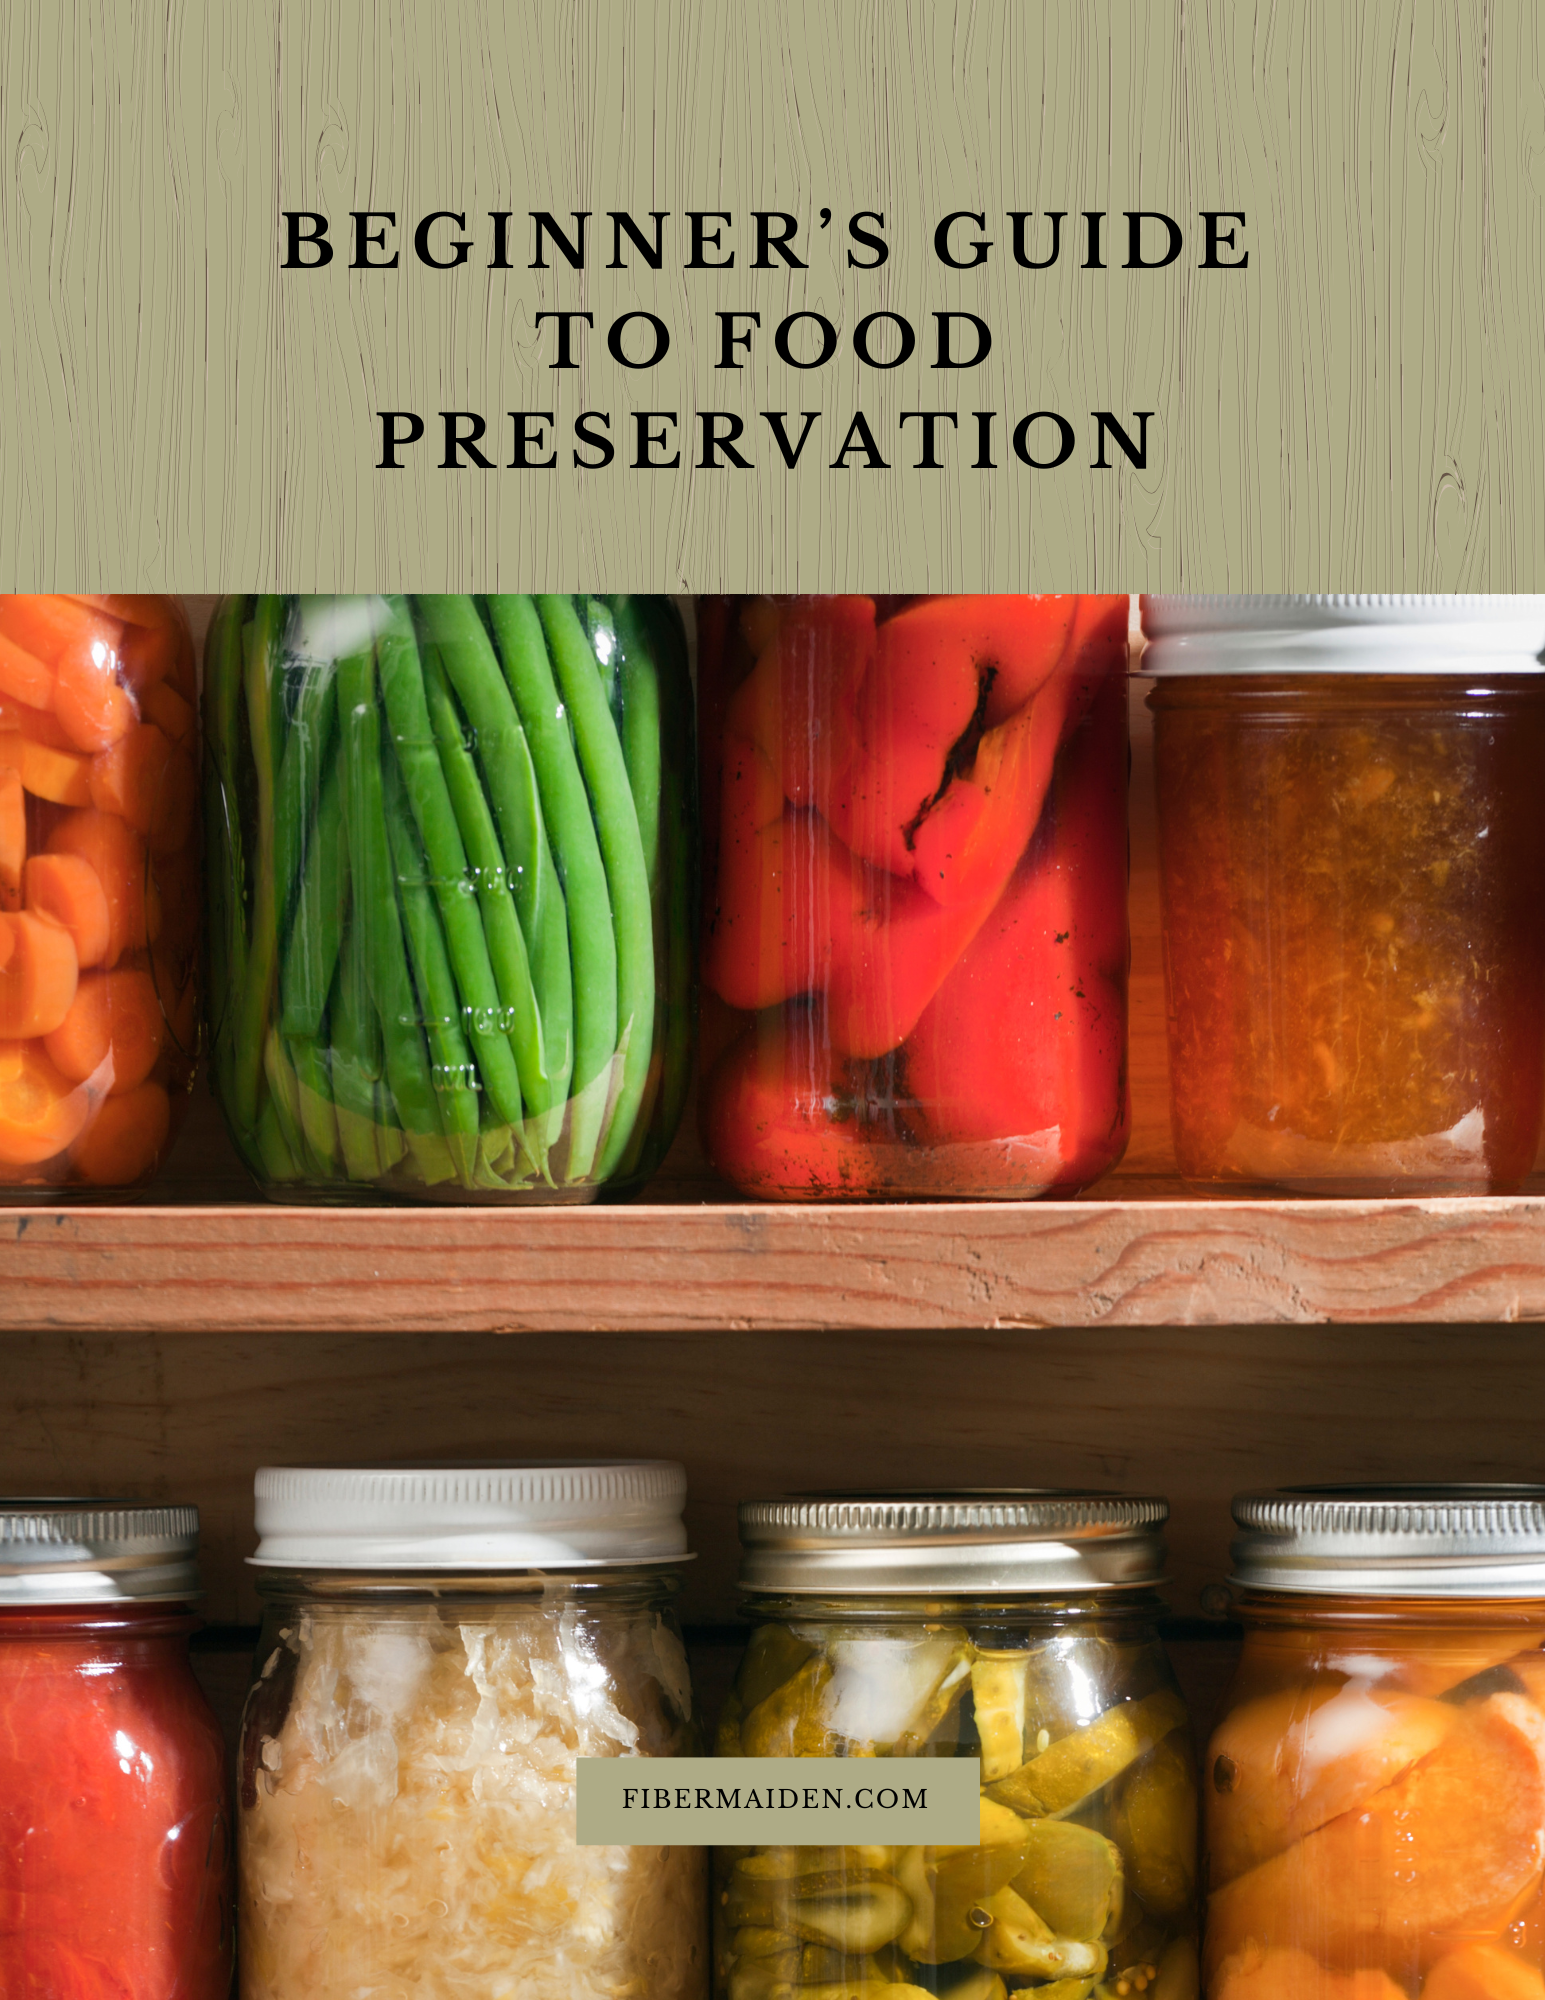
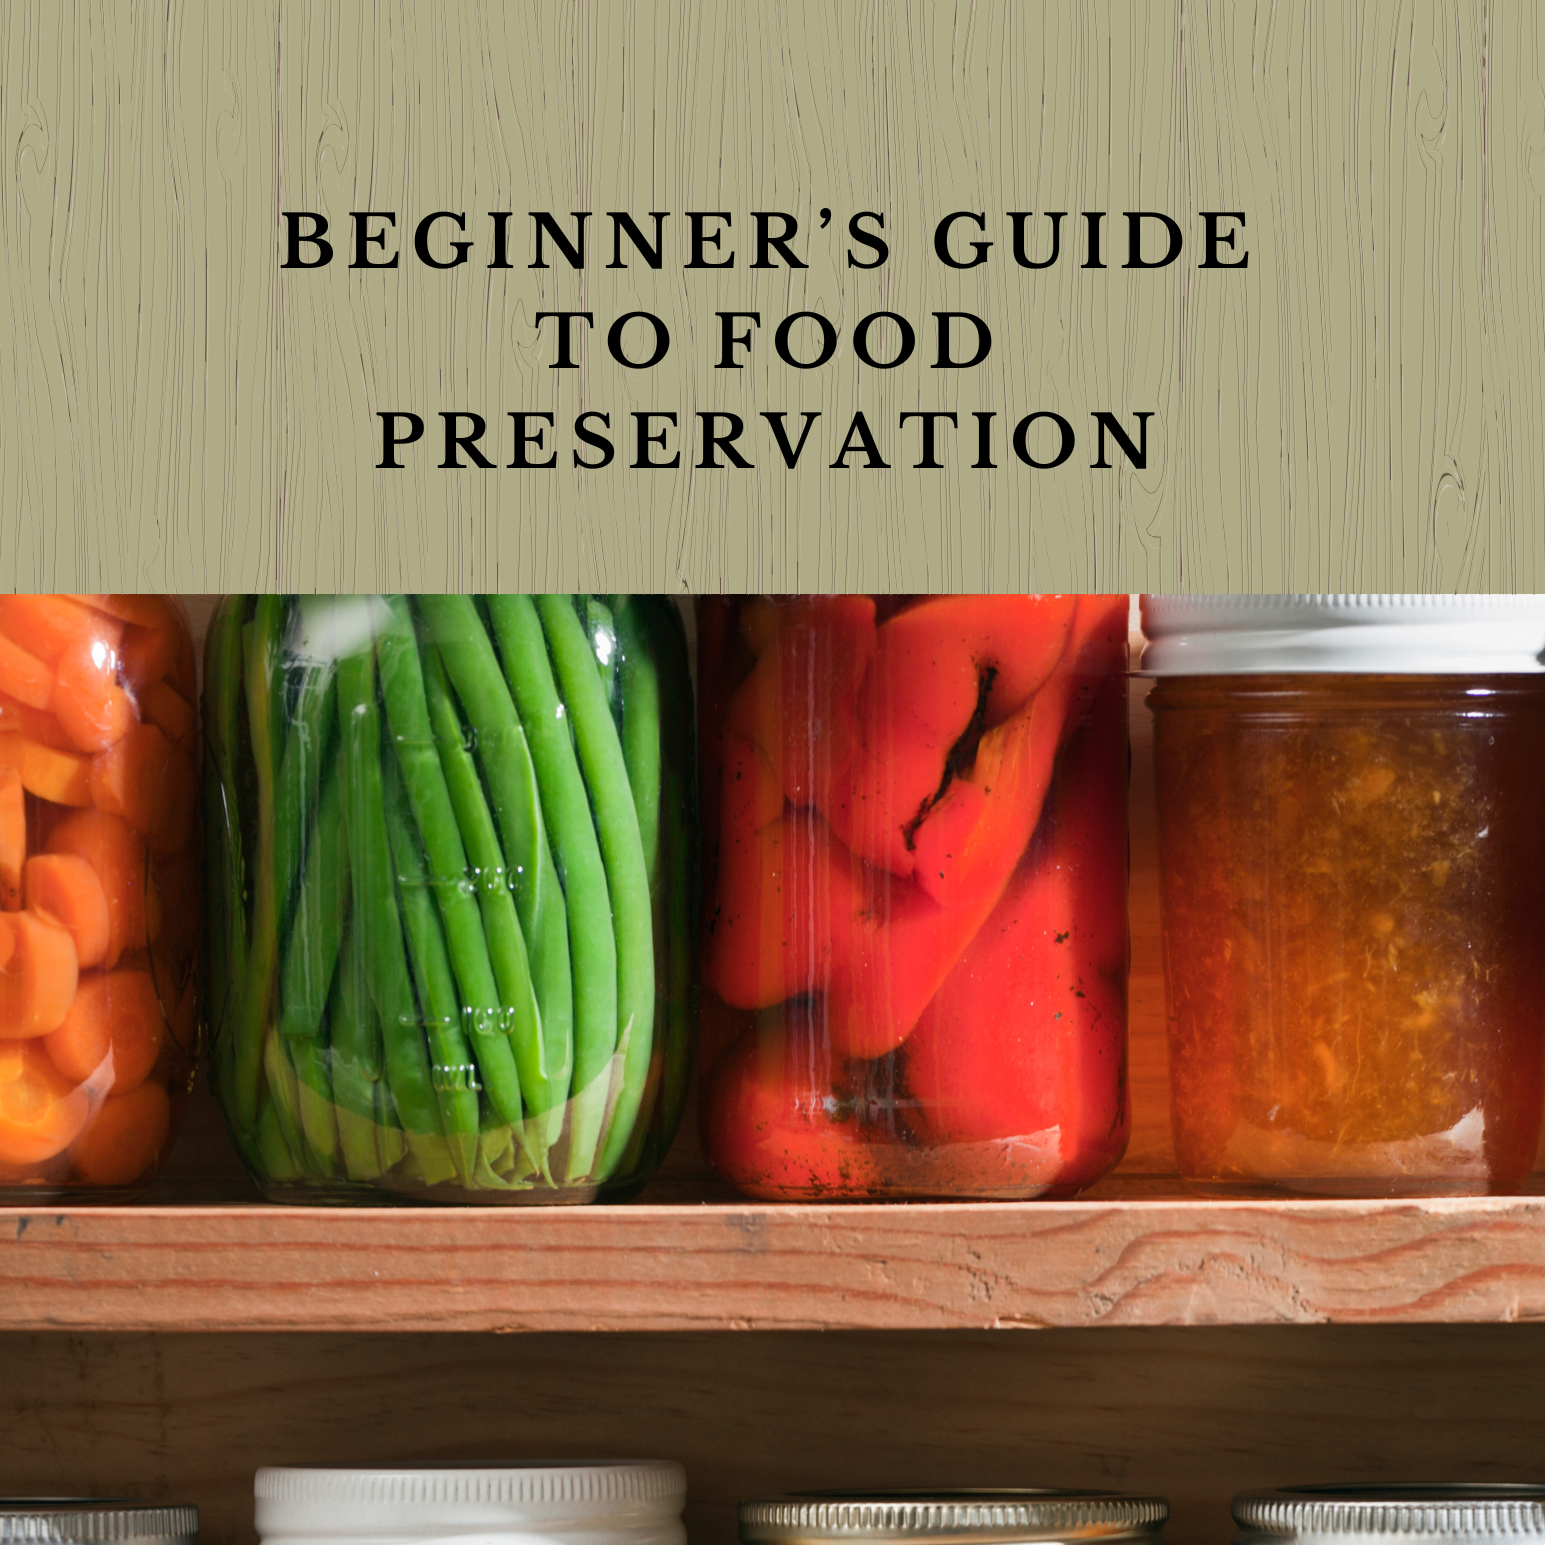
Beginner Guide to Food Preservation
This guide is a simple, approachable introduction to preserving food at home. Whether you’re new to food preservation or returning to it after a break, this resource covers the essentials in a way that’s easy to follow and rooted in practical experience.
It’s written to help you make real progress using tools and ingredients you likely already have in your kitchen no pressure, no perfection required.
What’s Included
A printable PDF guide over 70 pages of full color content
Covers three core preservation methods: freezing, dehydrating, curing, pickling, fermenting, and canning
Step-by-step instructions for each method, including safety tips and basic equipment
Over twenty recipes and whole meal recipes
Designed for US letter-size paper (8.5x11) for easy at-home printing
BONUS: 3 seasonal recipe sheets delivered via email after purchase when you join our mailing list
How to Use
This guide is meant to be used, not just read. Pick one method to start with such as freezing garden produce or making a simple jam and follow the instructions at your own pace.
Why It’s Useful
Preserving food helps reduce waste, save money, and build self-sufficiency. But for many beginners, it can feel overwhelming. This guide breaks it down into manageable steps and encourages you to start small, build confidence, and grow from there.
Delivery
You’ll receive an instant digital download in PDF format, ready to view on any device or print at home.
Start preserving with confidence one jar, bag, or batch at a time.
Download your guide and begin stocking your pantry with real, homemade food.
Get The Guide
Stop second-guessing every step of your food preservation projects. This guide walks you through method selection, safety basics, and how to fix things when they don't go according to plan so you can preserve with confidence instead of crossed fingers.
Disclosure
Some links on FiberMaiden are affiliate links. When you click and purchase, I may earn a small commission at no extra cost to you. I partner only with brands and tools I trust and use in my own kitchen, studio, and garden. Your support means a lot.
A Different Kind of Planning
Instead of asking myself "What do I want to eat this week?" I've learned to ask "What's fresh and needs to be used?" It's such a simple shift, but it's changed everything about how I approach our kitchen.
Meal planning doesn't have to start with recipes, it can start with what's ripe. Around here, I plan our weekly meals based on what's in season at the farmers market and ready to harvest in the garden. It's a simple shift that makes cooking feel more natural, flexible, and aligned with what we have.
This morning's walk revealed the usual late summer abundance: zucchini that seemed to double in size overnight, tomatoes heavy on the vine, sweet corn ready for picking, and basil so fragrant I could smell it before I even reached the herb bed. The chickens are laying well, the salad greens are still tender despite the heat, and I have goat cheese from last week's batch aging in the fridge.
Building the Week
I jot down what I find, not as a strict shopping list, but as a foundation:
Zucchini (always more than expected) Tomatoes (finally hitting their stride) Sweet corn (fresh from the farmers market) Basil (practically growing itself) Farm eggs (my farmers market must have) Salad greens (from the indoor hydroponics) Goat cheese (from last week's batch of milk from the farmers market)
This becomes my starting point, my palette for the week ahead.
From here, the meals almost suggest themselves. That zucchini and fresh goat cheese are calling out for a frittata. Those tomatoes and sweet corn would be perfect in a simple salad with just good olive oil and salt. The herbs are begging to be tossed with pasta and whatever vegetables strike my fancy. And there's always something comforting about breakfast for dinner, eggs and toast with those tender greens sautéed until they're just wilted.
Lunches tend to be leftovers or simple bowls built from whatever's around. Breakfasts rotate through eggs, toast, and whatever fruit is in season or something special from the canning shelf. Nothing complicated, nothing forced.
Video Tutorial
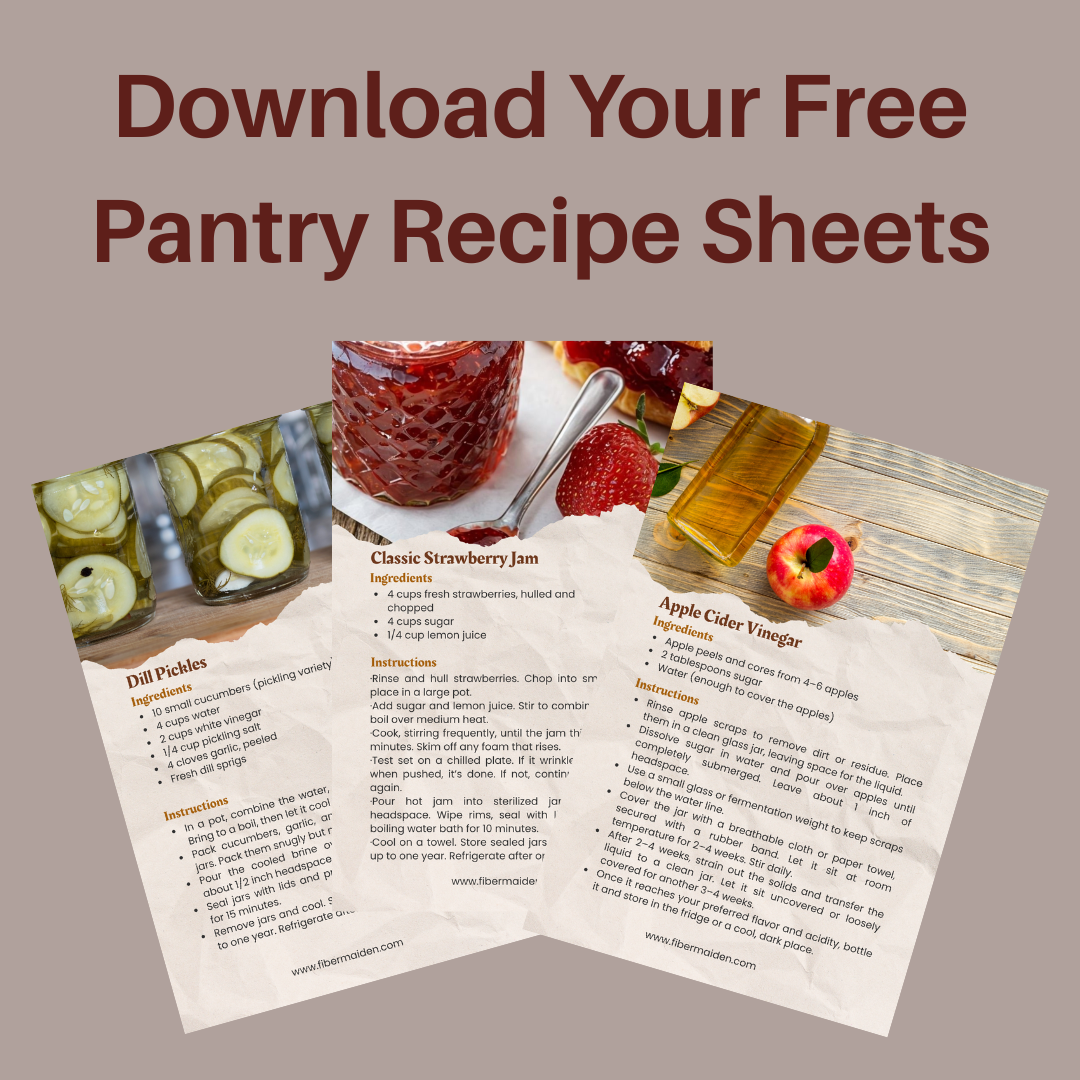
Get 3 Free Recipe Sheets
Ready for recipes that don't require a culinary degree to follow? Get seasonal recipe sheets designed for real kitchens and busy lives, the kind that work even when your kids are asking for snacks mid-prep.
The Beauty of Templates
I've discovered that seasonal cooking works best with templates rather than rigid recipes. Pasta plus vegetables plus herbs. Frittata plus whatever's in the fridge. Grain bowl plus good dressing. These flexible frameworks let the ingredients shine while keeping cooking simple and unstressful.
The key is staying flexible. If something runs out or doesn't look great, I swap it. If the zucchini gets too big, it becomes bread. If the tomatoes are slow to ripen, I pick them green for frying. The garden teaches you to be adaptable, to work with what you have rather than forcing what you don't.
Building a pantry around what you actually cook helps too. Good grains, homemade broths, dried beans, various vinegars, and quality oils become the supporting players that make seasonal ingredients sing. These staples don't change with the seasons, which means you're always ready to create something delicious from whatever's fresh.
A Different Rhythm
This kind of planning doesn't take more time, it just takes a different rhythm. Instead of spending Sunday afternoon scrolling through recipe sites, I spend a few minutes in the garden. Instead of fighting traffic to three different stores for specific ingredients, I work with what's here in the garden or fresh at the farmers market.
The unexpected benefits have been just as valuable as the obvious ones. We waste less food because everything gets used at its peak. We spend less money because seasonal, local food is almost always cheaper. We stay connected to the rhythms of the place where we live, eating strawberries in June and squash in October like humans have done for thousands of years.
There's also something deeply satisfying about this approach. When you eat this way, every meal becomes a small celebration of the moment, of what's ready right now. You find yourself looking forward to first asparagus and last tomatoes in a way that grocery store shopping never quite achieves.
Maybe most importantly, it's taught me to trust the process. To believe that good ingredients will show you what they want to become, that the best meals often come from working with what you have rather than following someone else's plan.
Food Preservation Quick Guide
One page for methods, quick ratios, safety basics, altitude tips, and storage. For education only—use tested recipes from reliable sources.
• Water bath canning is for high-acid foods (pH ≤ 4.6) or foods acidified per a tested recipe.
• Low-acid foods (most vegetables, meats, soups) require pressure canning—never water bath.
• Use 5% acidity vinegar for pickling. Keep foods fully submerged. Follow headspace exactly.
• Adjust for altitude. Use jars/lids in good condition. When in doubt—don’t risk it.
Methods at a glance
| Method | Best for | Key rule | Core target / ratio |
|---|---|---|---|
| Freezing | Fruit, veg, stocks, breads | Freeze at 0°F/−18°C. Label & rotate. | Blanch most veg before freezing to lock color/texture. |
| Dehydrating | Fruit, veg, herbs | Dry until leathery or brittle (not tacky). | Store airtight with desiccant; keep cool & dark. |
| Water Bath Canning | Jams, jellies, fruit, pickles, tomatoes (acidified) | Use tested times; keep jars submerged; vent air bubbles. | Typical headspace: jams ¼″; fruit/pickles ½″. |
| Pressure Canning | Low-acid veg, beans, meats, broths | Use correct pressure for altitude; follow tested times. | Headspace usually 1–1¼″ (see recipe). |
| Fermentation | Cabbage, carrots, peppers, etc. | Keep veg fully submerged; use clean tools. | 2–3% brine by weight (see quick ratios). |
| Pickling | Cucumbers, onions, beets, mixed veg | Use 5% vinegar; don’t dilute below tested ratios. | Common hot pack: ≥1:1 vinegar:water + salt/sugar/spices. |
| Jam/Jelly | High-acid fruits | Boil to gel stage; fill hot, process in water bath. | Gel temp ≈ local boiling point + sugar effect (see recipe). |
| Freeze-Drying | Fruits, meals, herbs (with home unit) | Dry until pieces are crisp throughout. | Store in mylar/airtight with O₂ absorber; cool & dark. |
Quick ratios & targets
| What | Basic ratio / target | Notes |
|---|---|---|
| Ferment brine | 2% = 20 g salt per 1000 g water • 3% warm kitchens/crunch | 1 quart water ≈ 946 g → ~19 g salt for 2%. |
| Pickling brine (quick) | ≥ 1:1 5% vinegar : water + 1–3 tbsp salt/qt (per recipe) | Do not reduce vinegar below tested ratios. |
| Jam/jelly sugar | Classic: ~1:1 fruit:sugar by weight (varies with pectin) | Follow pectin brand/recipe; do plate or wrinkle test. |
| Headspace (typical) | Jams ¼″ • Fruits/pickles ½″ • Pressure-canned 1–1¼″ | Always use recipe’s specified headspace. |
| Freezer headspace (liquids) | Leave ½–1″ | Liquids expand; use straight-sided containers or bags. |
Altitude adjustments (quick)
• Water bath canning: add time per the tested recipe. Typical add-ons: +5 min (1,001–3,000 ft), +10 min (3,001–6,000 ft), +15 min (6,001–8,000 ft).
• Pressure canning: increase pressure per the tested recipe. Weighted-gauge cookers are often 10 psi at 0–1,000 ft and 15 psi above; dial-gauge cookers typically start ~11 psi and increase with altitude.
Always follow the specific altitude table in your recipe/manual.
Typical blanch times for freezing (quick)
| Vegetable | Time (minutes) | Notes |
|---|---|---|
| Green beans | 3 | Whole or cut |
| Broccoli florets | 3 | Cool fast; drain well |
| Carrots (slices) | 2 | Spears 3 min |
| Peas | 1½–2 | Shell, blanch, chill |
| Kale/spinach | 2 | Press out water |
| Corn (kernels) | 4 | On the cob 4–7 |
Times vary by cut and maturity; check a tested chart for more vegetables.
Storage guide (best quality)
| Method | Best by | Storage notes |
|---|---|---|
| Water bath canned (high-acid) | 12–18 months | Cool, dark, dry; check seals before use. |
| Pressure canned (low-acid) | 12–18 months | Cool, dark, dry; discard if seal fails or food looks/smells off. |
| Ferments (refrigerated) | Several months | Keep submerged; use clean utensil. |
| Dehydrated | 6–12 months | Airtight with desiccant; cool & dark. |
| Frozen | 8–12 months | 0°F/−18°C; label with date. |
| Freeze-dried | Long-term | Mylar/airtight with O₂ absorber; cool & dark. |
Labeling checklist
- Product & method (e.g., “Dill Pickles – Water Bath”)
- Recipe source & year (tested)
- Date processed • Batch/lot
- Headspace/ratio notes (if helpful)
- Altitude/pressure used (for canning)
Your notes
© FiberMaiden • www.fibermaiden.com