

How to Store Fresh-Milled Flour for Maximum Shelf Life
The first batch of fresh-milled flour I made sat in a regular container on my counter for two weeks until I went to use it and discovered it smelled like old socks. That's when I learned the hard way that fresh-milled flour is completely different from the shelf-stable stuff you buy at the store, and it needs proper storage to stay usable.
Fresh-milled flour brings incredible flavor and nutrition to your baking because it contains all the natural oils, bran, germ, and endosperm that commercial flour strips away for shelf stability. But those same oils that make it nutritious also make it perishable. Understanding how to store fresh flour properly means the difference between amazing baked goods and expensive compost material. Make sure to check out the free printable Flour & Grain Quick Guide below.
Build a pantry that feeds you well — grain by grain.
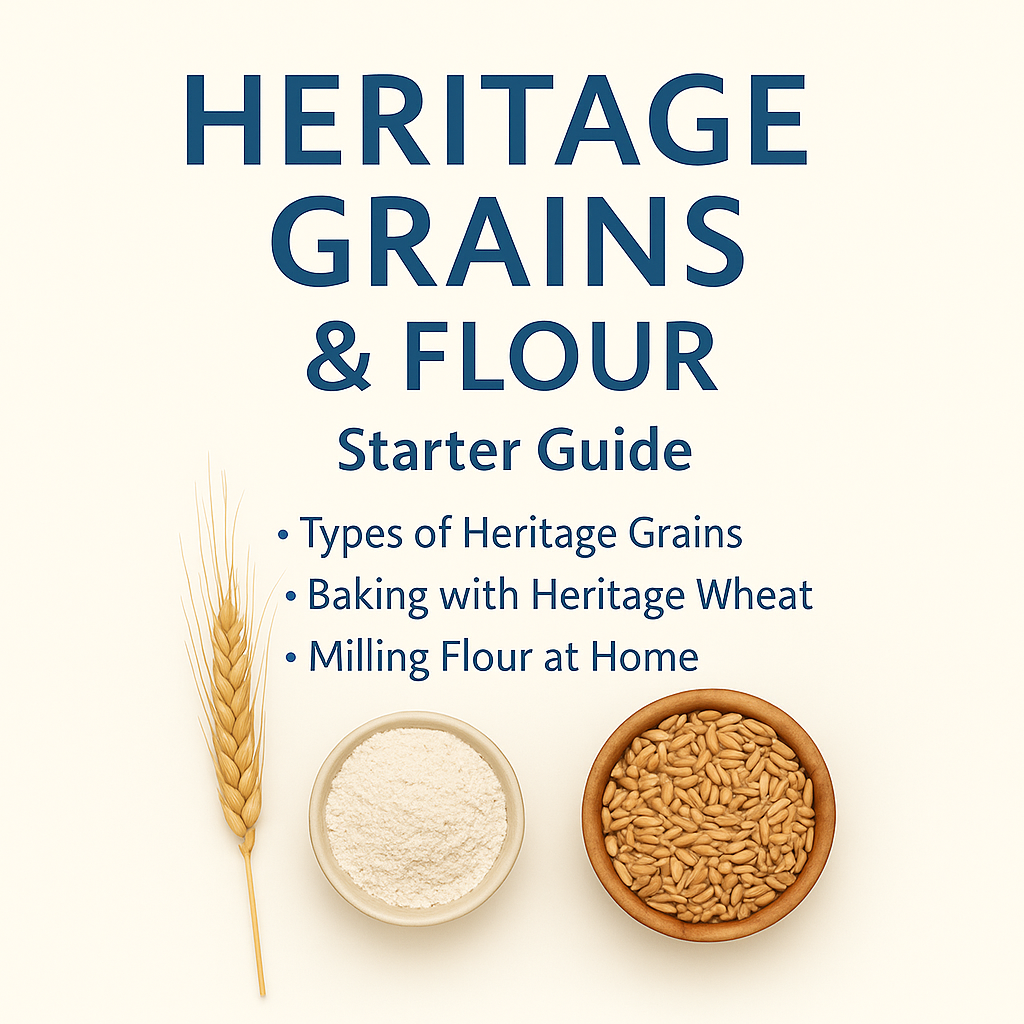
This beautifully crafted guide helps you organize your pantry and reconnect with real, whole food through the power of heritage grains. Whether you’re brand new to milling or ready to deepen your home cooking skills, you’ll learn how to store, mill, and bake with confidence — while enjoying the rich flavor and nutrition of whole, living grains.
Inside, you’ll explore four foundational grains — hard red wheat, soft white wheat, einkorn, and blue corn — with tips on storage, milling, and baking for each one. You’ll also find a gradual 30/70 transition method so you can swap in heritage flour at your own pace, plus beginner-friendly recipes and pantry planning strategies.
What You’ll Get
16-page PDF digital download — instant access after purchase
Profiles of 4 heritage grains with flavor notes, milling tips, and nutritional highlights
Recipes for einkorn pancakes, blue corn tortillas, muffins, and sandwich bread
Step-by-step guidance for starting with 30% FMF flour and increasing over time
How to choose a grain mill, store your grains, and keep flour fresh
Pantry staples that pair beautifully with FMF flours
Batch cooking and prep strategies to simplify your week
Frequently asked questions answered in plain language
Encouragement and guidance for building a whole food kitchen with ease
BONUS: 3 seasonal recipe sheets delivered via email after purchase when you join our mailing list
Perfect For:
Homesteaders, scratch cooks, and anyone ready to move away from processed flours and reconnect with fresh, nutritious grain right from their own pantry.
Delivery: Digital PDF download. No physical product will be shipped.
Get The Guide
Ready to stop wondering what grain to buy or how to use it once you mill it? This guide covers heritage grain selection, storage basics, and beginner-friendly techniques for milling and baking with fresh flour. No more staring at wheat berries wondering what comes next, just clear steps and practical tips so you can actually taste the difference fresh-milled flour makes in your kitchen.
Disclosure
Some links on FiberMaiden are affiliate links. When you click and purchase, I may earn a small commission at no extra cost to you. I partner only with brands and tools I trust and use in my own kitchen, studio, and garden. Your support means a lot.
Why Fresh Flour Spoils So Quickly
Store-bought flour lasts forever on shelves because it's been processed to remove everything that can go bad. Fresh-milled flour is alive with oils and enzymes that begin deteriorating the moment you grind the grain. Heat, light, moisture, and air all accelerate this process, turning your beautiful flour rancid within days if stored incorrectly.
The oils in the germ are particularly vulnerable. When they go rancid, they create off flavors that can ruin entire batches of baked goods. Once flour starts tasting bitter or musty, there's no saving it.
Storage Strategy by Timeline
Immediate Use (1-3 Days) Store flour in airtight containers in your coolest pantry area, away from heat sources like ovens or sunny windows. This works for flour you're planning to use quickly in bread or muffins where you want maximum freshness.
Short Term (Up to 2 Weeks) Move flour to the refrigerator in sealed containers. The cool temperature significantly slows oil degradation while keeping the flour accessible for regular baking. Let refrigerated flour come to room temperature before using to prevent condensation issues.
Long Term (Up to 6 Months) Freeze flour in portion-sized containers that let you remove only what you need. Freezing stops deterioration almost completely, making it ideal for storing larger batches or less frequently used specialty flours.
Container Selection Matters
Glass jars, metal tins, or quality plastic containers with tight seals work best. Avoid containers that allow air exchange, and always label with grain type and milling date so you can track freshness. Clean, dry containers prevent contamination and moisture problems.
Smart Milling Practices
The best storage strategy is milling only what you need for immediate use. Fresh flour performs best within days of milling, so smaller, more frequent batches often produce better results than large batch storage.
If you do batch mill, portion flour into smaller containers rather than storing everything together. This prevents repeatedly exposing your entire supply to air and temperature changes every time you need flour.
Recognizing When Flour Has Gone Bad
Trust your nose first. Fresh flour should smell sweet and nutty. Any bitter, musty, or sour odors indicate rancidity. Similarly, if your normally reliable recipes suddenly produce off flavors or poor textures, check your flour freshness before blaming technique.
Making Storage Work for Your Lifestyle
Choose storage methods that match your baking frequency and available space. Daily bakers might prefer counter storage with quick turnover, while occasional bakers benefit more from freezer storage that maintains quality over time.
The key is developing consistent habits around labeling, dating, and rotating your flour supply so nothing sits forgotten until it spoils. Good storage practices become automatic once you establish systems that work with your kitchen routines.
Fresh-milled flour's superior nutrition and flavor are only advantages when the flour stays fresh enough to deliver them. Proper storage ensures your milling efforts translate into consistently better baking results instead of disappointing waste.
Frequently Asked Questions
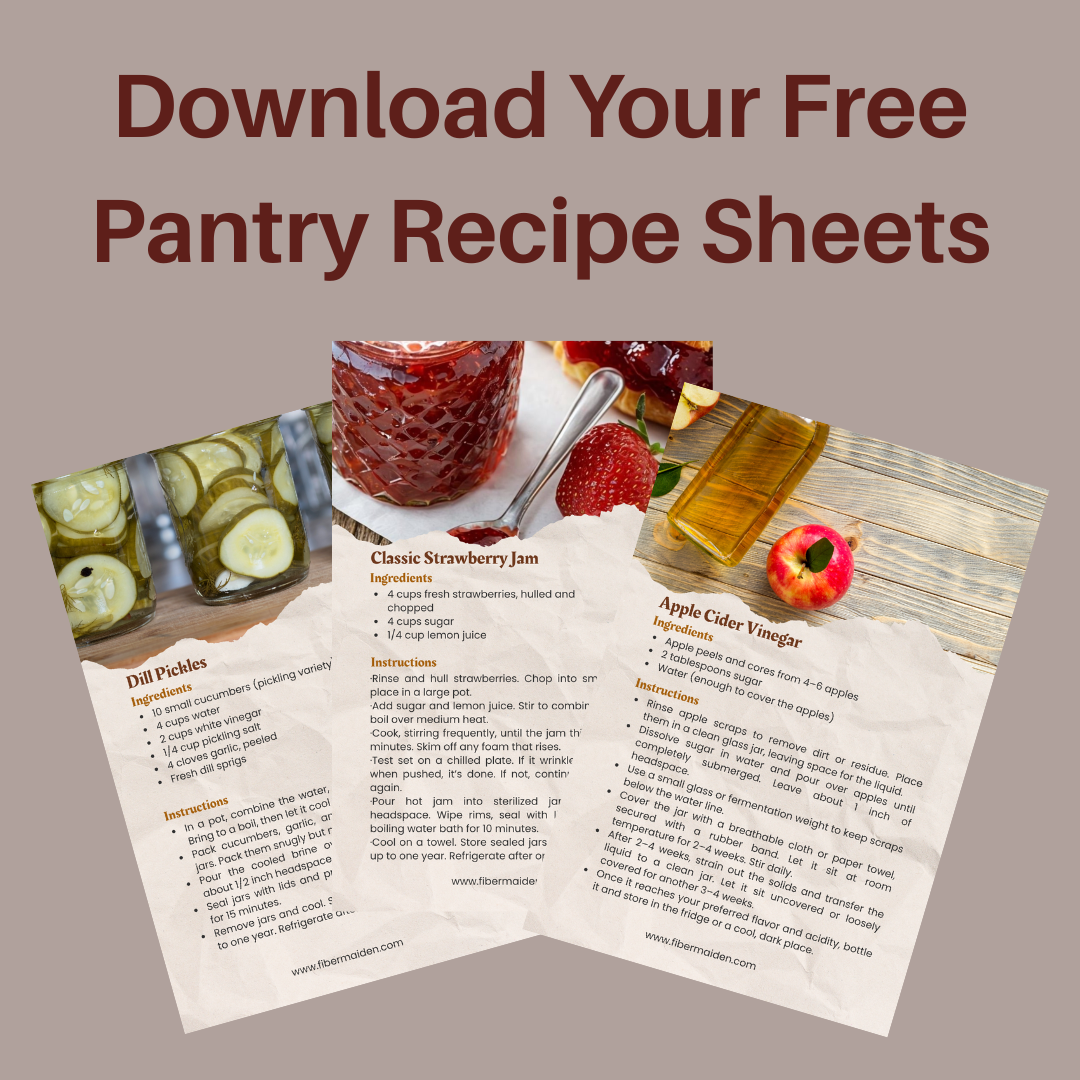
Get 3 Free Recipe Sheets
Ready for recipes that don't require a culinary degree to follow? Get seasonal recipe sheets designed for real kitchens and busy lives, the kind that work even when your kids are asking for snacks mid-prep.
Grain & Flour Quick Guide
Simple chart and tips for choosing grains, flour types, and blends for fresh milled and store flour.
Best for bread: Hard red or hard white
Best for tender bakes: Soft white
Mild flavor: Hard white • Robust flavor: Hard red
Flatbreads and tortillas: Hard white or a red and white blend
Grain comparison
| Grain | Typical protein | Best for | Flavor notes | Notes |
|---|---|---|---|---|
| Hard Red Wheat | ~12–15% | Yeasted bread, sourdough, pizza, bagels | Nutty, fuller flavor, tan crumb | Strong gluten for rise. Great for 100% whole grain loaves. |
| Hard White Wheat | ~11–14% | Sandwich bread, rolls, tortillas | Mild, slightly sweet, lighter color | Kid friendly flavor with good rise and soft crumb. |
| Soft White Wheat | ~8–10% | Cookies, cakes, muffins, crackers | Delicate, pale crumb | Low gluten. Blend with hard wheat for tall loaves. |
| Einkorn | ~9–12% | Pastry, cookies, quick breads, flatbreads | Buttery, sweet, golden | Weaker gluten. Mix gently. Often lower hydration than modern wheat. |
| Spelt | ~11–15% | Bread blends, pancakes, muffins | Sweet, slightly nutty | Extensible gluten. Handle gently to avoid spread in loaves. |
| Rye | ~7–10% | Rye breads, crackers, blends | Earthy, tangy | Little gluten. Great at 10–40% in blends for flavor and keeping. |
Fresh milled flour tips
- Hydration: plan a bit more water than store flour. Add gradually.
- Autolyse: rest flour and water 20–30 minutes before kneading to soften bran.
- Mixing: shorter knead, more folds. Whole grain tightens if overworked.
- Proofing: whole grain ferments faster. Watch the dough, not the clock.
- Sifting option: sift coarse bran, soak it in a little water, then fold in.
Simple substitutions
- Red and white (hard): swap 1:1. Flavor and color shift slightly.
- Soft white in bread: blend 25–40% soft with hard wheat. Reduce water slightly.
- No bread flour on hand: use hard white or hard red and add a touch more water.
- Einkorn swap: use by itself for cookies and quick bakes or blend 25–50% in bread.
Quick reference
| Use | Best choice | Backup blend |
|---|---|---|
| Everyday sandwich bread | Hard white | 50 50 hard red and hard white |
| Rustic sourdough or pizza | Hard red | 70% hard red + 30% hard white |
| Tender cookies and cakes | Soft white | Soft white + 10–20% hard white |
| Tortillas and flatbreads | Hard white | 60% hard white + 40% soft white |
© FiberMaiden • www.fibermaiden.com


