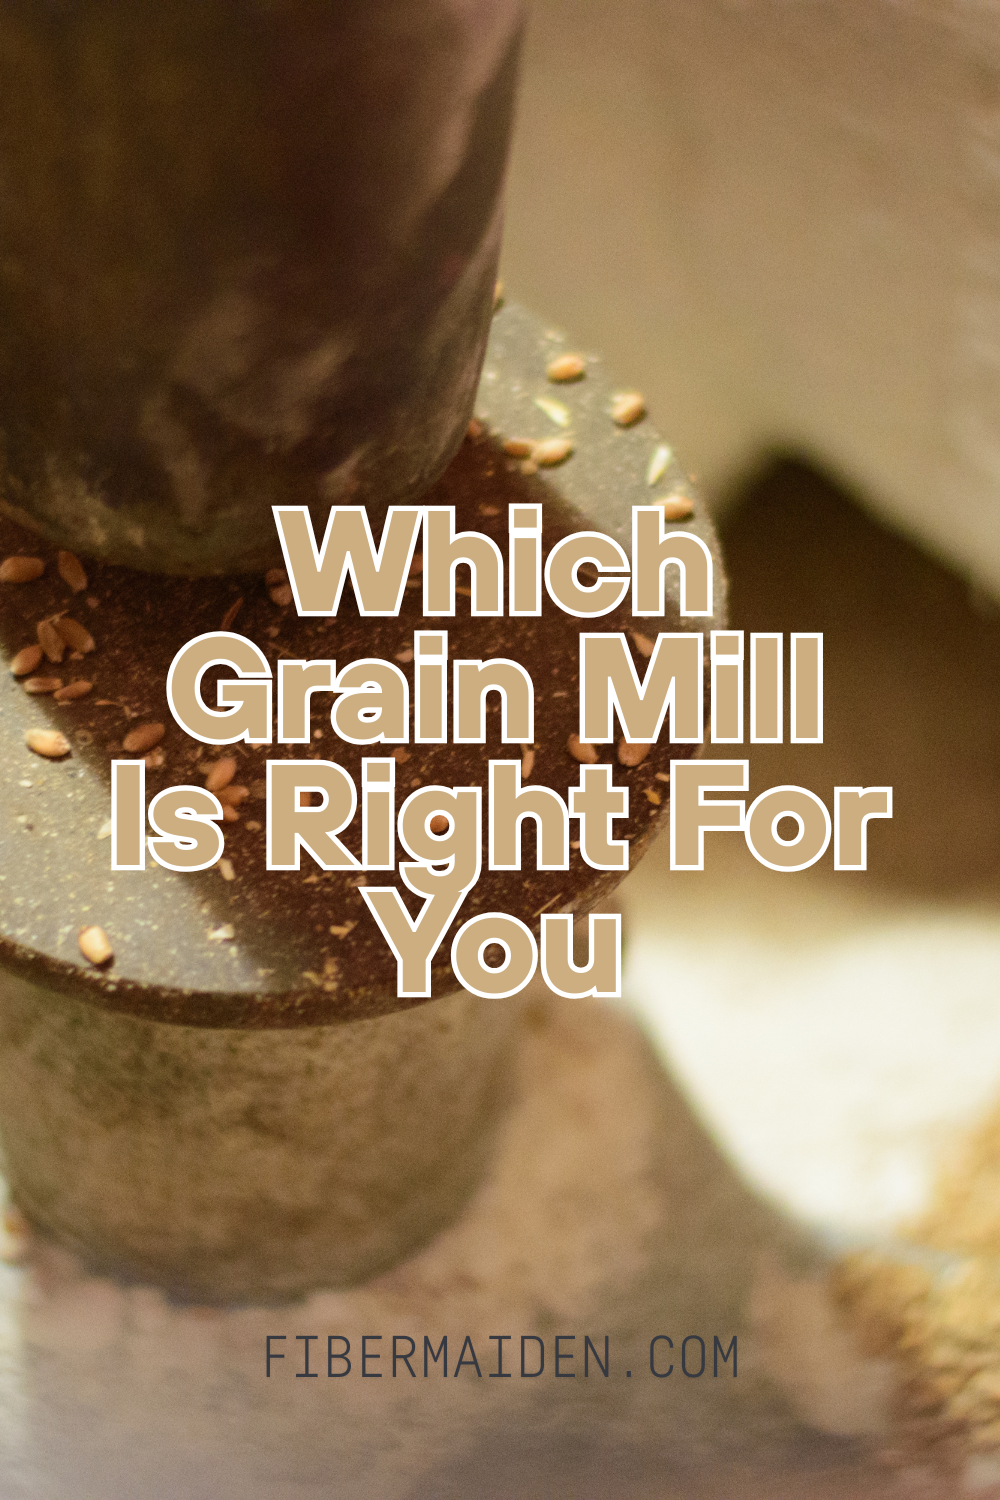
Getting Started With Fresh-Milled Flour: The Essential Equipment Guide
Getting Started With Fresh-Milled Flour: The Essential Equipment Guide
When I first started thinking about milling my own flour, I felt completely overwhelmed by all the equipment options and conflicting advice. Do you need an expensive stone-burr mill or will a basic impact mill work? What about all those fancy sifters and grain cleaners? How much wheat should you buy when you're just starting out?
After years of milling my own flour and helping others get started, I've learned that successful fresh-milled flour baking comes down to just a few essential pieces of equipment. Everything else is nice to have but not necessary when you're learning. The key is starting with quality basics that will grow with your skills, rather than buying everything at once and feeling overwhelmed.
Fresh-milled flour starts with whole grain berries and a mill. Everything else is about keeping the process fast, clean, and consistent. This guide will show you exactly what to buy first, what you can skip initially, and how to choose equipment that fits your actual baking style and budget. Make sure to check out the free printable Grain and Flour Quick Guide below.
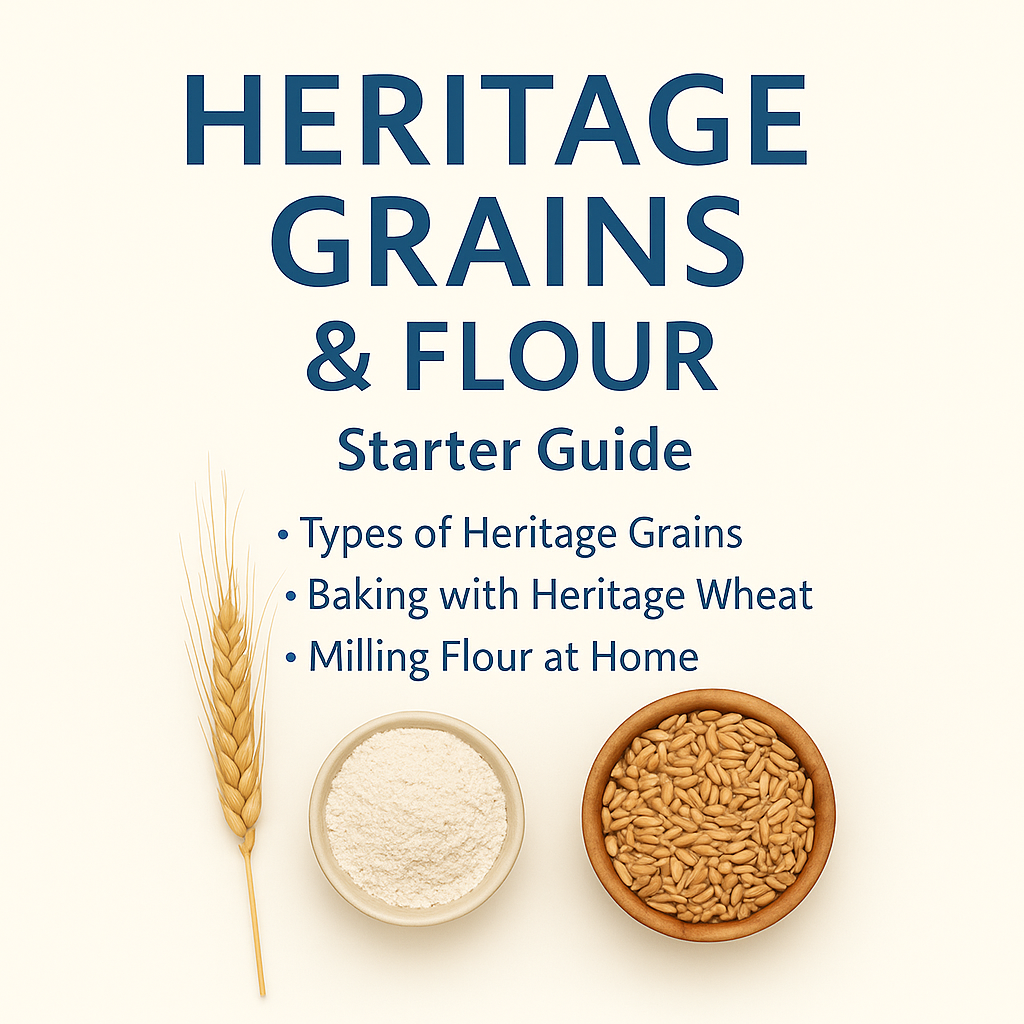
Build a pantry that feeds you well — grain by grain.
This beautifully crafted guide helps you organize your pantry and reconnect with real, whole food through the power of heritage grains. Whether you’re brand new to milling or ready to deepen your home cooking skills, you’ll learn how to store, mill, and bake with confidence — while enjoying the rich flavor and nutrition of whole, living grains.
Inside, you’ll explore four foundational grains — hard red wheat, soft white wheat, einkorn, and blue corn — with tips on storage, milling, and baking for each one. You’ll also find a gradual 30/70 transition method so you can swap in heritage flour at your own pace, plus beginner-friendly recipes and pantry planning strategies.
What You’ll Get
16-page PDF digital download — instant access after purchase
Profiles of 4 heritage grains with flavor notes, milling tips, and nutritional highlights
Recipes for einkorn pancakes, blue corn tortillas, muffins, and sandwich bread
Step-by-step guidance for starting with 30% FMF flour and increasing over time
How to choose a grain mill, store your grains, and keep flour fresh
Pantry staples that pair beautifully with FMF flours
Batch cooking and prep strategies to simplify your week
Frequently asked questions answered in plain language
Encouragement and guidance for building a whole food kitchen with ease
BONUS: 3 seasonal recipe sheets delivered via email after purchase when you join our mailing list
Perfect For:
Homesteaders, scratch cooks, and anyone ready to move away from processed flours and reconnect with fresh, nutritious grain right from their own pantry.
Delivery: Digital PDF download. No physical product will be shipped.
Get The Guide
Ready to stop wondering what grain to buy or how to use it once you mill it? This guide covers heritage grain selection, storage basics, and beginner-friendly techniques for milling and baking with fresh flour. No more staring at wheat berries wondering what comes next, just clear steps and practical tips so you can actually taste the difference fresh-milled flour makes in your kitchen.
Disclosure
Some links on FiberMaiden are affiliate links. When you click and purchase, I may earn a small commission at no extra cost to you. I partner only with brands and tools I trust and use in my own kitchen, studio, and garden. Your support means a lot.
What You Actually Need to Get Started
Grain mill (the heart of your setup)
Whole grain berries (start with Hard White or Hard Red wheat)
Fine mesh sieve or sifter (for texture control)
Airtight storage containers (for grain and flour)
Digital kitchen scale (precision matters with fresh flour)
That's it for the essentials. You can successfully bake beautiful breads, muffins, and pancakes with just these five items.
Nice to have later: dough scraper, instant-read thermometer, banneton or bowl with towel, Dutch oven or loaf pan, sourdough starter supplies or instant yeast.
Notice that list says "later." Don't feel pressured to buy everything at once. Start with the basics and add equipment as you discover what kind of fresh-milled flour baking you enjoy most.
How to Choose Your First Grain Mill
This is the biggest decision you'll make, and it should be based on what you actually bake, how often you bake, and honestly, how much noise you can live with. I've used different types of mills over the years, and each has its place.
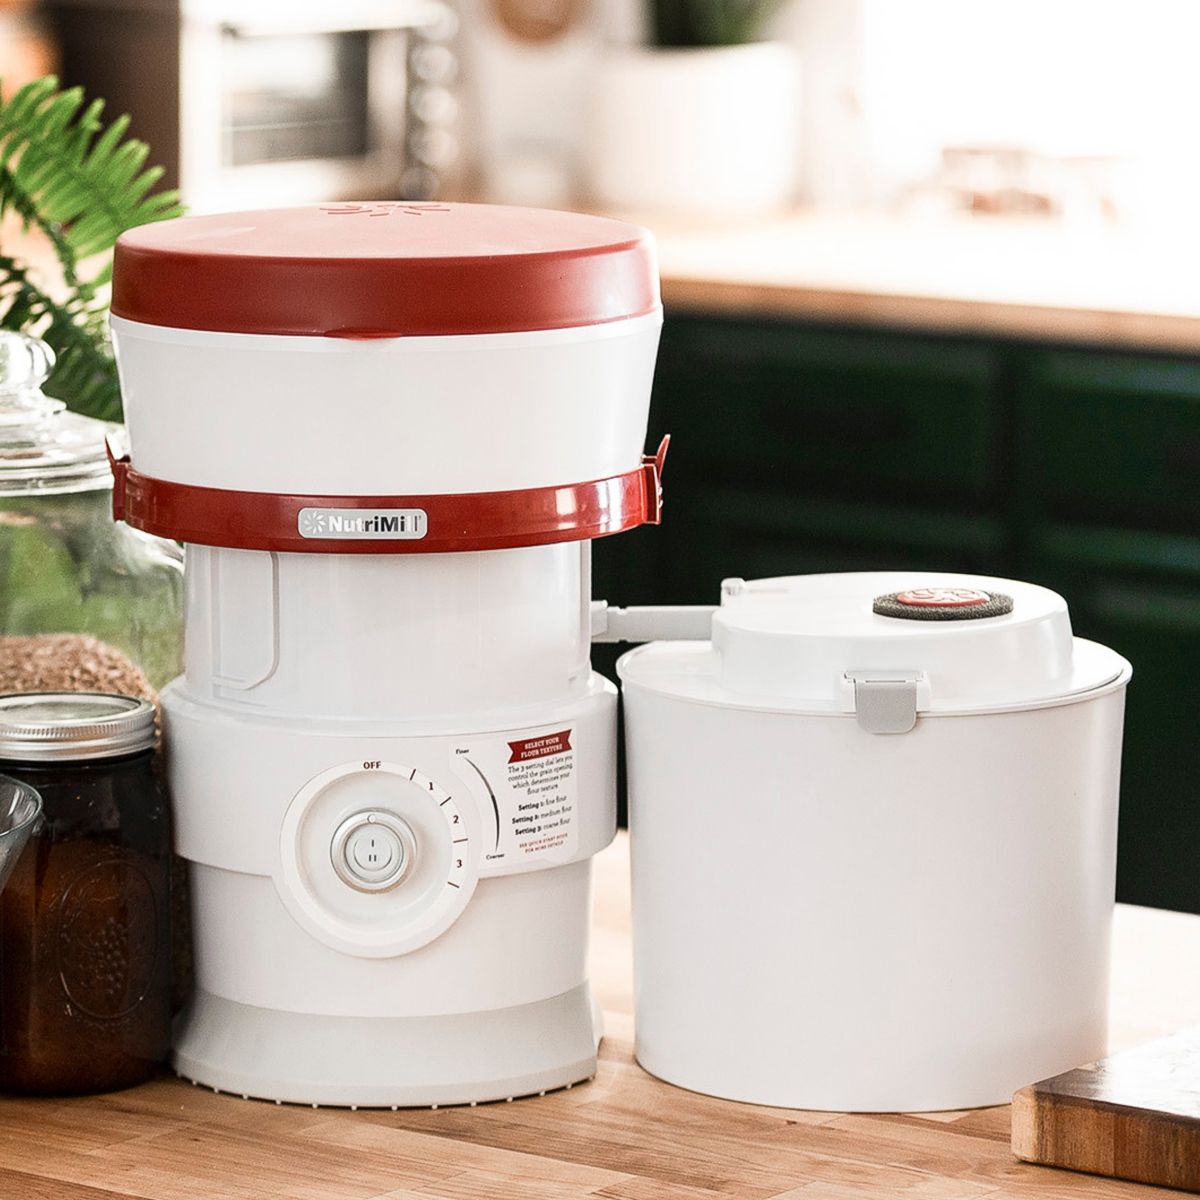
Stone-Burr Electric Mills
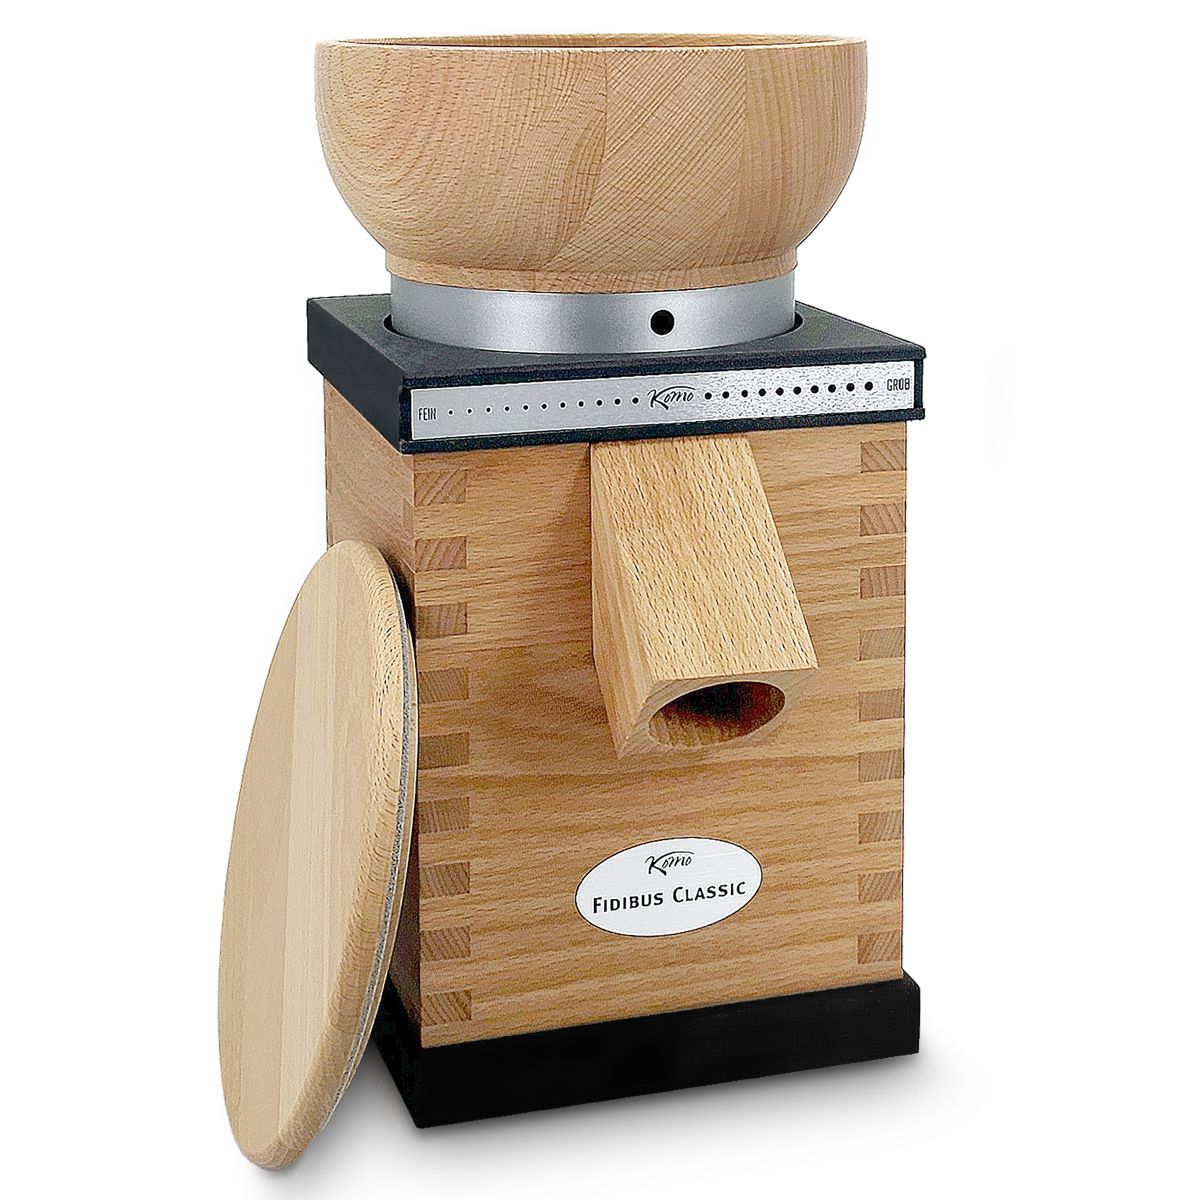
Best for: Daily bakers who want full flavor in bread and pastry
Why I recommend them: The gentle grinding action preserves more of the grain's natural oils and creates flour with incredible flavor. You get excellent control over fineness, from coarse meal to pastry-fine flour.
Consider: Higher upfront cost and they're heavier than other options. Also, avoid running oily seeds or very wet grains through stone mills as they can clog.
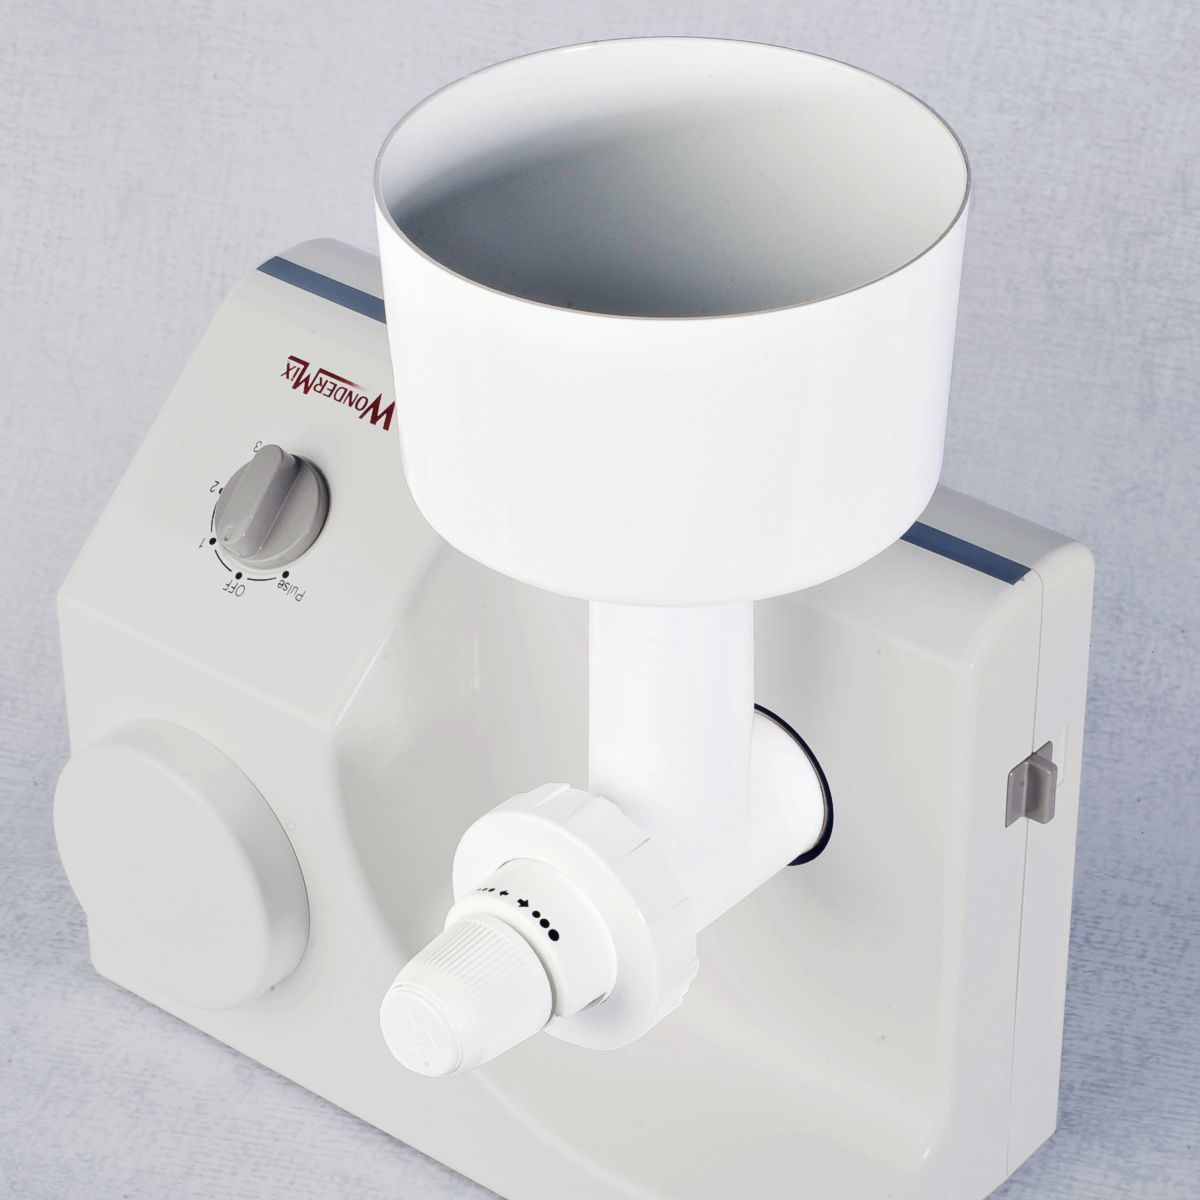
Impact Electric Mills
Best for: Fast everyday flour for sandwich loaves, pancakes, and muffins
Why they work: Budget-friendly option that produces very fine flour quickly. Perfect if you're milling flour for weekly sandwich bread and don't need the nuanced flavors that stone mills provide.
Consider: They're louder than stone mills, and the finest settings can sometimes produce flour that's almost powdery.
Steel-Burr Electric Mills
Best for: Coarse meals, corn grits, cracked grain, and versatility
Why choose steel: These handle a wider range of grains and legumes, especially at coarser settings. Great if you want to experiment with different grains beyond wheat.
Consider: They don't always produce flour as fine as stone or impact mills, which can matter for delicate pastries.
Manual (Hand) Mills
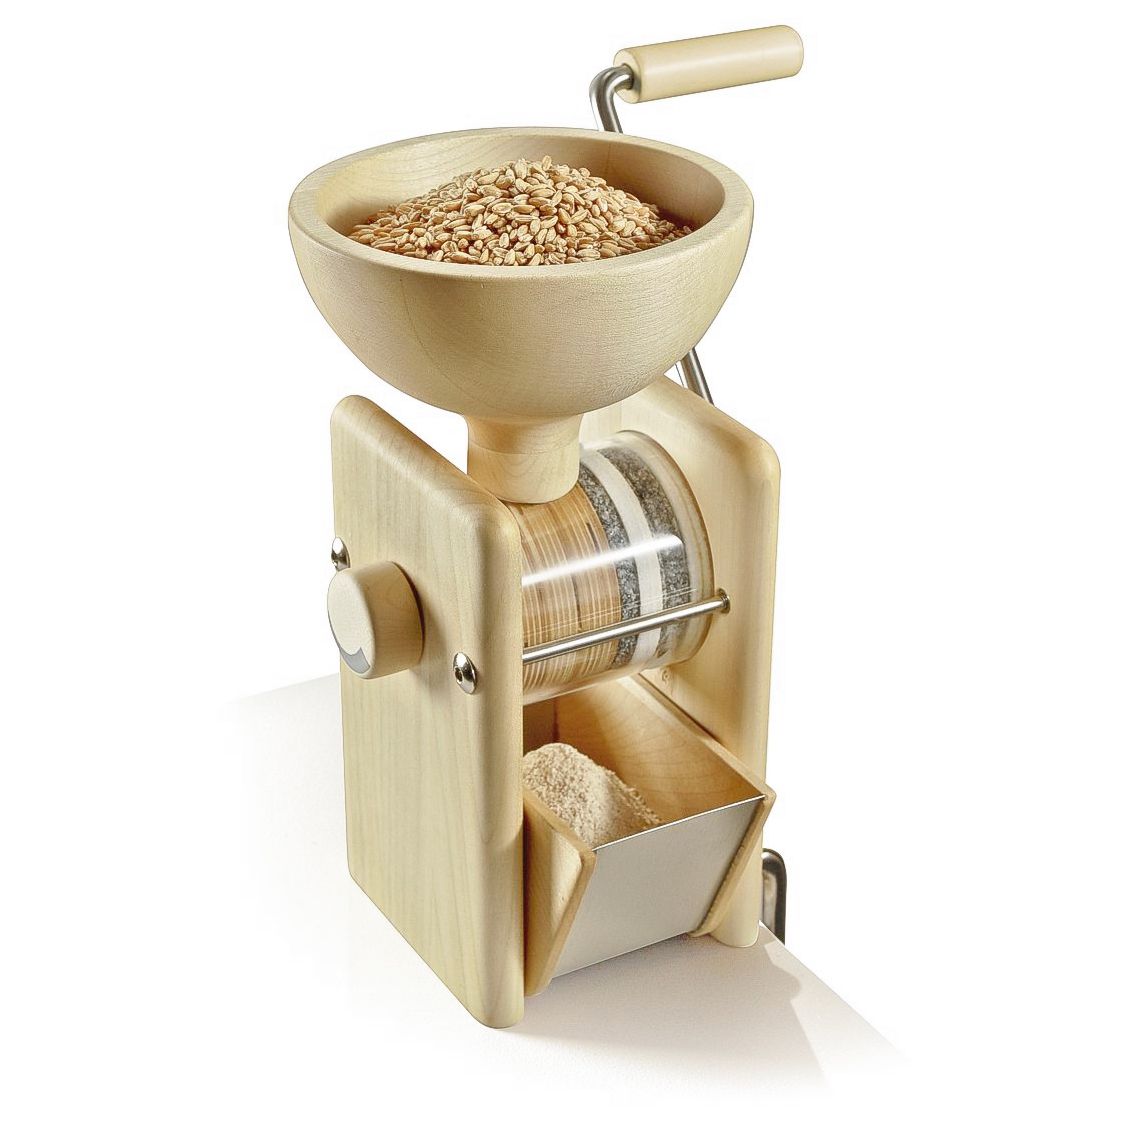
Best for: Small batches, backup power situations, or off-grid living
Why they matter: Portable, lowest cost option, and no electricity required. Perfect for testing fresh-milled flour without a big investment.
Consider: Slow process that requires effort, and achieving truly fine flour can be challenging.
My Quick Recommendation Guide
You bake weekly and want flavor plus flexibility: Stone-burr electric
You want the fastest flour for family meals: Impact mill
You love experimenting with coarse meals and different grains: Steel-burr
You're testing fresh-milled flour on a budget: Manual mill
Choosing Your First Grains
Start simple with wheat varieties that are forgiving and versatile:
Hard White wheat creates soft, mild sandwich loaves and rolls. It's less assertive than red wheat, making it perfect for beginners and families who prefer milder flavors.
Hard Red wheat provides deeper, nuttier flavor in hearth breads and artisan loaves. This is what most people think of as "whole wheat" flavor.
Soft White wheat works beautifully for tender cookies, cakes, and pastries where you want whole grain nutrition without heavy texture.
Buy grain in 10 to 25 pound quantities while you're learning. This gives you enough to experiment without committing to huge amounts before you know your monthly usage. Once you understand how much you mill regularly, you can move up to bulk purchasing for better prices.
Sifting: Simple Solutions Work Best
A basic fine mesh sieve is completely adequate when you're starting out. Forget the expensive multi-stage sifters initially. Here's how I approach sifting:
Sift once to lighten texture, then stir some of the removed bran back into your flour to taste. You're not trying to remove nutrition, just adjusting texture while you learn how fresh-milled flour behaves with different hydration levels and mixing times.
As you gain experience, you'll develop preferences for how much bran to include for different recipes. Some bakers sift heavily for cakes and pastries, while others embrace the full texture for rustic breads.
Storage Solutions That Actually Work
For grain: Airtight buckets or bins with tight-fitting lids work perfectly. Keep them in cool, dark, dry locations. I use food-grade buckets with gamma seal lids because they're easy to open but create a tight seal.
For flour: Mill what you need when you need it. Fresh-milled flour is best used immediately, but if you have extra, refrigerate in airtight containers and use within 1 to 2 weeks, or freeze for 2 to 3 months for best flavor.
The beauty of milling your own flour is that you can always make exactly what you need, so storage becomes less of an issue than with store-bought flour.
The Digital Scale You Need
Measuring fresh-milled flour by volume is unreliable because the texture and density vary depending on your mill settings and sifting choices. A digital scale is essential for consistent results.
Look for 0.1 gram precision that weighs up to at least 2 kilograms. This precision lets you measure yeast and salt accurately while handling full recipe quantities. Grams are easier to work with than ounces for baker's percentages and recipe scaling.
Three Complete Starter Setups
Budget Starter Setup ($150-300)
Manual grain mill
Fine mesh sieve
Digital scale
10 pounds Hard White wheat
One airtight bin for grain storage
Mason jars for small amounts of flour
Everyday Baker Setup ($300-600)
Impact electric mill
Fine mesh sieve
Digital scale
Two airtight storage containers
25 pounds Hard White wheat
Basic bread-making tools
Artisan Bread Path ($500-1000+)
Stone-burr electric mill
Fine mesh sieve
Precision digital scale
Banneton or bowl with towel for proofing
Dutch oven or steel loaf pan
25 pounds Hard Red or Hard White wheat
Sourdough starter supplies
Choose the setup that matches both your budget and your actual baking habits, not your aspirational ones.
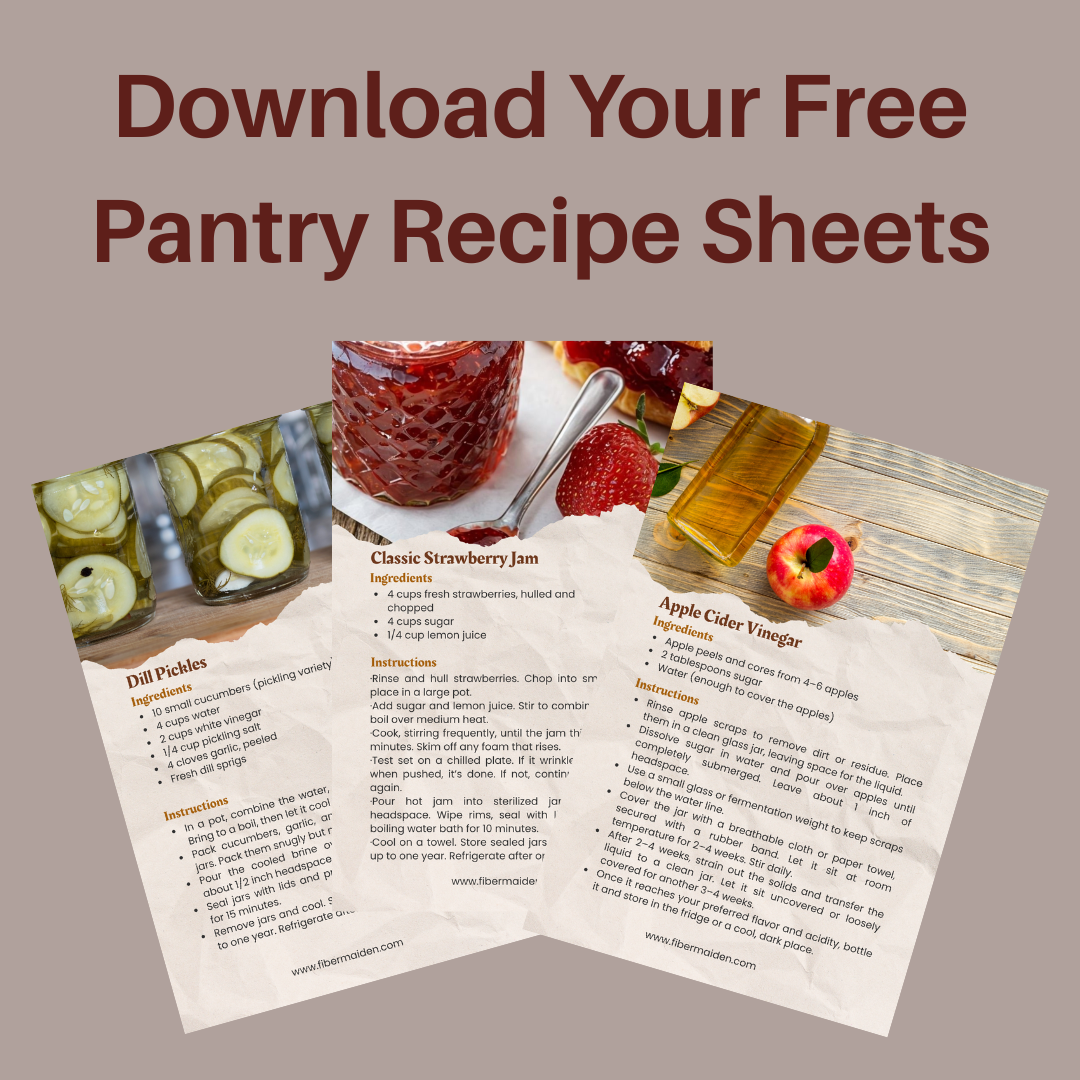
Get 3 Free Recipe Sheets
Ready for recipes that don't require a culinary degree to follow? Get seasonal recipe sheets designed for real kitchens and busy lives, the kind that work even when your kids are asking for snacks mid-prep.
What to Skip Initially
Fancy multi-stage sifters: Learn your basic sifting needs first
Grain cleaners and sorters: Most wheat from reputable suppliers is already clean
Specialty attachments for oily seeds: Master wheat milling before expanding to other grains
The goal is to learn your basic mill and understand how different grains behave before adding complexity. You can always upgrade later once you know what you actually need.
Essential Care and Maintenance
Read your mill's instruction manual completely before first use. Each mill has specific requirements and recommendations.
Never run oily seeds or wet sprouted grain through stone or impact mills. These can damage the grinding mechanism or create clogs that are difficult to clean.
Brush out the milling chamber after each session to prevent rancid oils from building up. Let your mill cool down if it feels hot after extended use.
For stone mills, start with looser settings and gradually tighten to achieve your desired fineness. Forcing stones too tight can damage them or create excessive heat.
First Baking Projects That Always Work
50% fresh-milled flour sandwich loaf: Replace half the white flour in your favorite recipe with fresh-milled flour by weight. Add 1 to 2 teaspoons extra water per cup of flour if the dough feels stiff.
100% fresh-milled flour pancakes or waffles: This is an easy win that showcases the incredible flavor of fresh flour without the complexity of bread making.
Sourdough with 20-40% fresh-milled flour: Build confidence with partial substitution, then gradually increase the percentage as you learn how fresh flour behaves.
These projects let you experience the flavor benefits of fresh-milled flour while building skills gradually.
Troubleshooting Common Issues
Dense, heavy loaves: Add more water and extend mixing/rising times. Fresh-milled flour needs more hydration and longer fermentation than refined flour.
Bitter or off flavors: Check the freshness of your grain and flour. Fresh whole-grain flour should smell sweet and nutty, never sour or bitter.
Chalky mouthfeel: Sift your flour once or adjust your mill to a slightly coarser setting. Very fine flour can sometimes create an unpleasant texture.
Slow rising dough: Fresh flour often needs warmer temperatures and longer fermentation times. Consider using a preferment or extending your bulk fermentation.
Making Your Equipment Investment Count
When you're ready to buy a mill, consider these factors:
Fineness range: Make sure it covers the texture range for your favorite baked goods
Processing speed: Match the mill's capacity to your typical batch sizes
Noise level: Consider where you'll use it and when you typically bake
Cleaning ease: Look for mills that disassemble easily for cleaning between different grains
Warranty and service: Choose brands with clear warranty terms and accessible customer service
The right mill for you is the one you'll actually use regularly, not necessarily the most expensive or feature-rich option.
Building Your Fresh-Milled Flour Practice
Starting with fresh-milled flour is about building sustainable habits, not perfecting everything immediately. Choose equipment that fits your current baking routine and budget, then grow your setup as your skills and interests develop.
The most important purchase is your first bag of whole grain wheat and getting started. Every loaf you bake with fresh-milled flour teaches you something new about how this incredible ingredient behaves.
Remember, bakers have been milling their own flour for thousands of years with much simpler equipment than what's available today. Focus on the basics, practice regularly, and let your experience guide your equipment choices as you develop your fresh-milled flour baking style.
Fresh-Milled Flour Equipment FAQ
What is the minimum gear I need to start?
Which grain mill is best for beginners?
How do mill types differ?
- Stone-burr: gentle grind, great flavor, wide fineness range. Avoid oily or damp foods.
- Impact: very fast, very fine flour, budget friendly. Loudest option.
- Steel-burr: good for coarse meals, grits, cracked grain. Not always pastry-fine.
- Manual: portable and low cost. Slow and more effort.
Are mills loud? How can I reduce noise?
Do I need to sift fresh-milled flour?
Which grain should I start with?
How should I store grain and fresh flour?
Can I mill oily seeds, nuts, or wet sprouted grain?
How do I clean the mill safely?
How much can I mill at once?
How do I keep milling neat and low mess?
Can I mill beans, corn, or rice?
What about warranties and service?
Grain & Flour Quick Guide
Simple chart and tips for choosing grains, flour types, and blends for fresh milled and store flour.
Best for bread: Hard red or hard white
Best for tender bakes: Soft white
Mild flavor: Hard white • Robust flavor: Hard red
Flatbreads and tortillas: Hard white or a red and white blend
Grain comparison
| Grain | Typical protein | Best for | Flavor notes | Notes |
|---|---|---|---|---|
| Hard Red Wheat | ~12–15% | Yeasted bread, sourdough, pizza, bagels | Nutty, fuller flavor, tan crumb | Strong gluten for rise. Great for 100% whole grain loaves. |
| Hard White Wheat | ~11–14% | Sandwich bread, rolls, tortillas | Mild, slightly sweet, lighter color | Kid friendly flavor with good rise and soft crumb. |
| Soft White Wheat | ~8–10% | Cookies, cakes, muffins, crackers | Delicate, pale crumb | Low gluten. Blend with hard wheat for tall loaves. |
| Einkorn | ~9–12% | Pastry, cookies, quick breads, flatbreads | Buttery, sweet, golden | Weaker gluten. Mix gently. Often lower hydration than modern wheat. |
| Spelt | ~11–15% | Bread blends, pancakes, muffins | Sweet, slightly nutty | Extensible gluten. Handle gently to avoid spread in loaves. |
| Rye | ~7–10% | Rye breads, crackers, blends | Earthy, tangy | Little gluten. Great at 10–40% in blends for flavor and keeping. |
Fresh milled flour tips
- Hydration: plan a bit more water than store flour. Add gradually.
- Autolyse: rest flour and water 20–30 minutes before kneading to soften bran.
- Mixing: shorter knead, more folds. Whole grain tightens if overworked.
- Proofing: whole grain ferments faster. Watch the dough, not the clock.
- Sifting option: sift coarse bran, soak it in a little water, then fold in.
Simple substitutions
- Red and white (hard): swap 1:1. Flavor and color shift slightly.
- Soft white in bread: blend 25–40% soft with hard wheat. Reduce water slightly.
- No bread flour on hand: use hard white or hard red and add a touch more water.
- Einkorn swap: use by itself for cookies and quick bakes or blend 25–50% in bread.
Quick reference
| Use | Best choice | Backup blend |
|---|---|---|
| Everyday sandwich bread | Hard white | 50 50 hard red and hard white |
| Rustic sourdough or pizza | Hard red | 70% hard red + 30% hard white |
| Tender cookies and cakes | Soft white | Soft white + 10–20% hard white |
| Tortillas and flatbreads | Hard white | 60% hard white + 40% soft white |
© FiberMaiden • www.fibermaiden.com