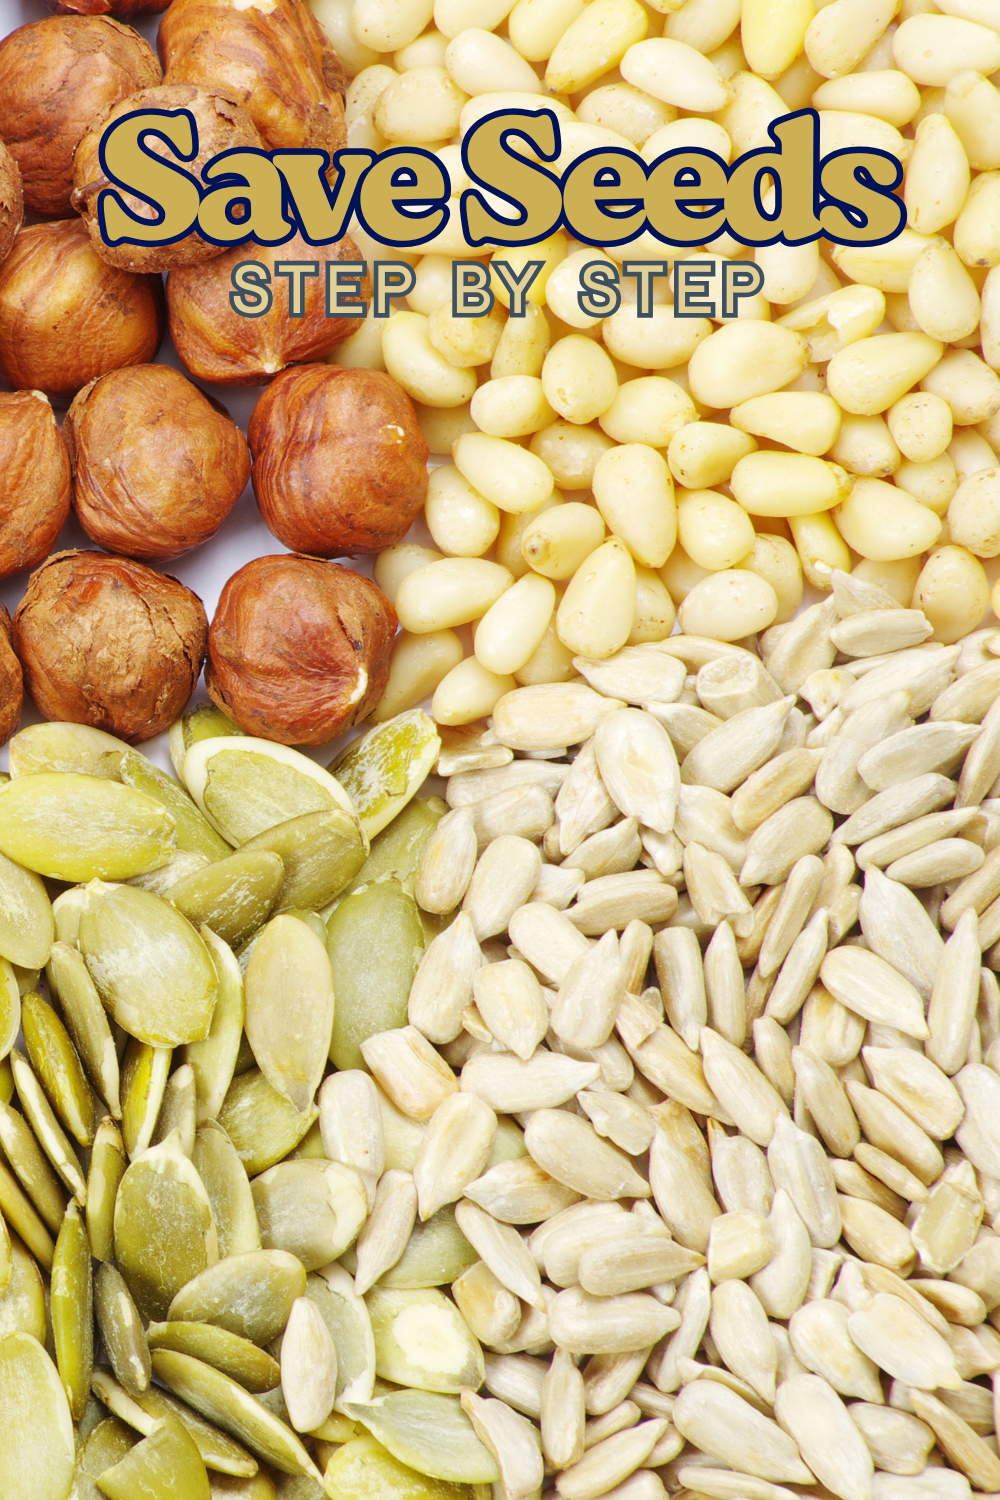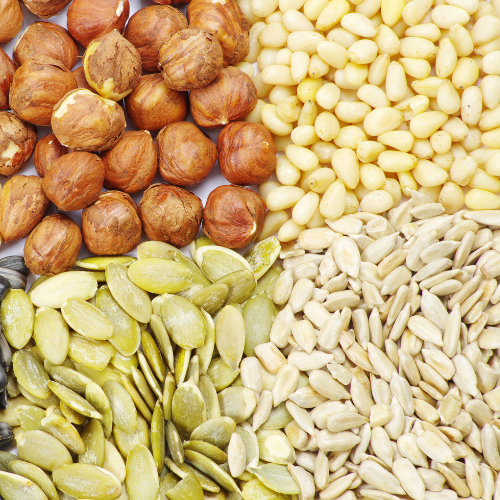
How to Harvest and Save Seeds
There's something deeply satisfying about closing the loop in your garden by saving seeds and preserving herbs from this year's harvest to sustain next year's growing. This project connects you to gardening traditions that have sustained families for generations while building skills that increase your self-sufficiency and reduce dependency on store-bought supplies.
Whether you're a seasoned gardener looking to expand your preservation skills or a beginner wanting to make the most of your first harvest, seed saving and herb drying are perfect starting points. These techniques are forgiving, require minimal equipment, and provide immediate benefits you'll appreciate all year long.
The best part is that both skills work together beautifully. As you harvest herbs for drying, you can simultaneously collect seeds from your best plants, creating a complete cycle of garden sustainability that pays dividends season after season.
Why Save Seeds and Dry Herbs
Saving seeds and drying herbs stretches your garden through the year. Keep favorite varieties, lower next season's costs, and stock your pantry with homegrown flavor.
Save money: Seed packets and dried herbs add up fast Control quality: Choose your best plants and dry at peak freshness
Convenience: Jars on the shelf for cooking and next year's planting Reduce waste: Reuse jars and envelopes instead of single-use packets
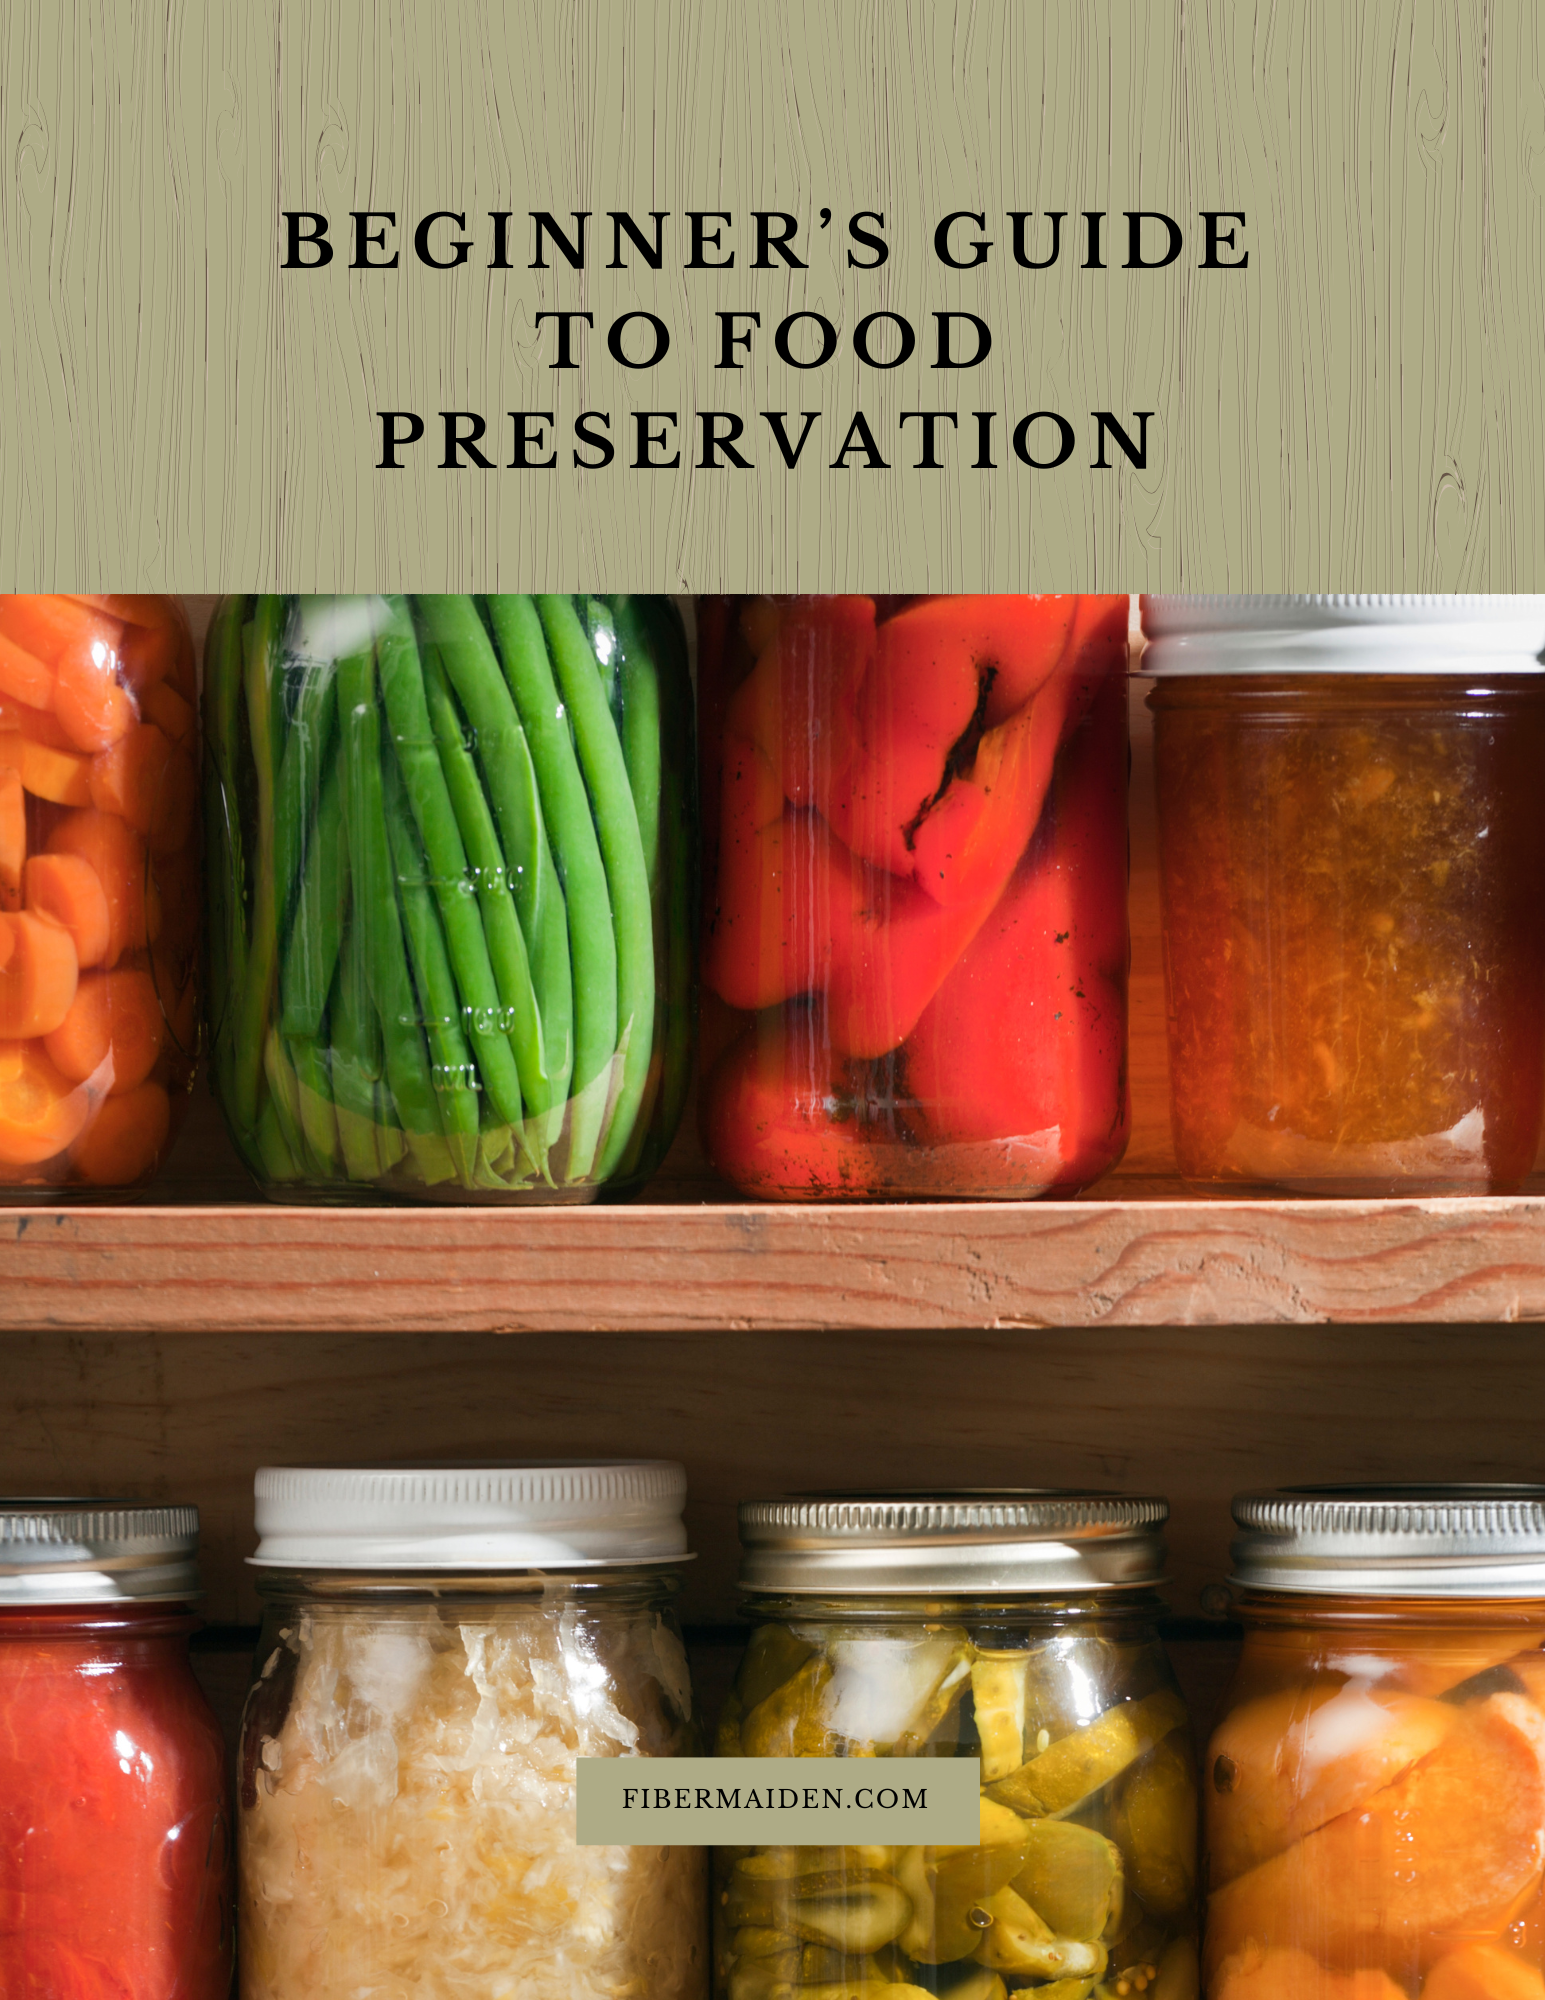
Beginner Guide to Food Preservation
This guide is a simple, approachable introduction to preserving food at home. Whether you’re new to food preservation or returning to it after a break, this resource covers the essentials in a way that’s easy to follow and rooted in practical experience.
It’s written to help you make real progress using tools and ingredients you likely already have in your kitchen no pressure, no perfection required.
What’s Included
A printable PDF guide over 70 pages of full color content
Covers three core preservation methods: freezing, dehydrating, curing, pickling, fermenting, and canning
Step-by-step instructions for each method, including safety tips and basic equipment
Over twenty recipes and whole meal recipes
Designed for US letter-size paper (8.5x11) for easy at-home printing
BONUS: 3 seasonal recipe sheets delivered via email after purchase when you join our mailing list
How to Use
This guide is meant to be used, not just read. Pick one method to start with such as freezing garden produce or making a simple jam and follow the instructions at your own pace.
Why It’s Useful
Preserving food helps reduce waste, save money, and build self-sufficiency. But for many beginners, it can feel overwhelming. This guide breaks it down into manageable steps and encourages you to start small, build confidence, and grow from there.
Delivery
You’ll receive an instant digital download in PDF format, ready to view on any device or print at home.
Start preserving with confidence one jar, bag, or batch at a time.
Download your guide and begin stocking your pantry with real, homemade food.
Get The Guide
Stop second-guessing every step of your food preservation projects. This guide walks you through method selection, safety basics, and how to fix things when they don't go according to plan so you can preserve with confidence instead of crossed fingers.
Disclosure
Some links on FiberMaiden are affiliate links. When you click and purchase, I may earn a small commission at no extra cost to you. I partner only with brands and tools I trust and use in my own kitchen, studio, and garden. Your support means a lot.


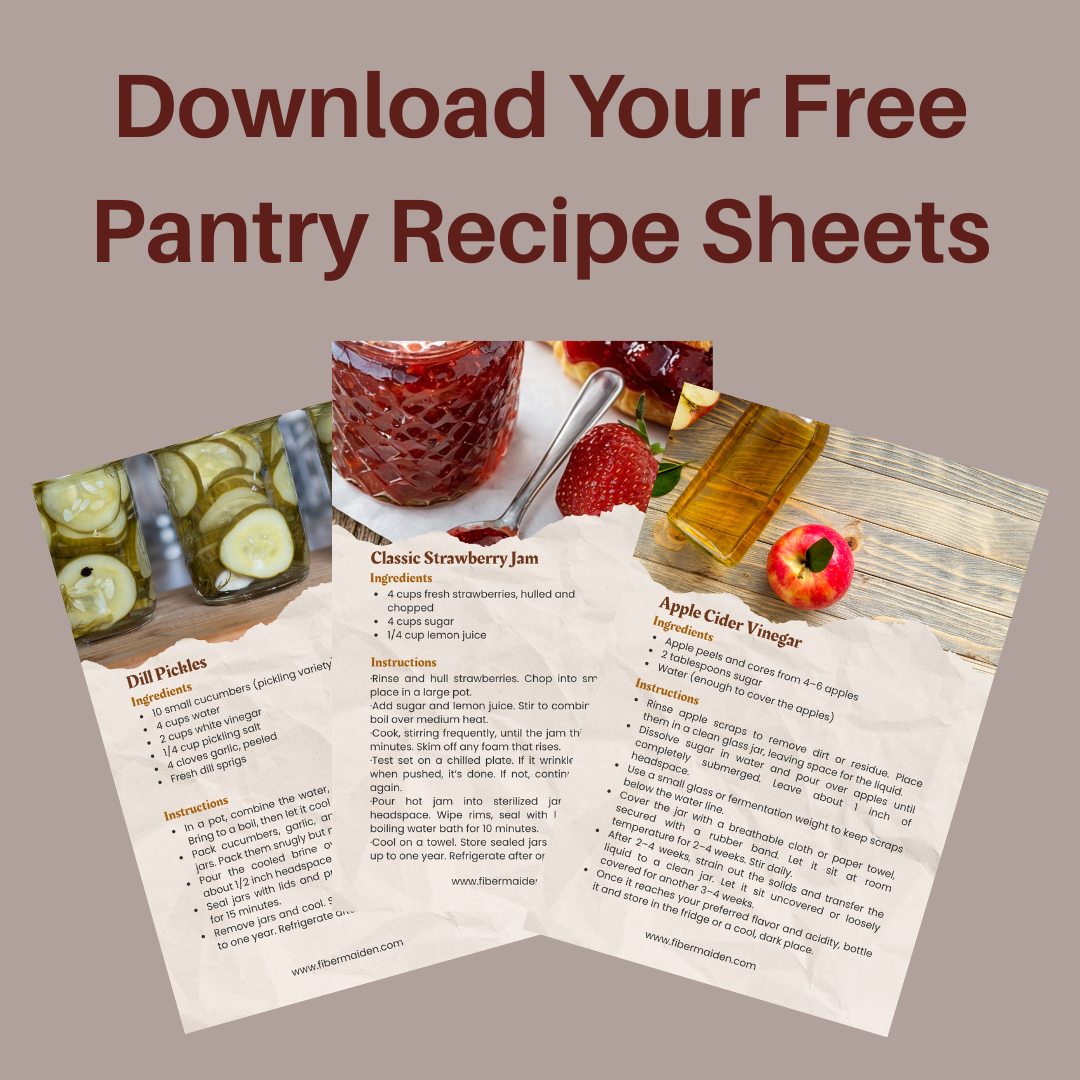
Get 3 Free Recipe Sheets
Ready for recipes that don't require a culinary degree to follow? Get seasonal recipe sheets designed for real kitchens and busy lives, the kind that work even when your kids are asking for snacks mid-prep.
Troubleshooting Guide
Both seed saving and herb drying are straightforward processes, but here are solutions to common challenges:
My seeds won't germinate next season Seeds may not have been fully mature when collected, or they got too wet during drying. Always collect seeds from fully ripe fruits or seed heads, and ensure they're completely dry before storage. Test a few seeds before planting season to check viability.
My dried herbs have no flavor Herbs likely lost their essential oils due to too much heat, light, or time during drying. Harvest herbs in the morning after dew evaporates but before the heat of the day. Dry quickly in a dark, well-ventilated area and store away from light.
Seeds developed mold during drying This happens when seeds retain too much moisture or don't get adequate air circulation. Spread seeds in thin layers and stir occasionally during drying. Ensure they're completely dry before storing, they should snap rather than bend.
My herbs turned brown or black while drying Herbs were likely exposed to too much direct sunlight or heat. Dry herbs in a shaded, well-ventilated area with temperatures under 95°F. Bundled herbs should be small enough that air can circulate freely around all stems.
Stored seeds are being eaten by insects Pests can destroy seed collections quickly. Ensure seeds are completely dry before storage and consider freezing them for 48 hours to kill any insect eggs. Store in airtight containers with bay leaves or diatomaceous earth as natural deterrents.
My herb bundles fell apart while drying Stems shrink as they dry, loosening rubber bands or string. Use rubber bands that will contract as stems shrink, or check bundles periodically and retighten as needed. Alternatively, remove leaves from stems and dry them on screens.
Seeds from hybrid plants don't grow true to type Hybrid varieties don't produce seeds that match the parent plant. Focus on open-pollinated or heirloom varieties for seed saving. If you accidentally saved hybrid seeds, the plants may still be edible but won't match your expectations.
My dried herbs are dusty or have debris Clean herbs more thoroughly before drying, and consider using screens or dehydrator trays instead of hanging bundles in dusty areas. Gently sift dried herbs through a fine mesh strainer to remove debris before storage.
Seeds from different varieties cross-pollinated Some plants cross-pollinate easily, especially in the same plant families. To maintain variety purity, either plant different varieties far apart, save seeds from isolated plants, or hand-pollinate and bag flowers to prevent crossing.
My herb storage containers aren't staying airtight Check that jar rims are clean and lids are in good condition. Consider using vacuum-sealed bags for long-term storage, or add oxygen absorbers to jars to extend shelf life and maintain quality.ination: seed is old or crossed. Reseat with fresher seed and isolate plants next season
Saving Seeds & Drying Herbs — FAQ
Wet-seed method: scoop seeds, rinse in a sieve, then dry as a single layer. Avoid high heat—gentle airflow beats ovens.