Stash-Busting Quilt Blocks Using Year of Scrappy Triangles
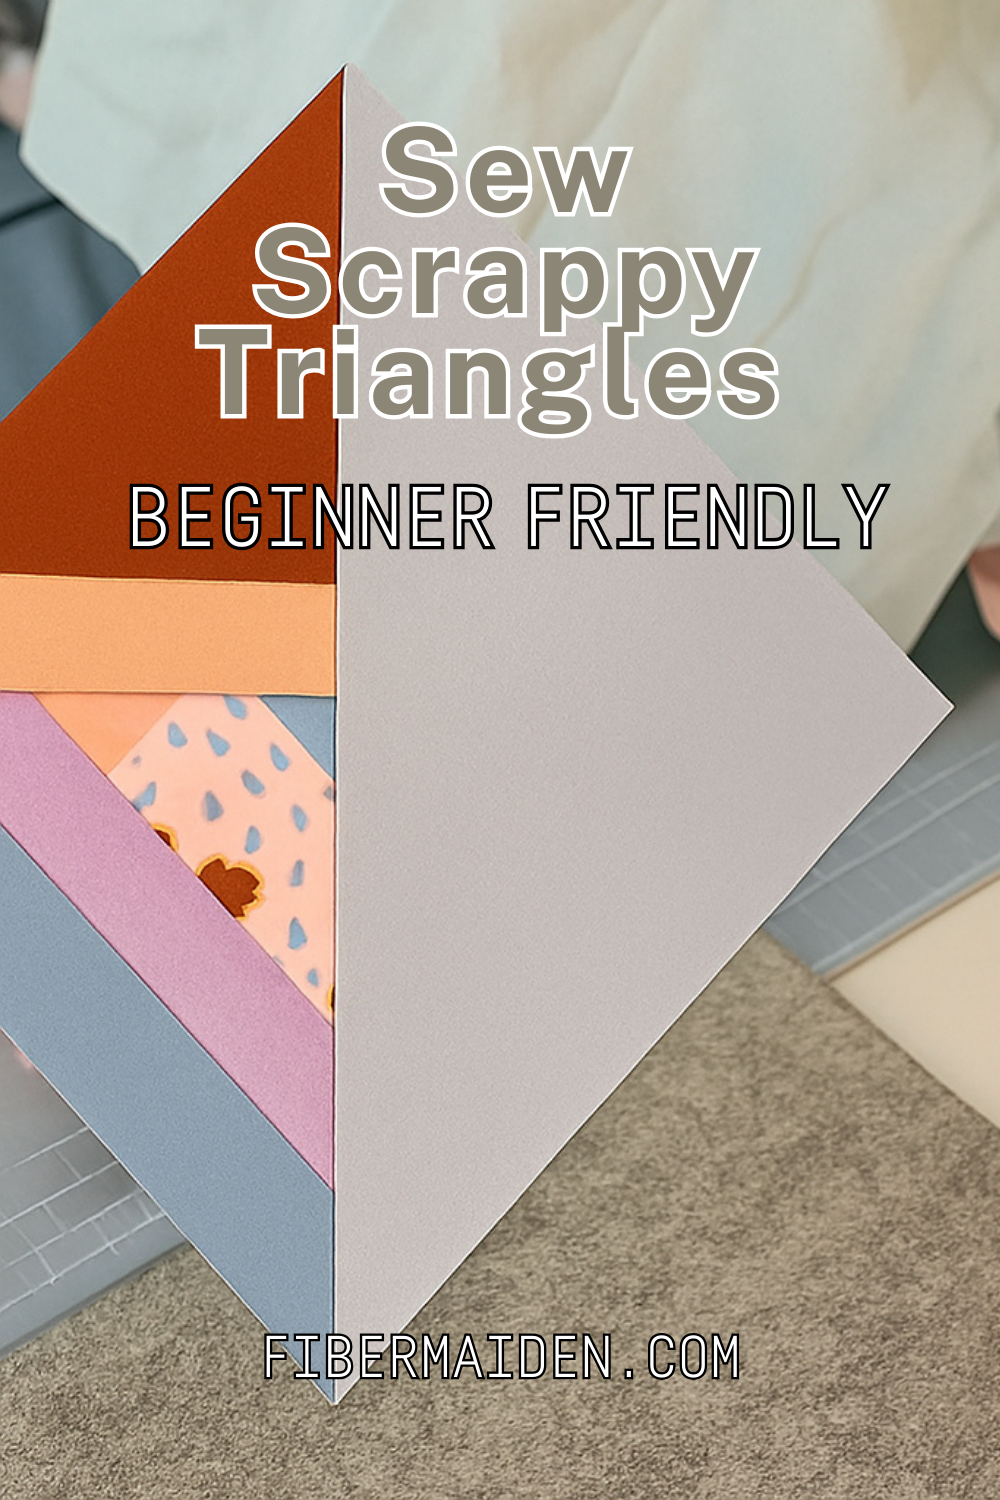
My fabric scrap bin reached that dangerous tipping point where opening the lid meant an avalanche of tiny pieces cascading onto the floor. That's when I discovered the Year of Scrappy Triangles free foundation paper piecing patterns, and suddenly all those bits I'd been hoarding had a purpose again.
This project has become one of the most satisfying stash-busting adventures in my studio. These quilt blocks are designed for beginners, require zero new fabric purchases, and transform your leftover bits into something genuinely useful, one triangle at a time. Foundation paper piecing removes the guesswork from working with irregular scraps, and the slow, methodical process becomes surprisingly meditative once you find your rhythm.
Is This Project For Me?
If your fabric scraps are taking over your sewing space and you're tired of feeling guilty about throwing away "perfectly good" fabric pieces, this is perfect for you. You want a project that uses what you already have instead of requiring trips to the fabric store. This works whether you're completely new to quilting or experienced but intimidated by foundation paper piecing. You can work at your own pace, making one block or several, without committing to a specific finished size. If you love the idea of turning chaos into something organized and beautiful while learning valuable quilting techniques, this belongs on your project list. Make sure to check out our free printable Fiber Arts Quick Guide below.
Get The Guide
Ready to stop feeling lost every time you pick up needles or thread? This guide covers the core techniques, tools, and terms for knitting, crocheting, weaving, and simple sewing. No more guessing, just clear steps and beginner checklists so you can actually start (and finish) projects you love.
Disclosure
Some links on FiberMaiden are affiliate links. When you click and purchase, I may earn a small commission at no extra cost to you. I partner only with brands and tools I trust and use in my own kitchen, studio, and garden. Your support means a lot.
Troubleshooting and Safety
Paper tearing during sewing: Your stitch length might be too long, or you're pulling too hard when positioning fabric. Use a shorter stitch length (about 18-20 stitches per inch) to create better perforations for easy paper removal.
Fabric pieces not covering the pattern area: Cut fabric pieces at least 1/2 inch larger than the pattern section on all sides. It's better to trim excess than to run short. Hold pieces up to the light to check coverage before sewing.
Blocks coming out different sizes: Foundation paper piecing should create consistent block sizes, but printer settings can affect pattern dimensions. Always print at 100% scale and measure the test square provided with most patterns.
Seams not aligning when joining blocks: Check that you're maintaining accurate 1/4 inch seam allowances and that your pressing is consistent. Steam can distort foundation-pieced blocks, so use a dry iron when possible.
Frequently Asked Questions
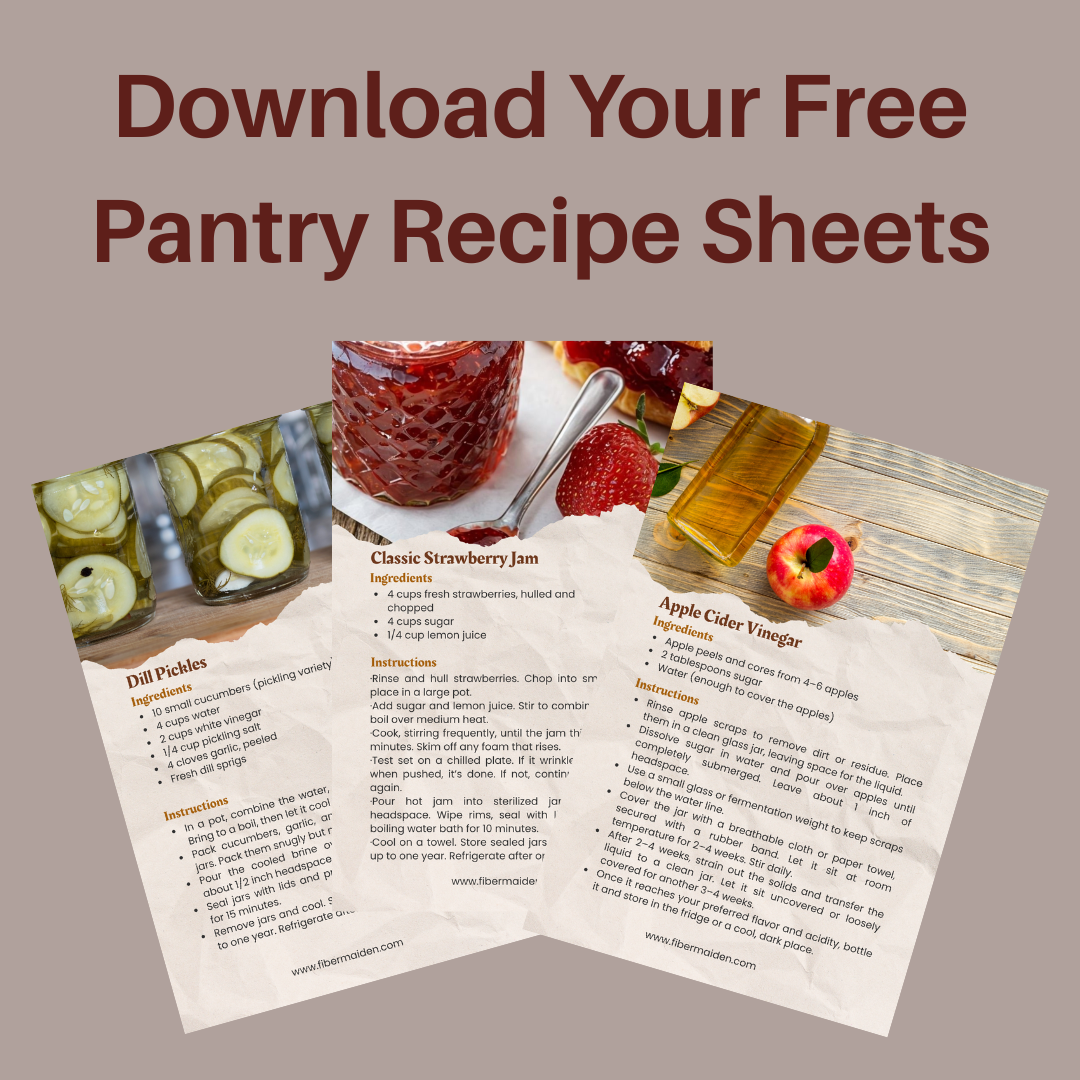
Get 3 Free Recipe Sheets
Ready for recipes that don't require a culinary degree to follow? Get seasonal recipe sheets designed for real kitchens and busy lives, the kind that work even when your kids are asking for snacks mid-prep..
Fiber Arts Quick Guide
One page for yarn weights, needle & hook sizes, gauge basics, and quilt math. Keep within reach while you work.
Yarn weights at a glance
| Weight | CYC # | Knit gauge (sts/4 in) • Needles US | Crochet gauge (sts/4 in) • Hook |
|---|---|---|---|
| Lace | 0 | 33–40+ • 000–1 | 28–36+ • Steel/B–C |
| Fingering / Sock | 1 | 27–32 • 1–3 | 21–32 • B–E (2.25–3.5 mm) |
| Sport | 2 | 23–26 • 3–5 | 16–20 • E–7 (3.5–4.5 mm) |
| DK | 3 | 21–24 • 5–7 | 12–17 • 7–I (4.5–5.5 mm) |
| Worsted | 4 | 16–20 • 7–9 | 11–14 • I–K (5.5–6.5 mm) |
| Bulky | 5 | 12–15 • 9–11 | 8–11 • K–M/N (6.5–9 mm) |
| Super Bulky | 6 | 6–11 • 11–17 | 5–9 • M/N–Q (9–15 mm) |
| Jumbo | 7 | 1–6 • 17+ | 0–5 • Q+ (15 mm+) |
Always swatch. Fiber content, twist, and your tension change gauge.
Needle and hook conversions
Knitting needles (US ↔ mm)
| US | mm |
|---|---|
| 0 | 2.00 |
| 1 | 2.25 |
| 2 | 2.75 |
| 3 | 3.25 |
| 4 | 3.50 |
| 5 | 3.75 |
| 6 | 4.00 |
| 7 | 4.50 |
| 8 | 5.00 |
| 9 | 5.50 |
| 10 | 6.00 |
| 10.5 | 6.50 |
| 11 | 8.00 |
| 13 | 9.00 |
| 15 | 10.00 |
Crochet hooks (Letter ↔ mm)
| Hook | mm |
|---|---|
| B | 2.25 |
| C | 2.75 |
| D | 3.25 |
| E | 3.50 |
| F | 3.75 |
| G | 4.00 |
| 7 | 4.50 |
| H | 5.00 |
| I | 5.50 |
| J | 6.00 |
| K | 6.50 |
| L | 8.00 |
| M/N | 9.00 |
| N/P | 10.00 |
Gauge and swatch basics
- Knit or crochet a 6 × 6 in swatch. Wash and lay flat to dry.
- Measure the center 4 in square. Count stitches and rows.
- Stitches per inch: stitches in 4 in ÷ 4. Rows per inch: rows in 4 in ÷ 4.
Cast on = target width (in) × stitches per inch + 2 edge stitches.
Rows to length = target length (in) × rows per inch.
Quilt and sewing quick math
- Seam allowances: quilting 1/4 in • garments 5/8 in
- Half-square triangles (HST): cut size = finished size + 7/8 in (or add 1 in and trim to square)
- Quarter-square triangles (QST): cut size = finished size + 1 1/4 in
- Binding estimator: total length = perimeter + 12 in; strip count = ceil(total ÷ WOF). Typical strip width 2.5 in
- Prewash tips: prewash reds/darks. Press, square the grain, then cut.
Labeling and project notes
- Yarn or fabric source, colorway, lot, and fiber content
- Gauge and needle or hook size
- Pattern name and size adjustments
- Wash and care instructions
© FiberMaiden • www.fibermaiden.com


