Making Lavender Herbal Cone Incense from Scratch
Store-bought incense always left me with a headache instead of the peaceful atmosphere I was hoping to create. The artificial fragrances were overwhelming, and I could never shake the feeling that I was breathing in chemicals rather than enjoying natural plant aromas. That's when I discovered that making incense from real herbs creates a completely different experience, one that actually delivers the calming effects I was seeking.
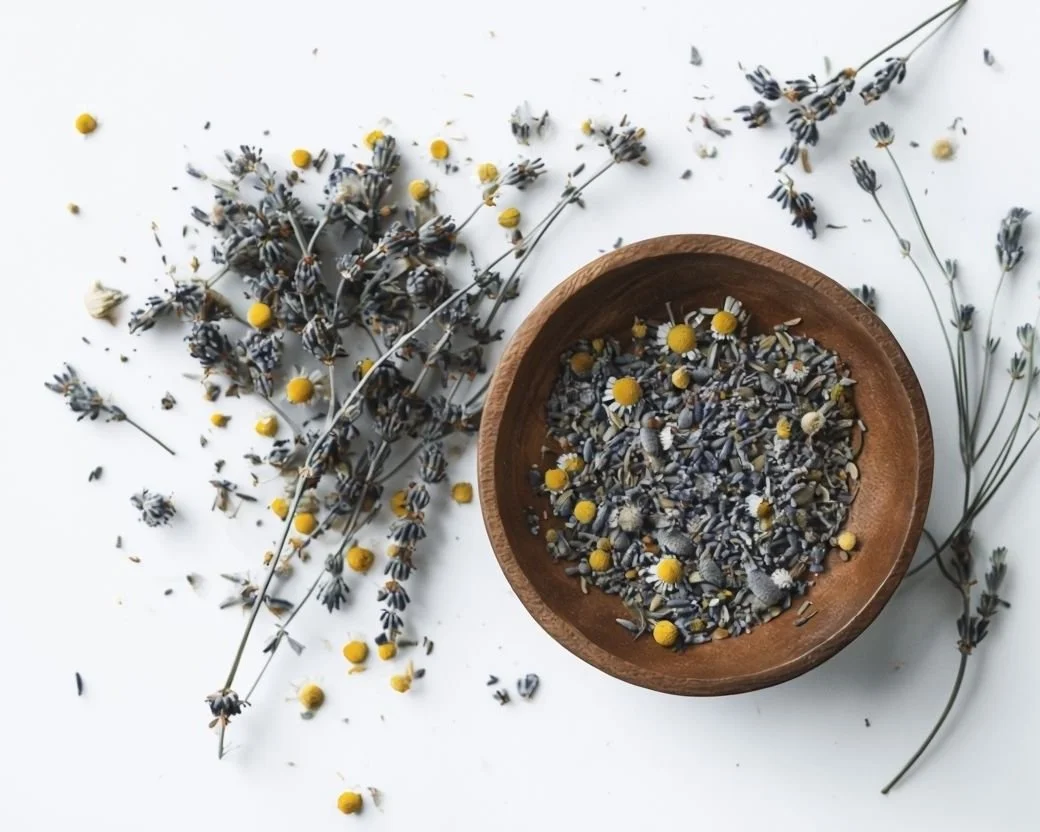
Making your own lavender incense cones transforms artificial fragrance into authentic plant medicine. Using real herbs like lavender creates a gentle, smoke-cleansing experience without synthetic scents, chemical fillers, or the harsh artificial fragrances that dominate commercial incense. These handmade cones burn cleanly and fill your space with the subtle, earthy aroma that only comes from actual plants rather than laboratory-created substitutes.
Is This Project For Me?
If you're sensitive to artificial fragrances or want natural alternatives to commercial incense, this project offers a clean solution. You want to create calming atmospheres without wondering what chemicals you're breathing, and you're interested in working with real plant materials. This works whether you're experienced with herbal crafts or completely new to making your own aromatic products. You'll need dried lavender, natural binding agents, and basic shaping materials, but the process is simpler than it appears. If you enjoy daily rituals, meditation practices, or simply want to reset your space with natural scents, this belongs in your crafting repertoire. Make sure to check out our free printable Herbal Quick Guide below.
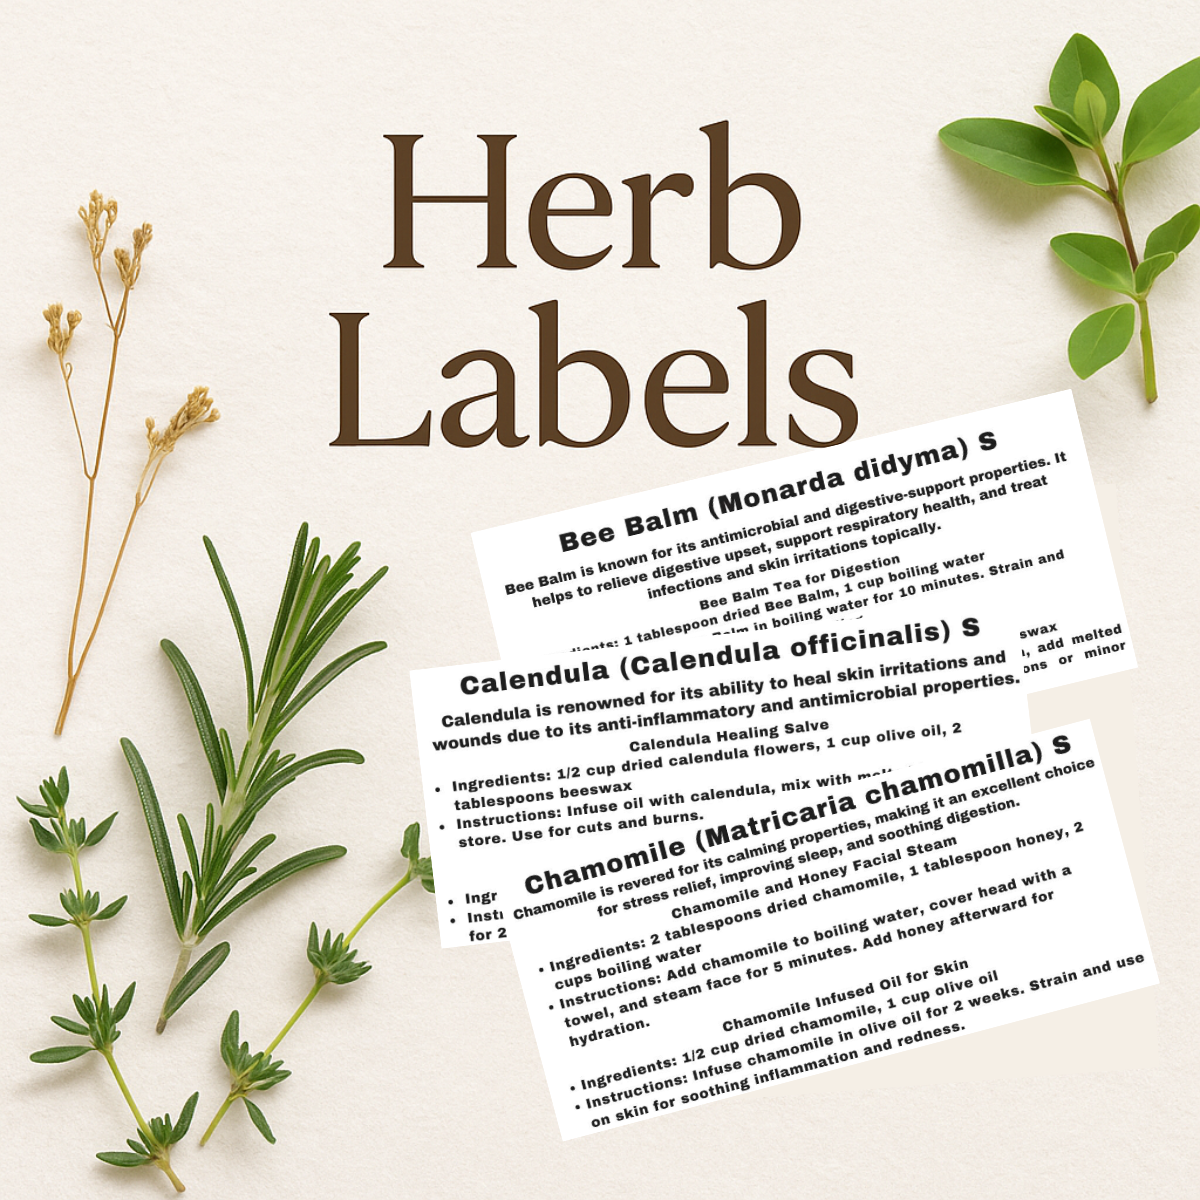
Get The Labels
Finally know what's in every jar without playing herbal roulette. These printable labels give you clear, readable information for your herbal collection: common names, uses, and simple recipes right where you can see them. No more mystery herbs or accidentally seasoning dinner with something meant for tea.
Disclosure
Some links on FiberMaiden are affiliate links. When you click and purchase, I may earn a small commission at no extra cost to you. I partner only with brands and tools I trust and use in my own kitchen, studio, and garden. Your support means a lot.
Disclaimer
I share what I use in my own home apothecary so you can learn and get inspired. This is education, not medical advice. Everyone’s body is different, especially with allergies, medications, children, and pregnancy. Patch test, start small, and talk with your doctor.
Get 3 Free Recipe Sheets
Ready for recipes that don't require a culinary degree to follow? Get seasonal recipe sheets designed for real kitchens and busy lives, the kind that work even when your kids are asking for snacks mid-prep.
Troubleshooting and Safety
Cones not holding their shape: The binding agent ratio may be incorrect, or the mixture is too dry. Add small amounts of water or additional binder until the mixture holds together when pressed. Different humidity levels affect how much moisture is needed.
Incense not lighting or staying lit: The mixture may be packed too densely or contain too much moisture. Allow cones to dry completely before burning, and ensure adequate airflow around burning incense. Very finely ground herbs sometimes burn better than coarse pieces.
Smoke too harsh or irritating: Some people are sensitive to any smoke, even from natural materials. Use in well-ventilated areas, start with shorter burning sessions, or consider alternatives like reed diffusers with lavender essential oil if smoke bothers you.
Cones crumbling while drying: The mixture was either too wet or too dry during shaping. Find the right consistency where the mixture holds together firmly but isn't soggy. Handle shaped cones gently until they're completely dry and hardened.
Uneven burning or tunneling: Inconsistent herb grinding or air pockets in the cone cause uneven burning. Grind herbs to uniform consistency and pack cones evenly without creating air gaps that affect burn patterns.
Storage issues with finished cones: Moisture can cause mold or deterioration in stored incense. Store completely dried cones in airtight containers with good seals, and check periodically for any signs of moisture or mold development.
Frequently Asked Questions
Herbal Quick Guide
One page for common preparations, simple ratios, storage, and safety. Education only, not medical advice.
Patch test first. Avoid on broken skin unless a recipe specifically says otherwise. Check for allergies and medication interactions. If pregnant, nursing, or caring for children, talk with a qualified practitioner.
Common preparations
| Method | What it is | Basic ratio | Time | Use notes |
|---|---|---|---|---|
| Hot infusion (tea) | Steeping delicate leaves or flowers in hot water | 1 to 2 tsp dried herb per 8 oz water | 5 to 15 minutes | Cover while steeping. Drink warm or cool. Refrigerate leftovers. |
| Cold infusion | Soaking delicate or mucilaginous herbs in cool water | 1 to 2 tbsp dried herb per 16 oz water | 4 to 12 hours in fridge | Great for marshmallow leaf or linden. Strain well. |
| Decoction | Simmering tougher roots, barks, or seeds | 1 tbsp dried herb per 16 oz water | 15 to 30 minutes gentle simmer | Keep lid on. Refrigerate after cooling. |
| Oil infusion | Extracting constituents into oil | Fill jar half with dried herb, cover fully with oil | 2 to 3 weeks room temp or 1 to 2 hours warm bath | Use very dry herbs. Strain fine. Store cool and dark. |
| Herbal syrup | Sweetened decoction or strong tea | Equal parts strong tea and honey or sugar by volume | Stir warm until dissolved | Refrigerate. Good for kids. Label with date. |
| Oxymel | Vinegar and honey extraction | 1 part herbs, 2 parts vinegar, 1 part honey | 1 to 2 weeks, shake daily | Strain. Store cool and dark. |
| Compress | Cloth soaked in tea placed on skin | Strong tea as needed | Apply 10 to 20 minutes | Use warm or cool. Patch test first. |
| Poultice | Moist herb applied directly then covered | Freshly mashed or rehydrated dried herb | 10 to 30 minutes | Use on unbroken skin. Remove if irritation occurs. |
Simple ratios and textures
| Preparation | Basic ratio | Notes |
|---|---|---|
| Salve or balm | Oil to beeswax: soft 1 cup to 0.7 oz, standard 1 cup to 1.0 oz, firm 1 cup to 1.2 oz | Adjust wax for texture and climate. |
| Body butter base | Butter to oil to wax: 2 to 1 to 0.2 by weight | Whip after cooling for fluffier texture. |
| Bath soak | Herbs to salts: 1 to 3 by volume | Bag loose herbs for easier cleanup. |
| Vinegar infusion | Jar half full dried herbs, fill with vinegar | Use glass and non-metal lid liner. |
Storage guide
| Preparation | Typical shelf life | Storage notes |
|---|---|---|
| Dried herbs | 6 to 12 months | Cool, dark, airtight. Whole pieces keep longer than powders. |
| Infusions and decoctions | 24 to 72 hours refrigerated | Label and date. Discard if off smell or cloudiness appears. |
| Herbal syrup | 2 to 4 weeks refrigerated with honey, 4 to 6 weeks with sugar | Use clean utensils to avoid contamination. |
| Oil infusion | 6 to 12 months | Dry herbs only. Store cool and dark. |
| Salve or balm | 6 to 12 months | Cool, dark place. Discard if rancid smell develops. |
| Oxymel or vinegar infusion | 6 to 12 months | Tight lid. Store cool and dark. |
Labeling checklist
- Herb name and Latin name if known
- Preparation type (tea, decoction, oil, syrup, oxymel, salve)
- Ratio and carrier (for oils: olive, jojoba, etc.)
- Date made and best by date
- Any safety notes specific to the herb
Your notes
© FiberMaiden • www.fibermaiden.com


