How to Make Herbal Peppermint Lip Balm
Store-bought lip balm ingredients always made me wonder what half those chemicals actually were, especially when I was applying something to my lips multiple times a day. Then I realized how simple it is to make lip balm that actually works using ingredients I could pronounce. This DIY peppermint lip balm is soothing, refreshing, and completely customizable using ingredients you may already have in your apothecary or pantry. The natural cooling effect of peppermint makes this balm especially helpful in hot weather or dry climates, and you'll know exactly what's going on your lips every single time you use it.
Is This Project For Me?
If you're tired of constantly reapplying store-bought lip balm that never seems to solve the problem, this is perfect for you. You want something natural that works without a list of mysterious chemicals, and you'd love to have extras on hand for gifts or because you lose lip balm constantly. This works whether you're completely new to making personal care products or you've been wanting to try but felt intimidated. You'll need a few basic ingredients and small containers, but the process is simpler than you'd expect. If you love knowing exactly what's in the products you use every day, this belongs on your list. Check out the free printable Herbal Quick Guide below.
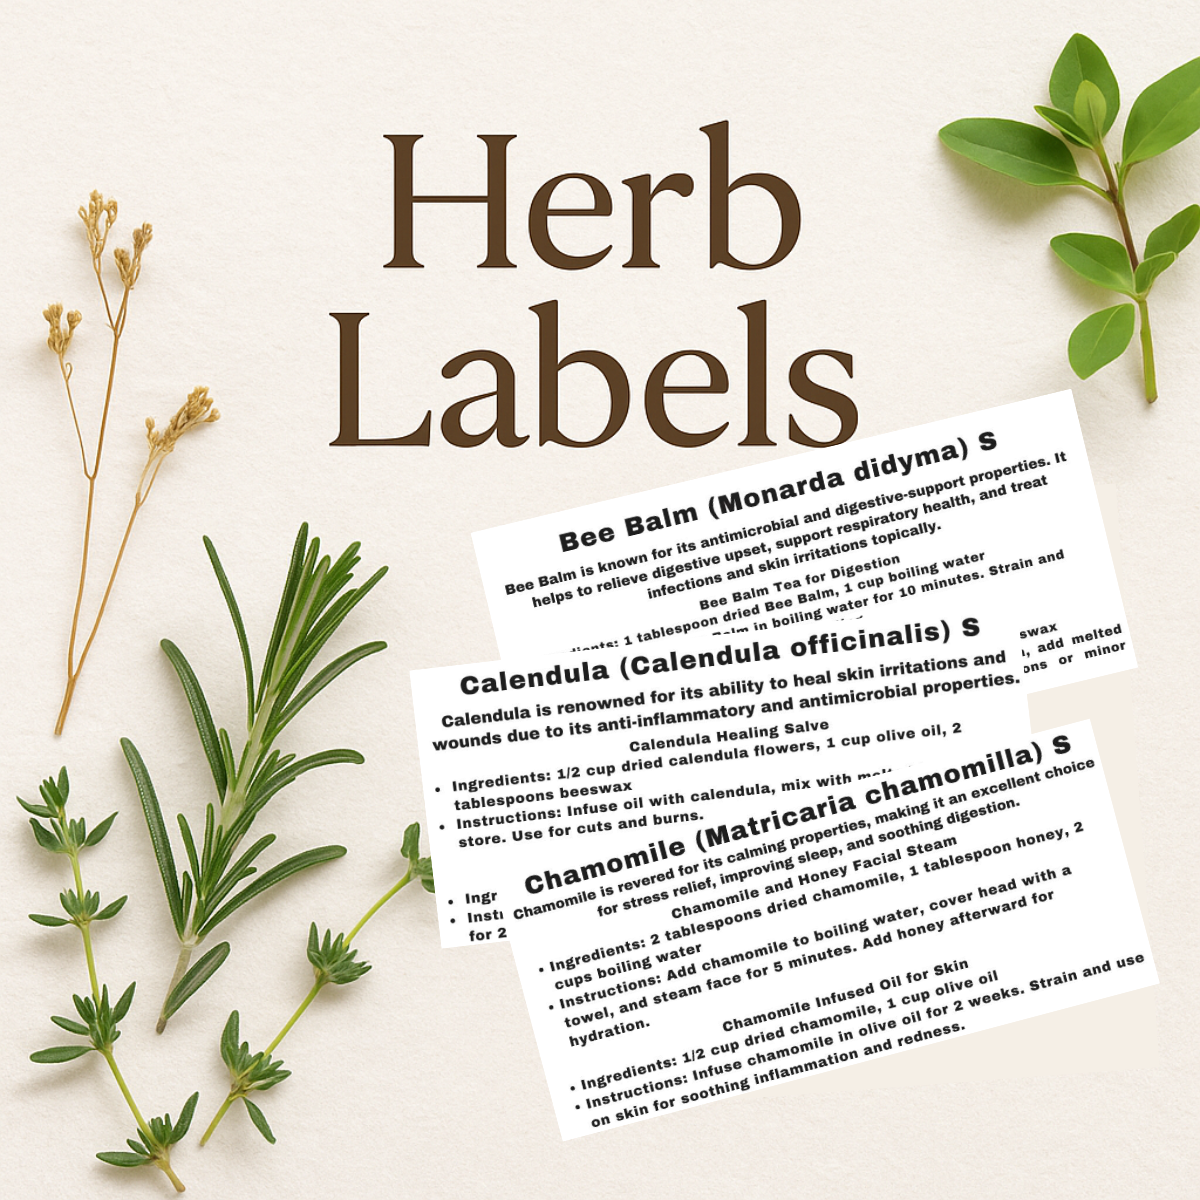
Get The Labels
Finally know what's in every jar without playing herbal roulette. These printable labels give you clear, readable information for your herbal collection - common names, uses, and simple recipes right where you can see them. No more mystery herbs or accidentally seasoning dinner with something meant for tea.
Disclosure
Some links on FiberMaiden are affiliate links. When you click and purchase, I may earn a small commission at no extra cost to you. I partner only with brands and tools I trust and use in my own kitchen, studio, and garden. Your support means a lot.
Disclaimer
I share what I use in my own home apothecary so you can learn and get inspired. This is education, not medical advice. Everyone’s body is different, especially with allergies, medications, children, and pregnancy. Patch test, start small, and talk with your doctor.
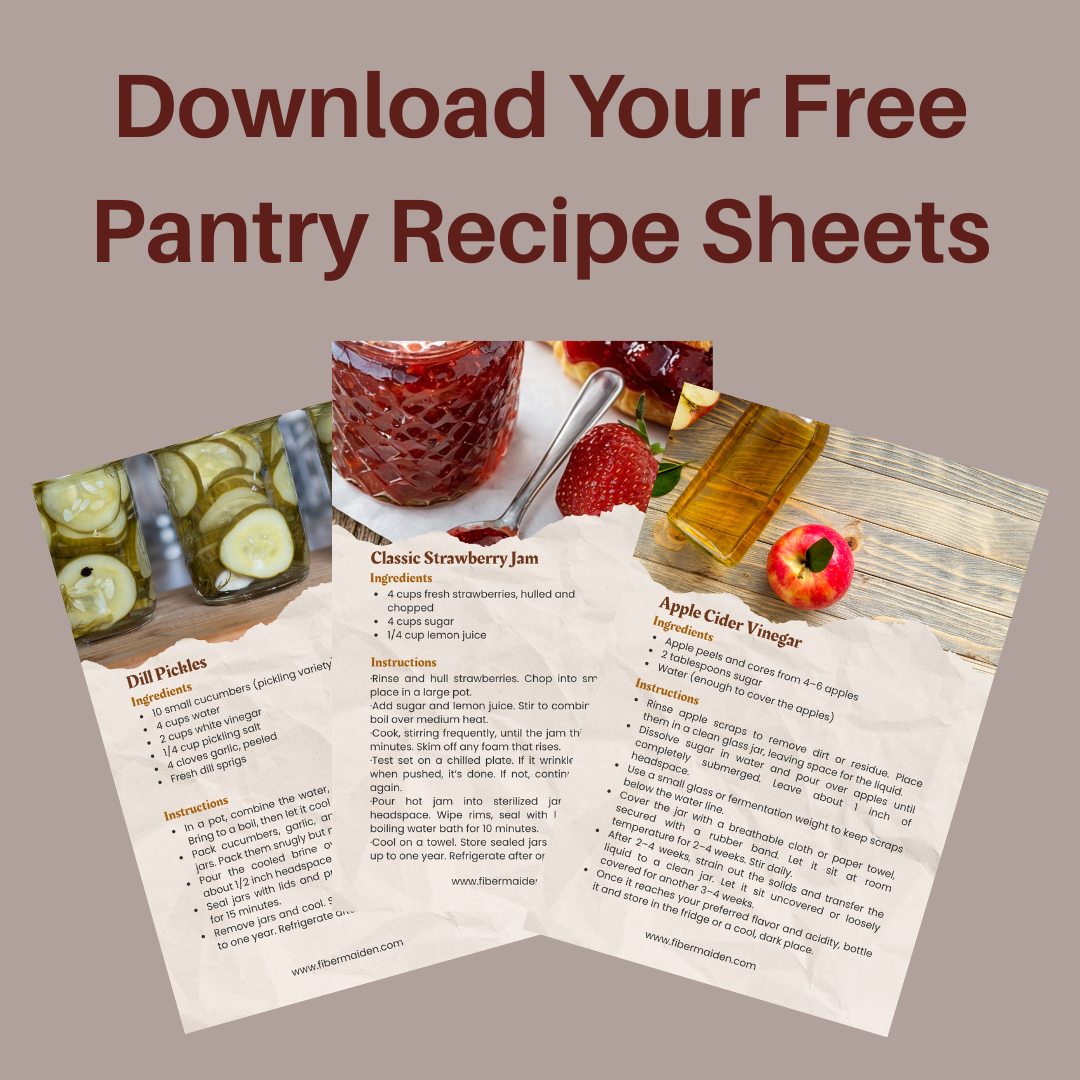
Get 3 Free Recipe Sheets
Ready for recipes that don't require a culinary degree to follow? Get seasonal recipe sheets designed for real kitchens and busy lives, the kind that work even when your kids are asking for snacks mid-prep.
Troubleshooting and Safety
Lip balm too soft and won't stay in the tube: Your beeswax ratio was probably too low, or your kitchen was too warm when you poured it. Try adding a bit more beeswax next time, or pop the tubes in the refrigerator to firm up faster.
Too hard and impossible to apply smoothly: Too much beeswax or not enough carrier oil. You can remelt the whole batch and add more oil until it reaches that perfect glide-on consistency.
Peppermint oil too strong and burns instead of tingles: Less is more with essential oils. Start with just a drop or two and build up. You can always add more, but you can't take it back once it's mixed in.
Grainy texture instead of smooth: The mixture probably cooled too quickly or got too hot during mixing. Next time, let it cool more gradually and stir gently as it thickens.
Balm separating or looking streaky: Your ingredients weren't fully incorporated, or the temperature wasn't consistent while mixing. Make sure everything melts completely and stir thoroughly before pouring.
Frequently Asked Questions
Herbal Quick Guide
One page for common preparations, simple ratios, storage, and safety. Education only, not medical advice.
Patch test first. Avoid on broken skin unless a recipe specifically says otherwise. Check for allergies and medication interactions. If pregnant, nursing, or caring for children, talk with a qualified practitioner.
Common preparations
| Method | What it is | Basic ratio | Time | Use notes |
|---|---|---|---|---|
| Hot infusion (tea) | Steeping delicate leaves or flowers in hot water | 1 to 2 tsp dried herb per 8 oz water | 5 to 15 minutes | Cover while steeping. Drink warm or cool. Refrigerate leftovers. |
| Cold infusion | Soaking delicate or mucilaginous herbs in cool water | 1 to 2 tbsp dried herb per 16 oz water | 4 to 12 hours in fridge | Great for marshmallow leaf or linden. Strain well. |
| Decoction | Simmering tougher roots, barks, or seeds | 1 tbsp dried herb per 16 oz water | 15 to 30 minutes gentle simmer | Keep lid on. Refrigerate after cooling. |
| Oil infusion | Extracting constituents into oil | Fill jar half with dried herb, cover fully with oil | 2 to 3 weeks room temp or 1 to 2 hours warm bath | Use very dry herbs. Strain fine. Store cool and dark. |
| Herbal syrup | Sweetened decoction or strong tea | Equal parts strong tea and honey or sugar by volume | Stir warm until dissolved | Refrigerate. Good for kids. Label with date. |
| Oxymel | Vinegar and honey extraction | 1 part herbs, 2 parts vinegar, 1 part honey | 1 to 2 weeks, shake daily | Strain. Store cool and dark. |
| Compress | Cloth soaked in tea placed on skin | Strong tea as needed | Apply 10 to 20 minutes | Use warm or cool. Patch test first. |
| Poultice | Moist herb applied directly then covered | Freshly mashed or rehydrated dried herb | 10 to 30 minutes | Use on unbroken skin. Remove if irritation occurs. |
Simple ratios and textures
| Preparation | Basic ratio | Notes |
|---|---|---|
| Salve or balm | Oil to beeswax: soft 1 cup to 0.7 oz, standard 1 cup to 1.0 oz, firm 1 cup to 1.2 oz | Adjust wax for texture and climate. |
| Body butter base | Butter to oil to wax: 2 to 1 to 0.2 by weight | Whip after cooling for fluffier texture. |
| Bath soak | Herbs to salts: 1 to 3 by volume | Bag loose herbs for easier cleanup. |
| Vinegar infusion | Jar half full dried herbs, fill with vinegar | Use glass and non-metal lid liner. |
Storage guide
| Preparation | Typical shelf life | Storage notes |
|---|---|---|
| Dried herbs | 6 to 12 months | Cool, dark, airtight. Whole pieces keep longer than powders. |
| Infusions and decoctions | 24 to 72 hours refrigerated | Label and date. Discard if off smell or cloudiness appears. |
| Herbal syrup | 2 to 4 weeks refrigerated with honey, 4 to 6 weeks with sugar | Use clean utensils to avoid contamination. |
| Oil infusion | 6 to 12 months | Dry herbs only. Store cool and dark. |
| Salve or balm | 6 to 12 months | Cool, dark place. Discard if rancid smell develops. |
| Oxymel or vinegar infusion | 6 to 12 months | Tight lid. Store cool and dark. |
Labeling checklist
- Herb name and Latin name if known
- Preparation type (tea, decoction, oil, syrup, oxymel, salve)
- Ratio and carrier (for oils: olive, jojoba, etc.)
- Date made and best by date
- Any safety notes specific to the herb
Your notes
© FiberMaiden • www.fibermaiden.com


/https://media.azurestandard.com/files/077c9b69-fe7b-417e-9bc7-9e79aaa5b902)
/https://media.azurestandard.com/files/b0315f7b-e206-45be-baf6-55604db19736)
/https://media.azurestandard.com/files/0af7ca05-cbfe-4ba9-b2b4-0a6da72671c8)


