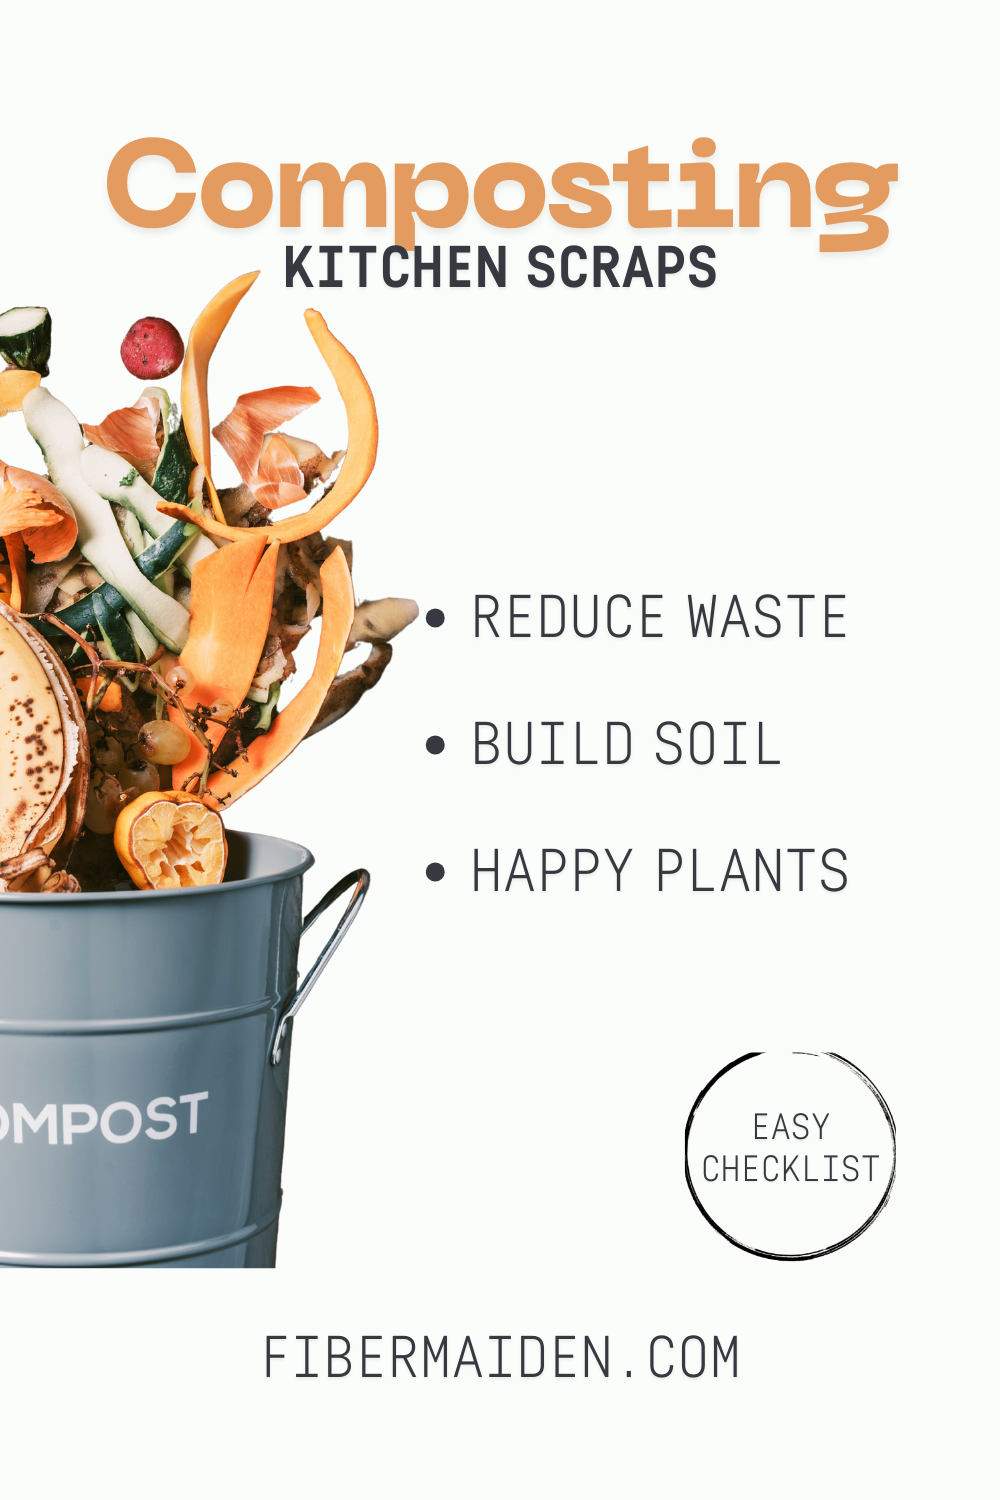
Composting Kitchen Scraps
Kitchen scraps can skip the trash and become food for your soil. A simple home setup turns peels and coffee grounds into dark, crumbly compost that helps every bed and pot in the yard. You don’t need special tools or a big yard. By the end, you’ll know what to add, how to keep it tidy, and how to tell when it’s ready.
Is This Project for Me?
If you want less trash and better soil with almost no fuss, yes. This is for renters with a small patio. This is for busy families who only have a few minutes a week. If you can collect scraps in a counter bin and remember to cover them with something dry like leaves or shredded paper, you can compost. It is forgiving. It is quick to learn. And it feels good to turn waste into something useful. Check out our free printable Gardening Quick Guide below.

Zero Waste + Eco-Friendly Living Checklist
This printable checklist offers a straightforward starting point for anyone looking to reduce waste and live more intentionally. Designed to be practical and approachable, it helps you identify simple, sustainable changes you can make in every area of your home.
You don’t need to be perfect to make progress. Whether you’re just beginning your low-waste journey or looking to deepen your existing habits, this checklist will guide you through thoughtful, manageable changes that add up over time.
What’s Included
A one-page printable checklist (PDF format)
Organized by room and daily activity
Covers areas like the kitchen, bathroom, cleaning routines, and shopping habits
Easy-to-implement swaps and actions that don’t require expensive products
Sized for standard US letter paper (8.5x11)
How to Use It
Print it out and keep it in your home binder, on the fridge, or in your planning space. Use it to track progress, set goals, or start conversations with your household about waste reduction. This checklist works well for individuals, families, homeschoolers, and anyone trying to live more mindfully.
Why It’s Useful
Many zero waste resources feel overwhelming or all-or-nothing. This one is meant to be different. It offers clear, realistic steps without judgment, encouraging progress over perfection.
Delivery
You’ll receive your digital checklist instantly after purchase in PDF format, ready to download and print at home.
Ready to simplify your journey toward low-waste living?
Add this checklist to your cart and download it today.
Get The Checklist
Learn simple ways to improve your sustainability in real life without any hassle or major lifestyle changes.
Disclosure
Some links on FiberMaiden are affiliate links. When you click and purchase, I may earn a small commission at no extra cost to you. I partner only with brands and tools I trust and use in my own kitchen, studio, and garden. Your support means a lot.
Compost basics at a glance
Save fruit and veggie scraps, coffee grounds, tea bags without staples, and crushed eggshells. Skip meat, dairy, oils, glossy paper, and anything greasy. Aim for a simple mix. About 1 part kitchen “greens” to 2 parts dry “browns” like dry leaves, shredded cardboard, or paper. Each time you add scraps, cover them with a handful of browns. Keep the pile as moist as a wrung out sponge. Turn it when you remember. Weekly is nice. Monthly still works. Tumbler, lidded bin, or a neat corner pile all do the job.
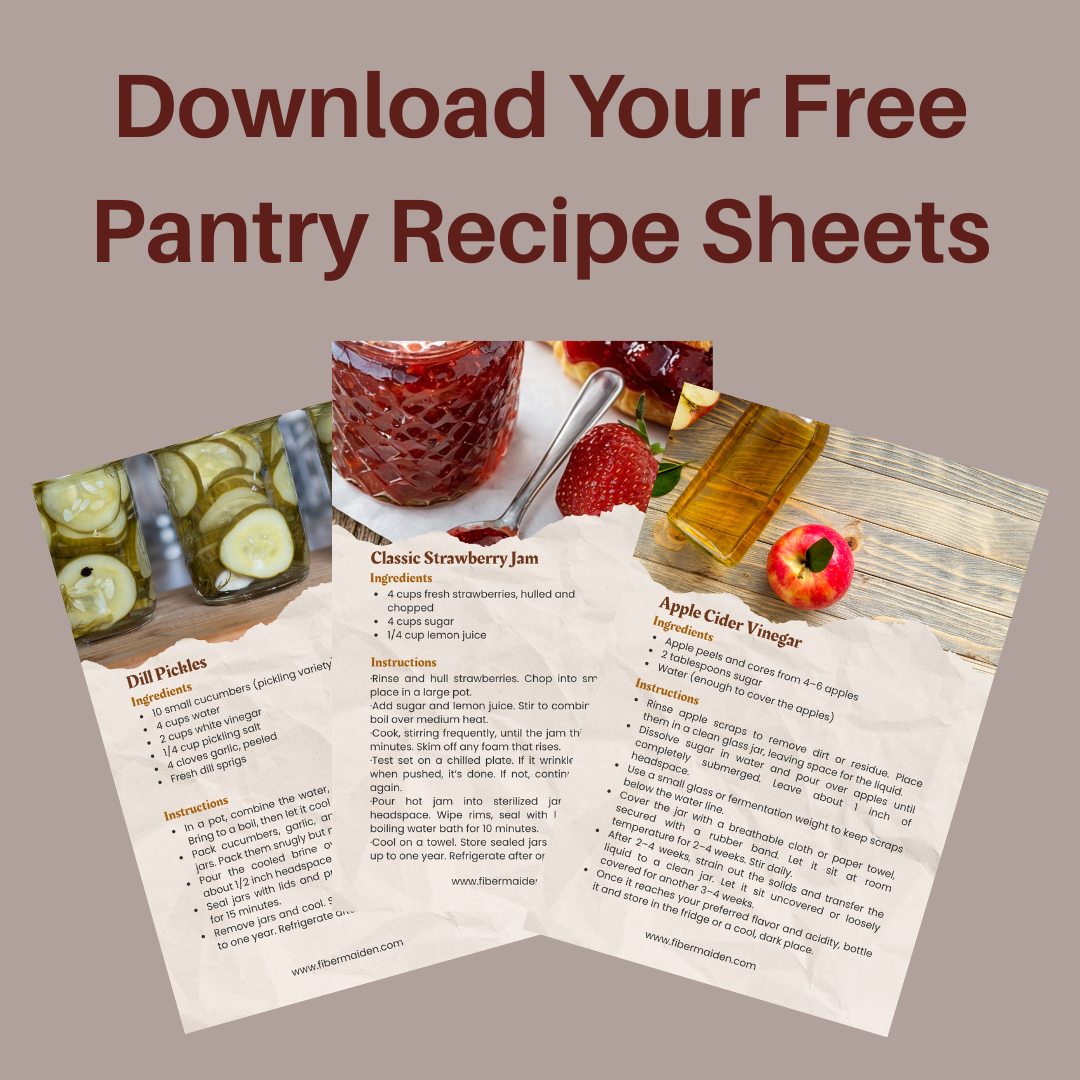
Get 3 Free Recipes
Exclusive seasonal recipes for email members. High value, low frequency.
Troubleshooting and safety notes
If it smells, it is too wet or too many greens. Add dry browns, fluff it a bit, and cover new scraps every time. If you see fruit flies, bury scraps deeper and keep a tight fitting lid on your kitchen caddy. If the pile looks dry and slow, sprinkle a little water while you mix. Keep meat, dairy, and oils out. When in doubt, leave it out. Wash hands after handling the pile and keep pets out of it.
Frequently Asked Questions
How long does compost take
Can I compost citrus, onions, or coffee grounds
What if I don’t have a yard
How do I know it’s ready
How do I use finished compost
What about pests
Gardening Quick Guide
One page for spacing, timing, water, feeding, pests, and harvest cues. Adjust to your climate zone and frost dates.
Sun: 6–8 hr+ for fruiting crops (tomatoes, peppers, squash). Leafy greens do fine with 4–6 hr.
Soil: rich, well-drained; most veggies prefer pH 6.0–7.0 (blueberries 4.5–5.5; potatoes 5.0–6.0).
Water: aim ~1″/week total. Water deep & infrequent. Mulch 2–3″ to hold moisture.
Feeding: side-dress heavy feeders at flowering; don’t overdo nitrogen on tomatoes/peppers.
Spacing & depth (common crops)
| Crop | Spacing (in-row × between rows) | Seed depth | Notes |
|---|---|---|---|
| Tomato (transplant) | 24–36″ × 36–48″ | — | Plant deep to first leaves; stake/cage/trellis. |
| Pepper (transplant) | 18–24″ × 24–36″ | — | Plant at same depth as pot; warm soil. |
| Cucumber | 12″ trellised or 24–36″ sprawled × 36–60″ | 1″ | Trellis for airflow & space. |
| Zucchini / Summer squash | 36″ × 36–48″ | 1″ | One plant per “hill.” |
| Winter squash / Pumpkin | 48–60″ × 60–72″ | 1″ | Big vines; give room. |
| Bush beans | 4–6″ × 18–24″ | 1″ | Succession every 2–3 weeks. |
| Pole beans | 6–8″ × 30–36″ | 1″ | Provide trellis. |
| Peas | 2″ × 18–24″ | 1″ | Cool soil; trellis helps. |
| Carrots | 2″ × 12–18″ | ¼″ | Keep surface moist; thin seedlings. |
| Radish | 2″ × 12″ | ½″ | Fast—succession every 1–2 weeks. |
| Beets | 3–4″ × 12–18″ | ½″ | Thin clusters to 1–2 plants. |
| Lettuce (leaf) | 8–10″ × 12–18″ | ¼″ | Partial shade in heat. |
| Kale | 12–18″ × 18–24″ | ½″ | Harvest outer leaves. |
| Onions (sets) | 4–6″ × 12″ | 1″ | Bulbing types need long day length. |
| Garlic (cloves) | 6″ × 12″ | 2″ | Plant in fall; mulch well. |
| Potatoes | 12″ × 30–36″ | 4″ | Hill as plants grow. |
| Basil | 12″ × 18″ | ¼″ | Pinch tops to bush out. |
Rule of thumb: seed depth ≈ 2–3× the seed’s diameter; keep tiny seeds shallow and consistently moist.
Seed starting & transplant timing
- Tomatoes: start indoors 6–8 wks before last frost; transplant after nights >50°F.
- Peppers: 8–10 wks before last frost; warm soil 65–70°F.
- Brassicas (kale, cabbage): start 4–6 wks before last frost; also great for fall.
- Cucumbers/Squash/Beans: direct-sow after last frost; soil ≥60°F.
- Peas: direct-sow 4–6 wks before last frost; soil ≥40°F.
- Carrots/Beets/Radish: direct-sow 2–4 wks before last frost.
- Lettuce: sow early spring & fall; bolt-prone in heat—provide shade.
- Fall crops: count back from first frost; choose faster-maturing varieties.
Water & feeding basics
~1″/week total (rain + irrigation). Morning is best. Deep soak the root zone 1–2×/week rather than frequent sprinkles.
1″ water ≈ 0.62 gal per sq ft.
Heavy feeders (tomatoes, peppers, squash, corn): compost at planting + side-dress at flowering/fruit set.
Light feeders (beans, peas): minimal N—too much = lots of leaves, few pods.
Companion & rotation
- Good pairs: tomato + basil; carrots + onions; cucumber + dill; lettuce under taller crops.
- Flowers for pollinators: calendula, marigold, alyssum, nasturtium.
- Avoid: beans/peas with onions/garlic (can stunt). Separate potatoes from tomatoes (shared diseases).
- Rotate: don’t plant the same family in the same spot two years in a row (nightshades, brassicas, alliums, cucurbits, legumes).
Pest & problem solver (IPM)
- Identify first (look under leaves). Remove by hand where possible.
- Use barriers: row cover for brassicas; collars for cutworms; netting for birds.
- Encourage allies: lady beetles, lacewings, birds. Avoid broad-spectrum sprays.
- Last resort: targeted products (e.g., insecticidal soap for aphids; Bt for caterpillars), following labels exactly.
- Aphids: blast with water, prune, encourage lady beetles.
- Powdery mildew: improve airflow, water mornings, remove worst leaves.
- Cabbage worms: row cover early; Bt if needed.
- Blossom-end rot (tomato): uneven watering; keep moisture steady.
Harvest cues
- Tomatoes: full color & slight give; vine-ripened flavor peaks.
- Cucumbers: glossy, firm; pick before seeds harden.
- Summer squash: 6–8″ long, tender skin.
- Beans: pods filled but not bulging.
- Garlic: 30–50% of leaves browned; cure in shade.
- Onions: tops fall over & necks soften; cure before storing.
- Potatoes: harvest “new” after flowering; storage when vines die back.
Frost & season extension
© FiberMaiden • www.fibermaiden.com