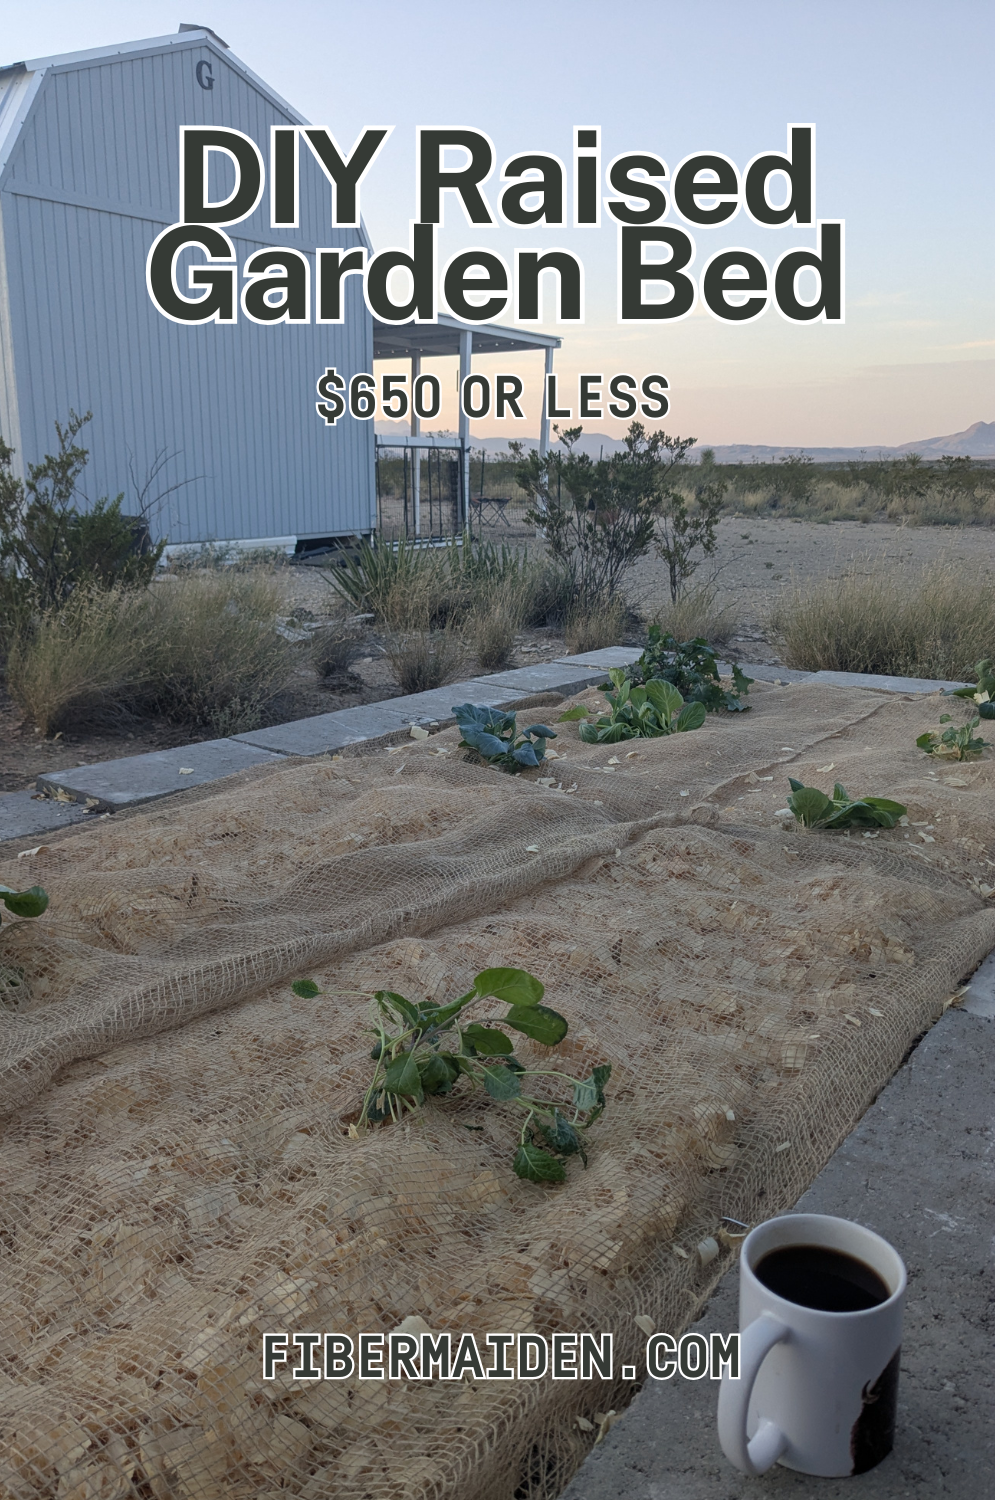
How I Built a $650 Raised Garden Bed in the Desert (Step-by-Step Guide)
When I first started dreaming and planning for a desert garden, I realized I needed a raised bed system that could handle the unique challenges ahead. After months of research and planning, I invested $650 in building a durable raised garden bed that's specifically designed to handle desert conditions. I kept this design completely modular, no mortar or cement, so I can relocate it if this spot doesn't work perfectly for my needs. Here's exactly how I did it, what materials I used, and why this setup is already proving its worth in my first fall bed in the desert.
Why Desert Gardening Requires a Different Approach
Desert gardening presents unique challenges that most traditional gardening guides simply don't address. I have done three years of research, bought at least six books, talked to old timers out here, watched hundreds of hours of YouTube videos, and still in the end felt like I was just making an educated guess on what would work. The sandy soil drains too quickly, intense sun exposure can scorch plants, and water management becomes critical when every drop counts. Wind is another major factor, it can dry out soil, and blow away mulch and top soil.
After researching the challenges of desert gardening, I knew I needed a raised bed system that could:
Retain moisture more effectively
Provide wind protection for delicate plants
Create better soil conditions than what naturally exists
Withstand extreme temperature fluctuations
Last for multiple growing seasons without deteriorating
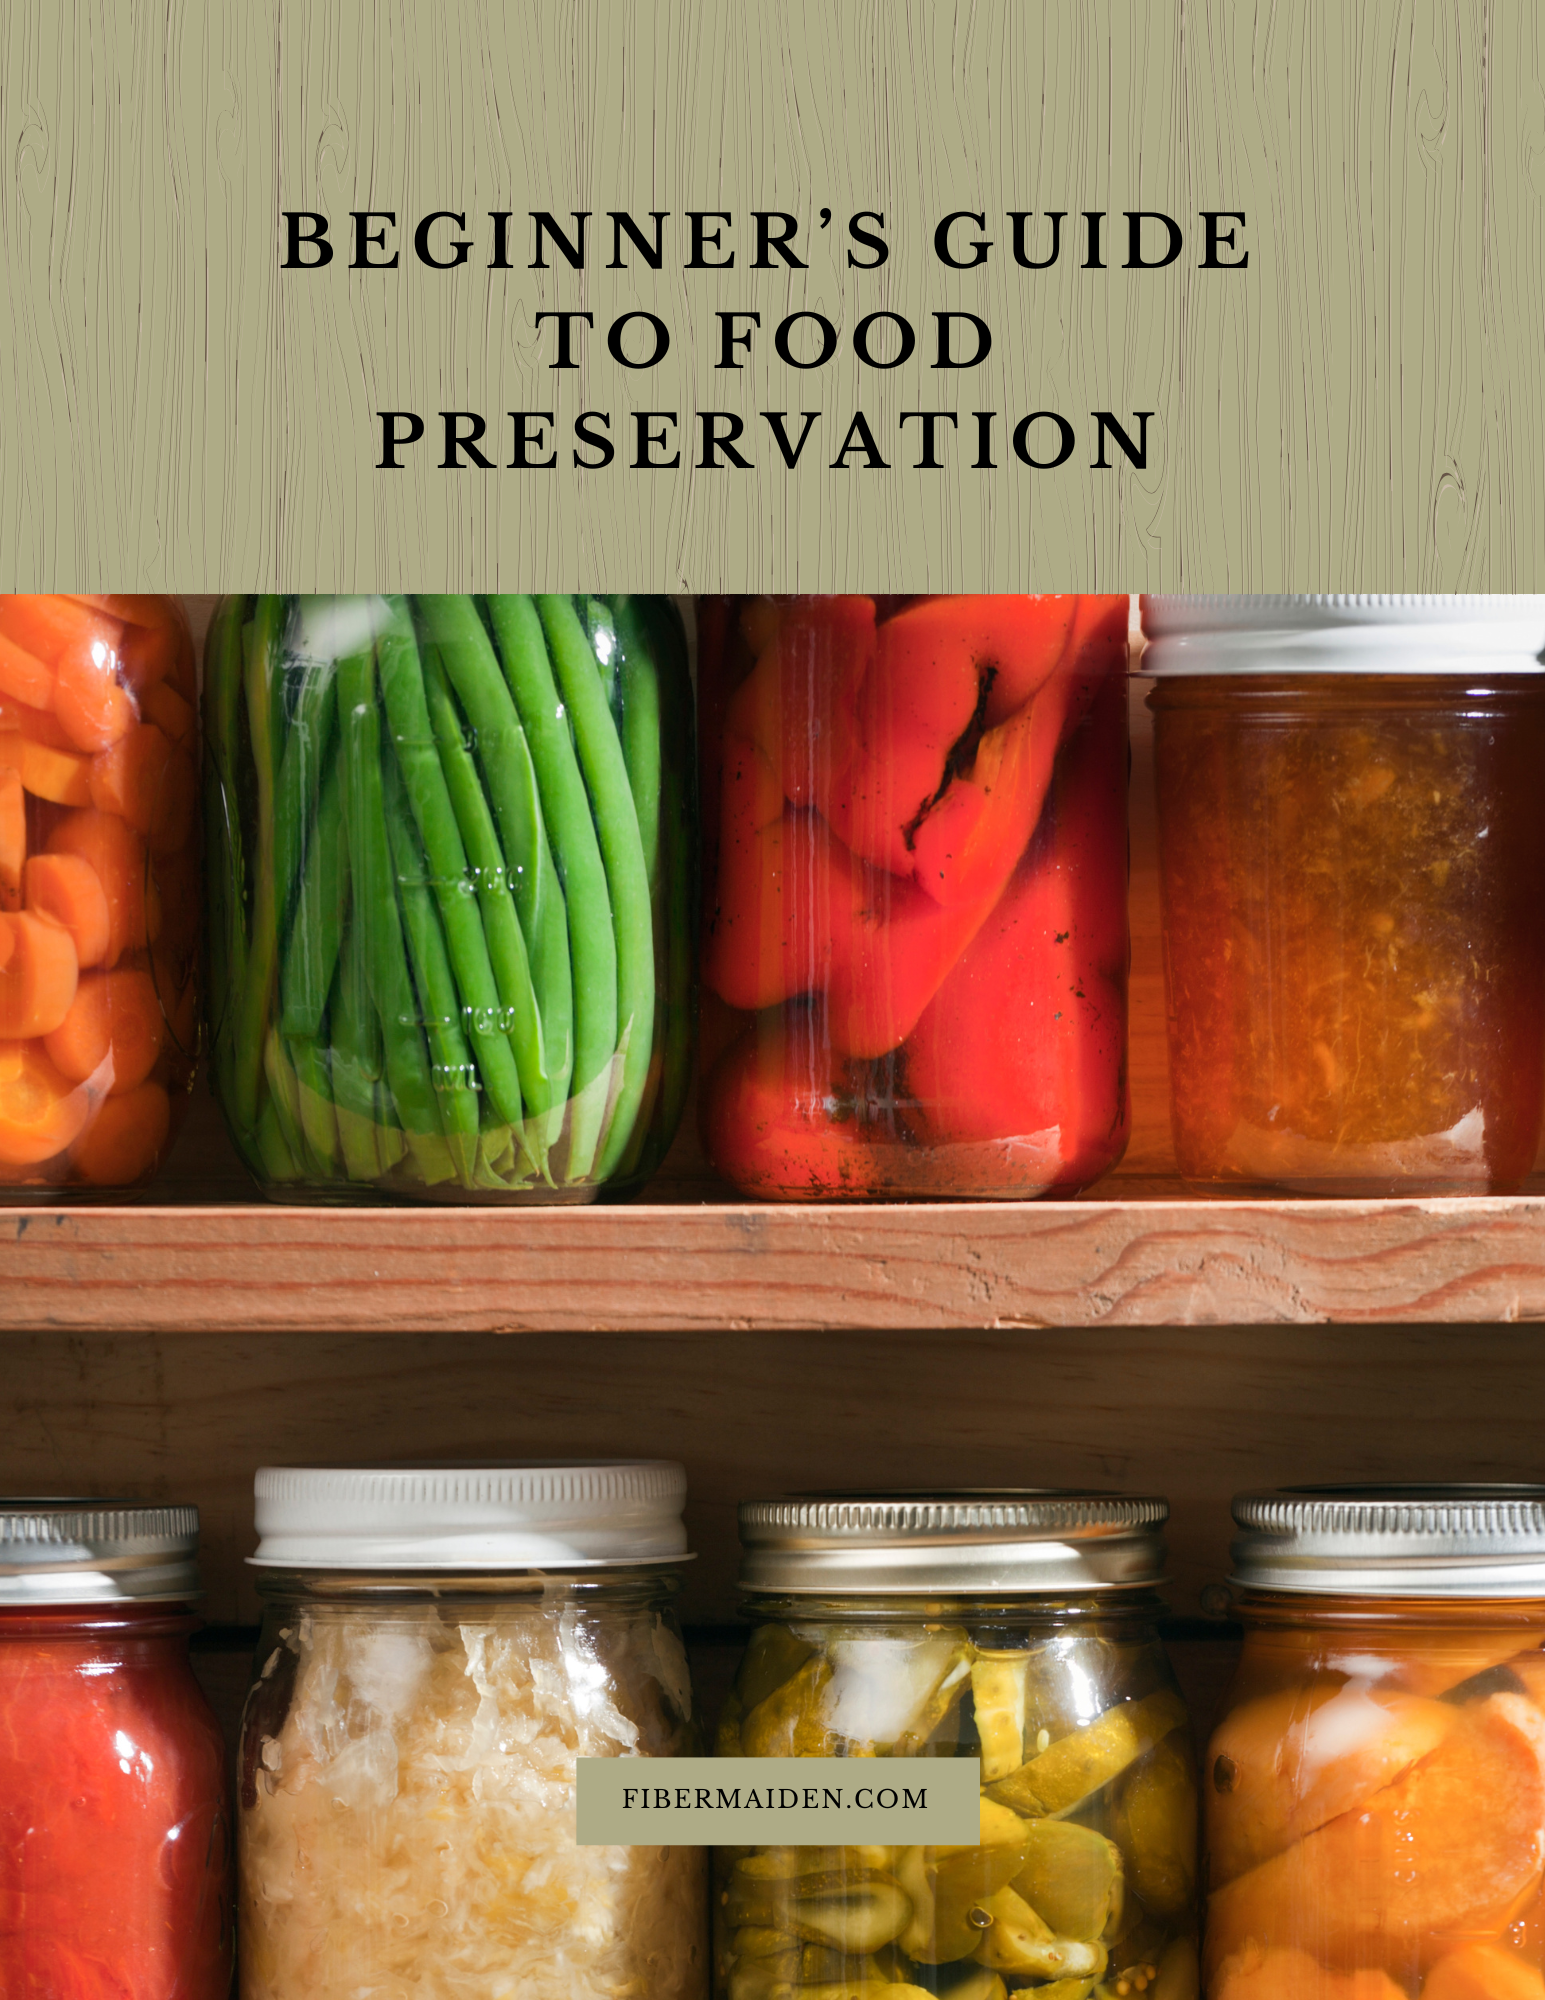
Beginner Guide to Food Preservation
This guide is a simple, approachable introduction to preserving food at home. Whether you’re new to food preservation or returning to it after a break, this resource covers the essentials in a way that’s easy to follow and rooted in practical experience.
It’s written to help you make real progress using tools and ingredients you likely already have in your kitchen no pressure, no perfection required.
What’s Included
A printable PDF guide over 70 pages of full color content
Covers three core preservation methods: freezing, dehydrating, curing, pickling, fermenting, and canning
Step-by-step instructions for each method, including safety tips and basic equipment
Over twenty recipes and whole meal recipes
Designed for US letter-size paper (8.5x11) for easy at-home printing
BONUS: 3 seasonal recipe sheets delivered via email after purchase when you join our mailing list
How to Use
This guide is meant to be used, not just read. Pick one method to start with such as freezing garden produce or making a simple jam and follow the instructions at your own pace.
Why It’s Useful
Preserving food helps reduce waste, save money, and build self-sufficiency. But for many beginners, it can feel overwhelming. This guide breaks it down into manageable steps and encourages you to start small, build confidence, and grow from there.
Delivery
You’ll receive an instant digital download in PDF format, ready to view on any device or print at home.
Start preserving with confidence one jar, bag, or batch at a time.
Download your guide and begin stocking your pantry with real, homemade food.
Get The Guide
Stop second-guessing every step of your food preservation projects. This guide walks you through method selection, safety basics, and how to fix things when they don't go according to plan so you can preserve with confidence instead of crossed fingers.
Disclosure
Some links on FiberMaiden are affiliate links. When you click and purchase, I may earn a small commission at no extra cost to you. I partner only with brands and tools I trust and use in my own kitchen, studio, and garden. Your support means a lot.
Complete Materials List and Cost Breakdown
Here's exactly what I purchased and where I found the best deals. Keep in mind, I had to go with materials that I could get in a rural community with the closest stores being an hour away. Rural shopping is not like big city shopping, you can't just go to another store to get what you want. You get what you get and you don't throw a fit.
Structural Components:
24 cinder blocks, $97 (McCoy's Building Supply)
24 cap stones, $73 (McCoy's Building Supply)
Growing Medium:
20 bags of garden soil, $200 (Tractor Supply)
Water Management:
3 large ollas (unglazed clay irrigation pots), $65 each (Lehman's)
Mulch and Protection:
Pine shavings (for mulching), $12 (Tractor Supply)
Burlap fabric, $8 (Tractor Supply)
Landscaping pins, $5 (Tractor Supply)
Total Investment: $650
The ollas were definitely the priciest single component, but they're absolutely essential for efficient desert watering. I sourced mine from Lehman's because they had the best prices for the largest ones I could find. These ollas are actually made by Dripping Springs Olla Company in Texas, but they sell wholesale to Lehman's since you can't purchase individual ollas from DSO Company directly. Check out their website for more information and videos on everything olla. I have since purchased two more from another company in California, but they are half the size for the same price.
Video Tutorials
Step-by-Step Construction Process
Step 1: Site Selection and Planning
Before breaking ground, I spent time analyzing our property over the past three years, taking stock of wind patterns, water flow, and sun exposure. Moving from Houston's Gulf Coast 9A to Terlingua's high desert 9A taught me that growing zones don't tell the whole story. While both areas share the same USDA zone, the growing conditions are dramatically different. Houston's 9A features high humidity, regular rainfall, clay-rich soil, and moderate Gulf Coast breezes. Terlingua's 9A brings bone-dry air, sporadic rainfall, sandy rocky soil, harsh desert winds, extreme temperature swings, and intense UV exposure that can scorch plants in hours. The growing seasons, heat duration, and winter protection needs are completely different despite sharing the same zone number.
I found that the structures we had built over the years offered the best wind and sun break and didn't get washed out during the rainy season, so I selected a location tucked in between our carport and water tanks which is also slightly wind shielded by our main building and bath house.
Additionally, I decided to start this experiment with a fall garden and brassicas as that is my favorite gardening season and veggies, but also the best chance for learning in a new bed location as the weather would become more favorable as I went along as opposed to a spring garden that would only increase in temperature during the planting season.
Step 2: Foundation and Layout
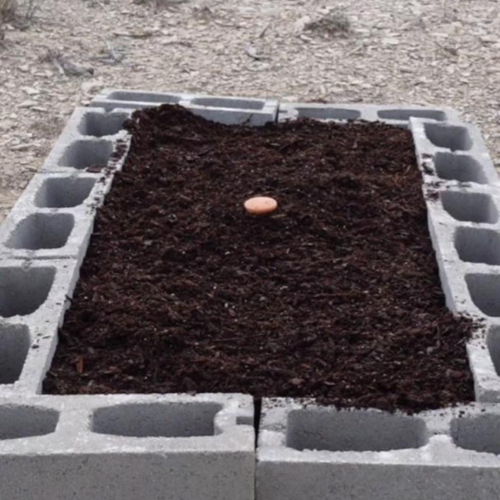
I started by clearing and leveling the ground where I wanted the raised bed. Desert soil is often already fairly level, but I used a rake to remove any rocks or debris. The 24 cinder blocks created a rectangle measuring approximately 8 feet by 4 feet, perfect for easy access from all sides.
Pro tip: Cinder blocks are heavy enough that you don't need to dig them in or use mortar. The weight alone keeps everything stable, even during strong desert winds.
You could also add a bottom layer of brush, sticks and twigs, and or burlap or cardboard on the bottom to create a weed barrier and save on soil. I did not go for this option as I did not have either available to me during the build, but if I had planned better I would have made those additions.
Step 3: Adding the Cap Stones
The cap stones serve multiple purposes beyond just aesthetics. They create a smooth, finished edge that's comfortable to sit or kneel on while working in the garden. More importantly, they add extra weight to keep the entire structure stable and provide a clean surface that won't crumble like raw cinder block edges might. I also had concerns that snakes would find the holes in the cinder blocks a perfect place to rest, and we have already seen one rattle snake this season, so I didn't want to make them a home where I was going to be spending so much time. The cap stones I used in this build are 4 inches thick as they will take the brunt of the sun, wind, my weight, and other heavy things set on it.


Step 4: Soil Installation
Twenty bags of garden soil sounds like a lot, but raised beds require significant depth for proper root development and water retention. I was surprised by how much soil the bed consumed, always buy more than you think you'll need. Good soil depth is crucial in desert gardening because it provides insulation from extreme ground temperatures.
You could also add wool pellets during this phase. I had purchased them but they did not come in on time for me to use them as a soil amendment. Wool pellets are an all-natural, sustainable, and biodegradable soil amendment that improves water retention, provides slow-release nutrients, and aerates the soil. Made from upcycled sheep's wool, they are a gentle alternative to conventional fertilizers and soil products.
Step 5: Strategic Olla Placement
This step is what makes this raised bed specifically designed for desert water management. I buried the three ollas evenly throughout the bed, leaving just the necks exposed above soil level. These unglazed clay vessels slowly release water directly into the root zone, dramatically reducing evaporation compared to surface watering. The large ollas I am using are 13" tall and 12" wide and hold 2.9 gallons of water, with a watering radius of 36-48 inches, so I made my bed and placed my ollas to ensure that the whole bed would be covered within that radius. I have already noticed that if I fill the ollas up to the top of the neck that they last in 95 degree heat for over five days, which is great in addition to traditional top watering the veggies.
If I was redoing it now, I would have put a tin pan under each olla to ensure that water went out and not down. I do not know if that will make a difference in my garden or not, but I suspect it will.
Olla watering benefits:
Reduces water usage by up to 70%
Prevents leaf burn from overhead watering in intense sun
Encourages deep root growth
Maintains consistent soil moisture levels
Step 6: Mulching and Wind Protection
The final layer involves pine shavings as mulch to further reduce evaporation and regulate soil temperature. In a desert garden, pine shavings are heavier, longer-lasting, and better at staying put in wind compared to straw, while still insulating the soil and protecting moisture. Then comes the game-changer for desert gardening: a burlap covering secured with landscaping pins. The burlap prevents the top soil and pine shaving mulch from blowing away in the wind. This is not something I have ever used in the garden but has been traditionally used in gardens for generations.
Burlap is a versatile, biodegradable, and eco-friendly material that can be used in the garden for weed control, soil moisture retention, frost protection, erosion control, and even as a natural shade. Made from natural fibers like jute, hemp, or cotton, it allows water and air to pass through, promoting healthy soil conditions. You can use burlap as a ground cover, a protective wrap for seedlings, a temporary barrier, or even as a growing container. When its useful life is over, it can be buried to add organic matter to the soil. This creates a protective microclimate that shields young seedlings from harsh winds while still allowing air circulation.
Why This Design Works in Extreme Climates
Water efficiency is the number one priority in desert gardening. The combination of ollas, mulch, and burlap covering creates a system where water stays where it's needed instead of evaporating into the dry air. I've found that I need to refill the ollas only once a week, even during the hottest months.
Wind protection cannot be understated. Desert winds can desiccate plants incredibly quickly. The raised design with burlap covering creates a buffer zone that protects seedlings during their most vulnerable growth period.
Durability was a major consideration. Unlike wood-based raised beds that can rot or warp in extreme heat, cinder blocks and cap stones will last indefinitely. The initial investment pays for itself over multiple growing seasons, and it isn't permanent. I can move it and reuse it as the seasons change and as our homestead grows.
Temperature regulation happens naturally with the thermal mass of the blocks and the insulating properties of deep soil. The bed stays cooler during scorching days and retains warmth during cool desert nights.

Get 3 Free Recipe Sheets
Ready for recipes that don't require a culinary degree to follow? Get seasonal recipe sheets designed for real kitchens and busy lives, the kind that work even when your kids are asking for snacks mid-prep.
Early Results and Future Plans
Since building this raised bed system, I'm already seeing promising signs in the first few weeks. The burlap protection is effectively shielding my seedlings from wind exposure while holding the pine mulch in place, and the olla system is maintaining consistent soil moisture with minimal effort.
Looking ahead, I plan on making additional improvements to this garden setup including drip irrigation for supplemental watering, shade cloth for the harsh sun and hail protection, and elderberry and blackberry plantings as living windbreaks around the perimeter.
Investment Worth and Long-Term Value
$650 upfront might seem steep for a single raised bed, but when you break down the per-season cost over the 10+ year lifespan of this system, it becomes incredibly economical. Compare that to the cost of repeatedly replacing plants that don't survive traditional desert gardening methods, plus the ongoing water costs of inefficient irrigation.
More importantly, this system is scalable. I will walk you along as I build my winter bed built the same way with the addition of a cold frame to fit over the top of it. This will help to extend the growing season into the cold months of January and February to help me get ahead on my spring planting and continue to have greens throughout the winter.
Essential Tips for Desert Raised Bed Success
If you're planning your own desert gardening raised bed project, here are the key factors that make the biggest difference:
Know your land this is the most important thing. Where does the water flow, where is the wind the most gentle during a storm, where is the shade? Spend time observing your property through different weather conditions before choosing your site.
Start with water management rather than treating it as an afterthought. Ollas or similar deep-watering systems aren't optional, they're essential for desert success.
Plan for wind protection from day one. Even established plants benefit from some wind buffering, and young seedlings absolutely require it.
Invest in quality soil rather than trying to save money with cheap alternatives. Good soil is the foundation of everything else you're trying to accomplish. The garden soil I got from Tractor Supply was probably some of the best soil I have started a garden with. I was really impressed at how good it was in comparison to the soil I started a garden with in Houston. In all of the bags I only found one small piece of red plastic like an old milk tab. In my first garden in Houston that soil was full of trash, broken glass, cigarette butts and all kinds of things that made it a real challenge for years to come with that garden.
Think long-term durability. Desert conditions are harsh on materials, so choosing components that can handle extreme heat, UV exposure, and temperature fluctuations will save money over time. Also if you can think temporary. First garden layouts are always a test. If you make it a permanent structure then you lose the ability to be flexible and make the necessary changes you might need to be successful in your garden. Once you know what works you can always make it more permanent.
Consider thermal mass. Heavy materials like cinder blocks help moderate soil temperatures, creating a more stable growing environment. The cinder blocks are hollow allowing the outside of the block to absorb and cool or heat the block as needed during the changing seasons.
This raised bed system represents my best attempt at tackling desert gardening challenges. I don't know if it will be successful or not, but I have used all my years of knowledge, expertise, and skill to design what I think will be successful. What started as a daunting challenge against harsh climate conditions has become an exciting experiment in thoughtful design and strategic planning, proving that quality materials and careful site selection can set the foundation for success in extreme growing conditions. With the additional wind breaks and shade cloth I think this will work as a good spring, summer, and fall garden for the two of us for years to come.
A note on reality: Even with all of my planning things did not go as planned. Items I had ordered did not come in on time. I had to make two, two hour round trips to town to get all the items I needed. I ended up building it myself over three days as I ended up not having anyone available to help me. The good news is it didn't require any special tools other than a dolly, rake, and shovel.